For the complete documentation index, see llms.txt. Prefer markdown by appending.mdto documentation URLs or sendingAccept: text/markdown.
PostHog
Learn how to setup PostHog as your browser extension monitoring provider. Provider setup, env vars, and the events worth tracking early on.
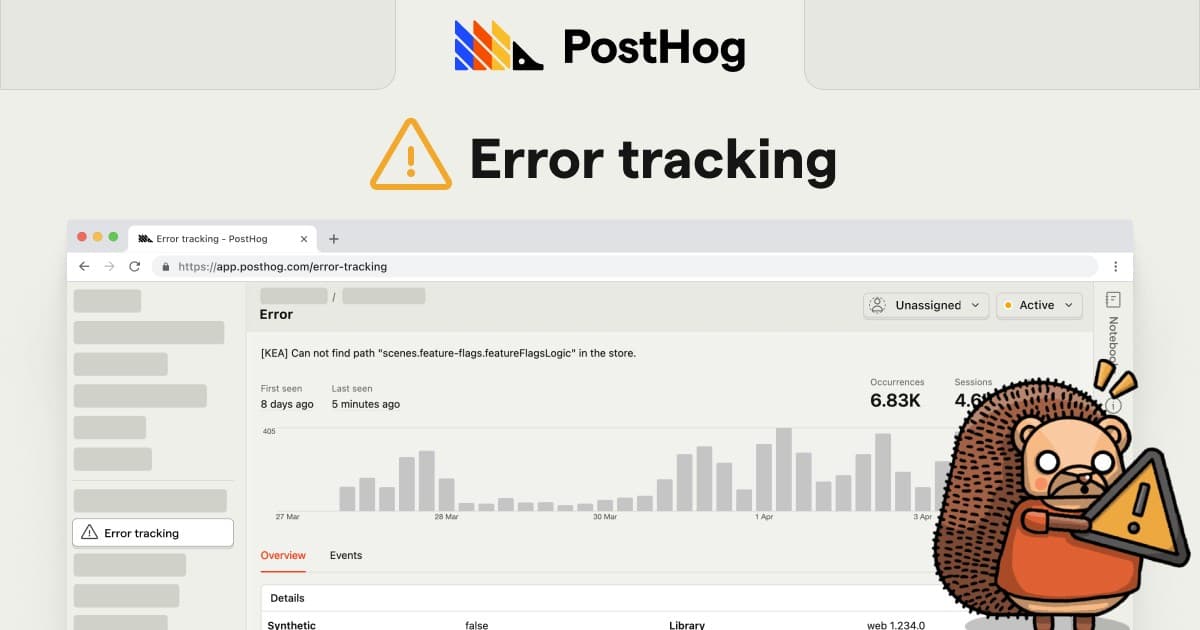
PostHog is a product analytics platform that also supports monitoring capabilities like error tracking and session replay. In extensions, it's especially useful when you want to connect “what broke” with “what the user did” right before the issue occurred.
TurboStarter keeps monitoring behind a unified API, so you can route exception captures from your popup, background, and content scripts to PostHog without rewriting the call sites.
Prerequisite: PostHog account
To use PostHog as your monitoring provider, you'll need a PostHog instance. You can use PostHog Cloud or self-host.
You can also use it for extension analytics
PostHog is also supported as an analytics provider for the extension. If you want to track in-extension events, see the analytics overview and the PostHog analytics configuration.
Configuration
Here you'll configure PostHog as the monitoring provider for your extension so exceptions from the popup, background/service worker, and content scripts show up with enough context to debug.
Create a project
Create a PostHog project for your extension. You can do this from the PostHog dashboard via the New Project action.
Activate PostHog as your monitoring provider
TurboStarter picks the extension monitoring provider through exports in the monitoring package. To route captures to PostHog, export the PostHog implementation from the extension monitoring entrypoint:
export * from "./posthog";
export * from "./posthog/env";
Set environment variables
Add your PostHog project key (and host, if you're not using the default cloud region) to your extension env. Set these locally and in whatever build environment produces your extension bundles:
VITE_POSTHOG_KEY="your-posthog-project-api-key"
VITE_POSTHOG_HOST="https://us.i.posthog.com"
That's it — load the extension, trigger a test error from the popup/background/content script, and confirm events are arriving in your PostHog project.
If you want to go beyond basic capture (session replay, feature flags, richer context), follow PostHog's web/extension guidance.
Uploading source maps
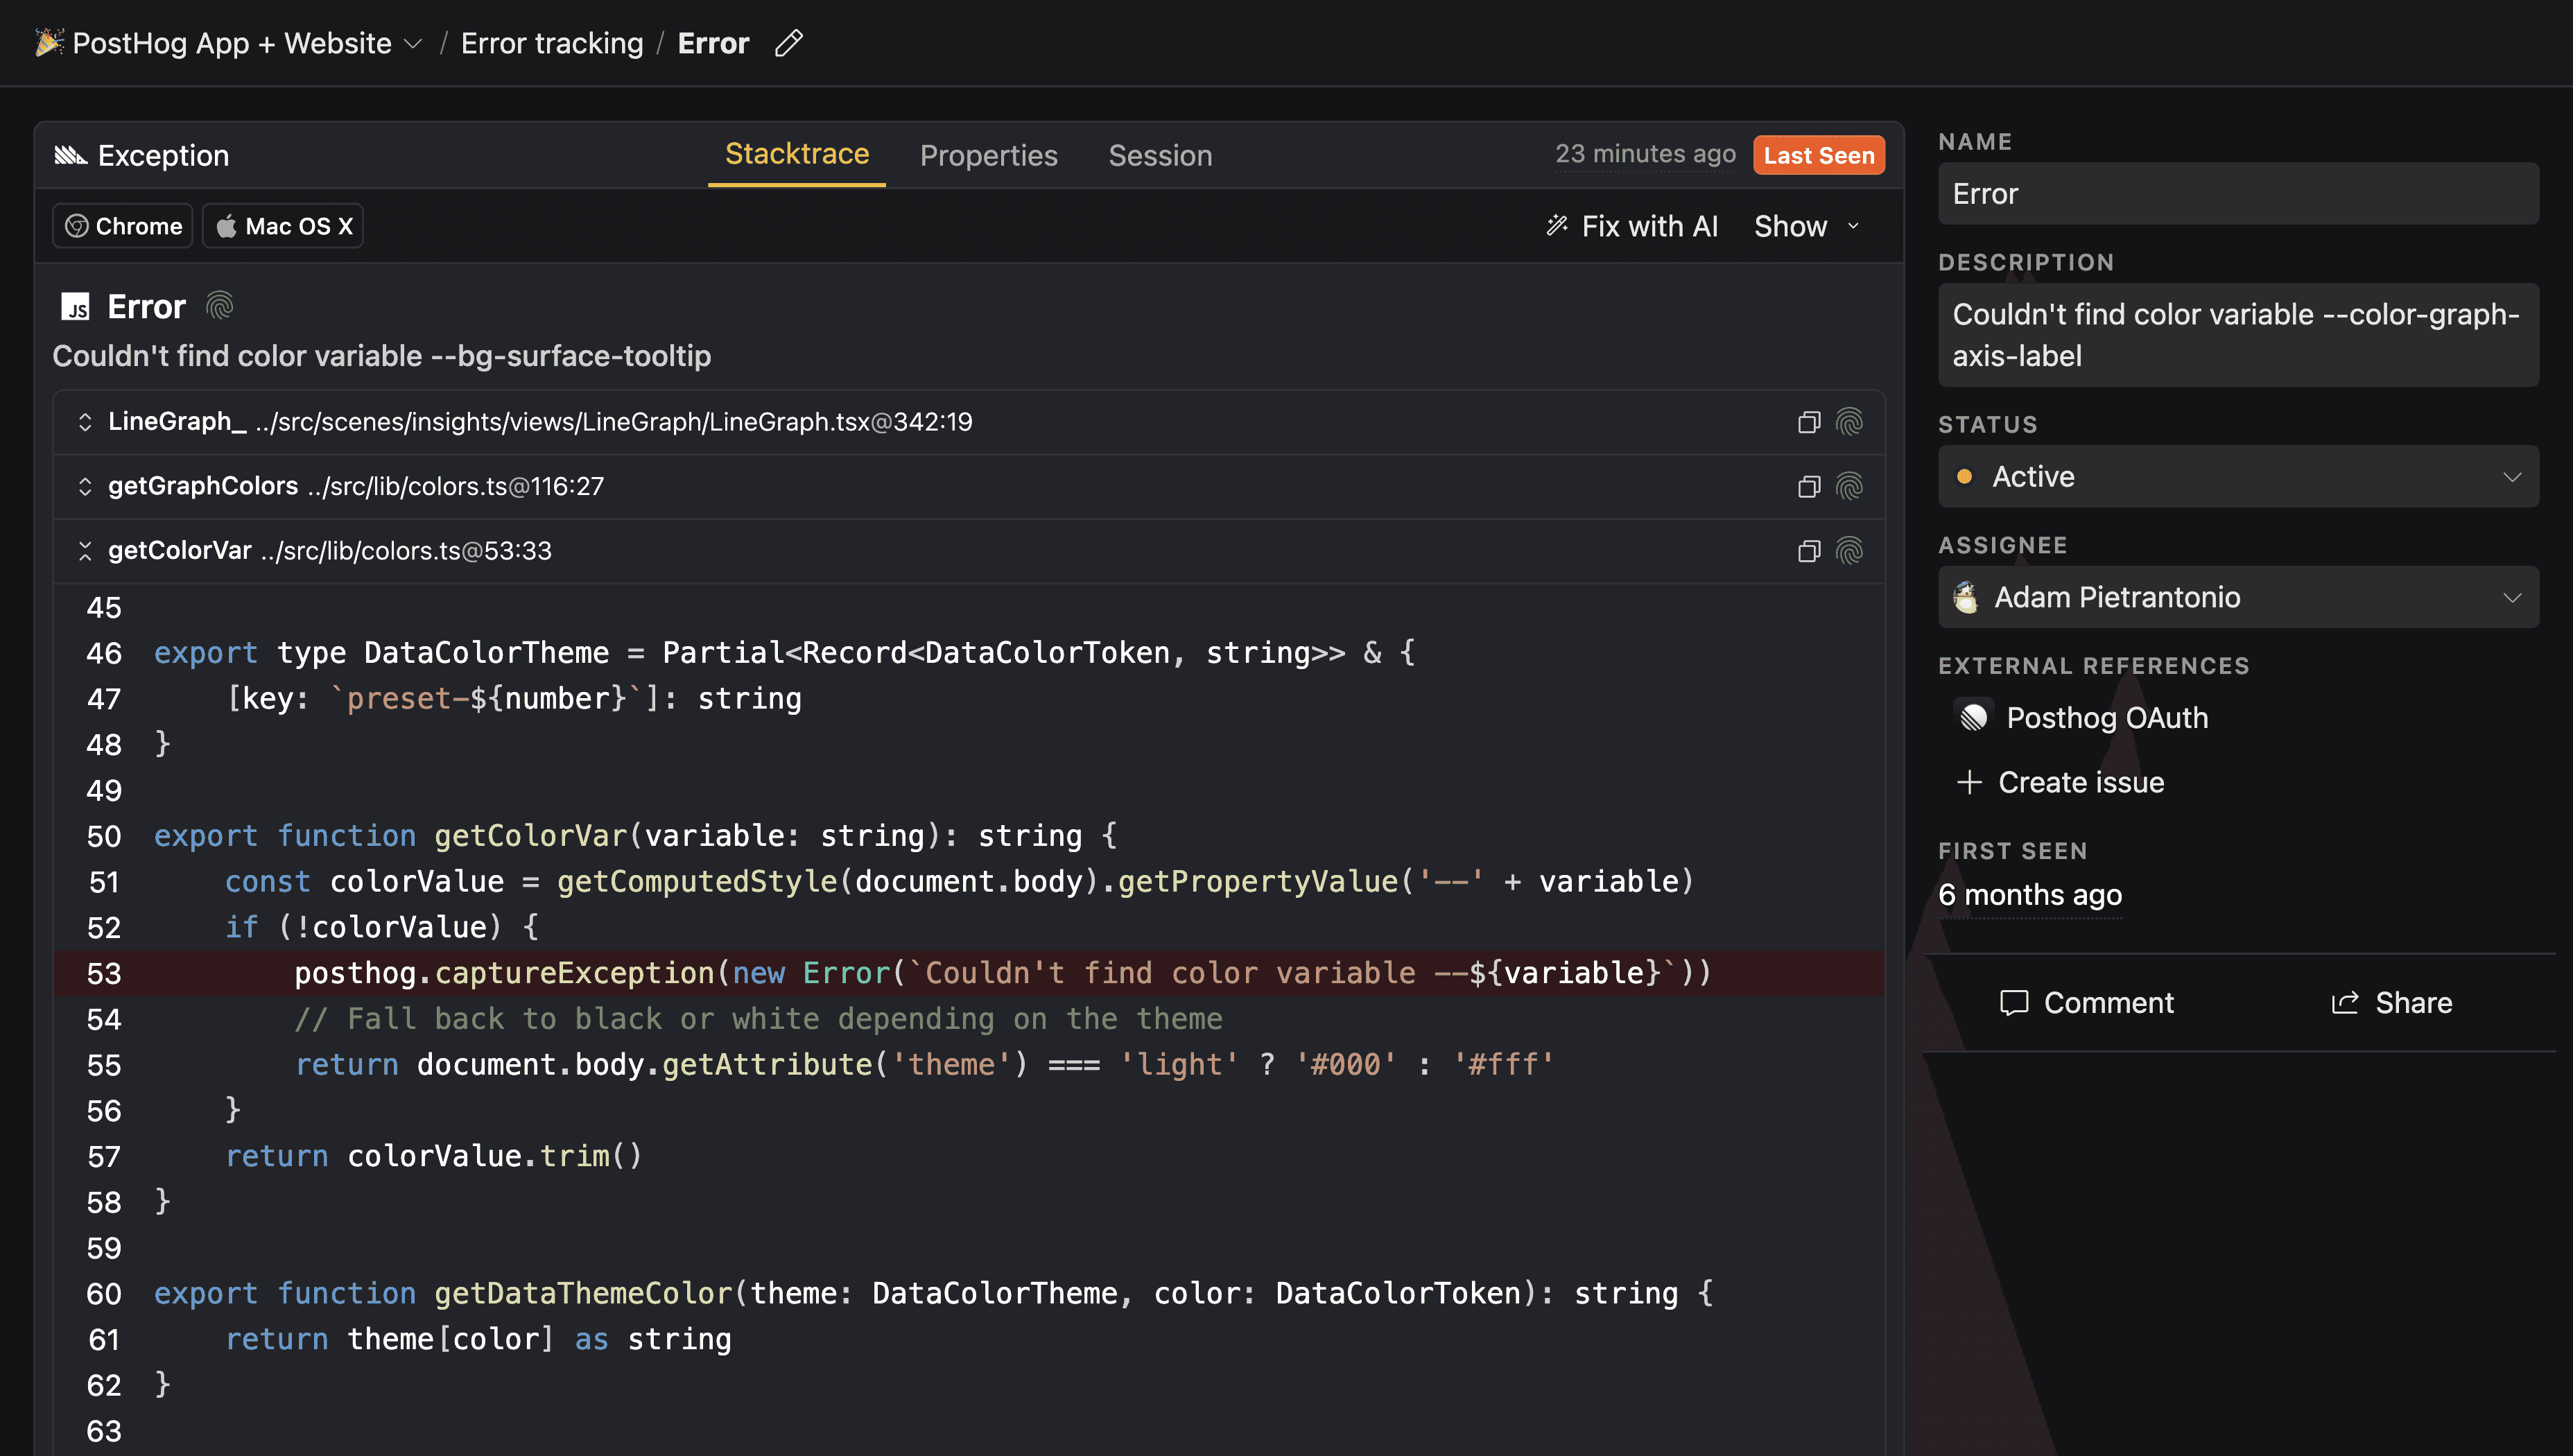
Source maps map the minified/bundled JavaScript shipped with your extension back to your original source code. Without them, stack traces in PostHog often point at compiled output, which makes debugging much slower.
PostHog’s source map flow for web builds relies on injecting metadata into the bundled assets. You must deploy/ship the injected assets, otherwise PostHog can’t match captured errors to the uploaded symbol sets.
For extensions built with Vite (which WXT is using under the hood), the high-level flow is:
- generate
.mapfiles during the production build - inject PostHog metadata into the built assets
- upload the injected source maps to PostHog
Authenticate the CLI
Authenticate interactively:
posthog-cli loginIn CI, you can authenticate with environment variables:
POSTHOG_CLI_HOST="https://us.posthog.com"
POSTHOG_CLI_ENV_ID="your-posthog-project-id"
POSTHOG_CLI_TOKEN="your-personal-api-key"
Build with source maps enabled
Make sure your extension build outputs source maps by modifying your wxt.config.ts file.
import { defineConfig } from "wxt";

export default defineConfig({
  /* existing WXT configuration options */
  vite: () => ({
    build: {
      sourcemap: "hidden", // Source map generation must be turned on ("hidden", true, etc.)
    },
  }),
});
After building, you should have .js and .js.map files in your output directory.
Inject PostHog metadata into the built assets
Inject release/chunk metadata so PostHog can associate uploaded maps with the shipped bundles:
posthog-cli sourcemap inject --directory ./path/to/assets --project my-extension --version 1.2.3Upload source maps
Upload the injected source maps to PostHog:
posthog-cli sourcemap upload --directory ./path/to/assetsVerify injection and uploads
After deployment, confirm your production bundles include the injected comment (for example //# chunkId=...) and verify symbol sets exist in your PostHog project settings.
With this in place, PostHog can symbolicate extension errors (popup/options UI, background/service worker, and content scripts) so stack traces point back to your original source files.
How is this guide?
Last updated on