For the complete documentation index, see llms.txt. Prefer markdown by appending.mdto documentation URLs or sendingAccept: text/markdown.
Configuration
Learn how to configure web analytics in TurboStarter.
The @workspace/analytics-web package offers a streamlined and flexible approach to tracking events in your TurboStarter web app using various analytics providers. It abstracts the complexities of different analytics services and provides a consistent interface for event tracking.
In this section, we'll guide you through the configuration process for each supported provider.
Note that the configuration is validated against a schema, so you'll see error messages in the console if anything is misconfigured.
Providers
TurboStarter supports multiple analytics providers, each with its own unique configuration. Below, you'll find detailed information on how to set up and use each supported provider. Choose the one that best suits your needs and follow the instructions in the respective accordion section.
To use Vercel Analytics as your provider, you need to create a Vercel account and set up a project.
Next, enable analytics in your Vercel project settings:
- Navigate to the Vercel dashboard.
- Select your project.
- Go to the Analytics section.
- Click Enable in the dialog.
Enabling Web Analytics will add new routes (scoped at /_vercel/insights/*) after your next deployment.
Also, make sure to activate the Vercel provider as your analytics provider by updating the exports in:
export * from "./vercel";export * from "./vercel/server";export * from "./vercel/env";To customize the provider, you can find its definition in packages/analytics/web/src/providers/vercel directory.
For more information, please refer to the Vercel Analytics documentation.
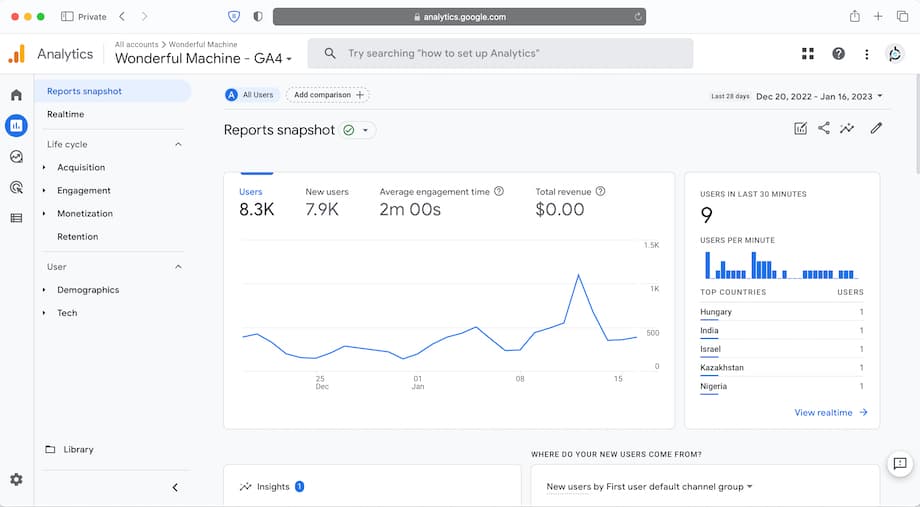
To use Google Analytics as your analytics provider, you need to create a Google Analytics account and set up a property.
Next, add a data stream in your Google Analytics account settings:
- Navigate to Google Analytics.
- In the Admin section, under Data collection and modification, click on Data Streams.
- Click Add stream.
- Select Web as the platform.
- Enter the required details for the stream (at minimum, provide a name and website URL).
- Click Create stream.
After creating the stream, you'll need two pieces of information:
- Your Measurement ID (it should look like
G-XXXXXXXXXX):
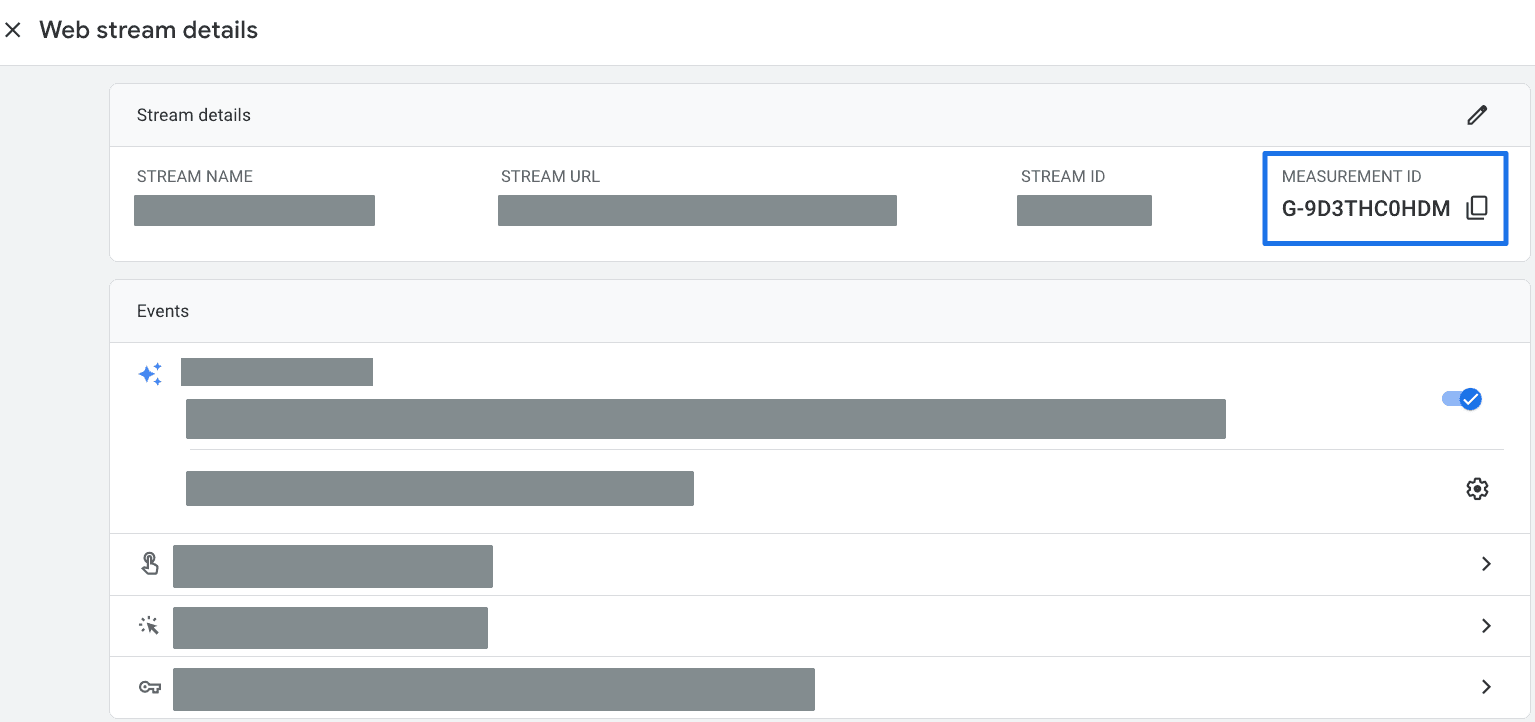

Set these values in your .env.local file in the apps/web directory and in your deployment environment:
NEXT_PUBLIC_ANALYTICS_GOOGLE_MEASUREMENT_ID="your-measurement-id"
GOOGLE_ANALYTICS_SECRET="your-measurement-protocol-api-secret"
Also, make sure to activate the Google Analytics provider as your analytics provider by updating the exports in:
export * from "./google-analytics";export * from "./google-analytics/server";export * from "./google-analytics/env";To customize the provider, you can find its definition in packages/analytics/web/src/providers/google-analytics directory.
For more information, please refer to the Google Analytics documentation.
You can also use it for monitoring!
PostHog is also one of pre-configured providers for monitoring in TurboStarter. You can learn more about it here.
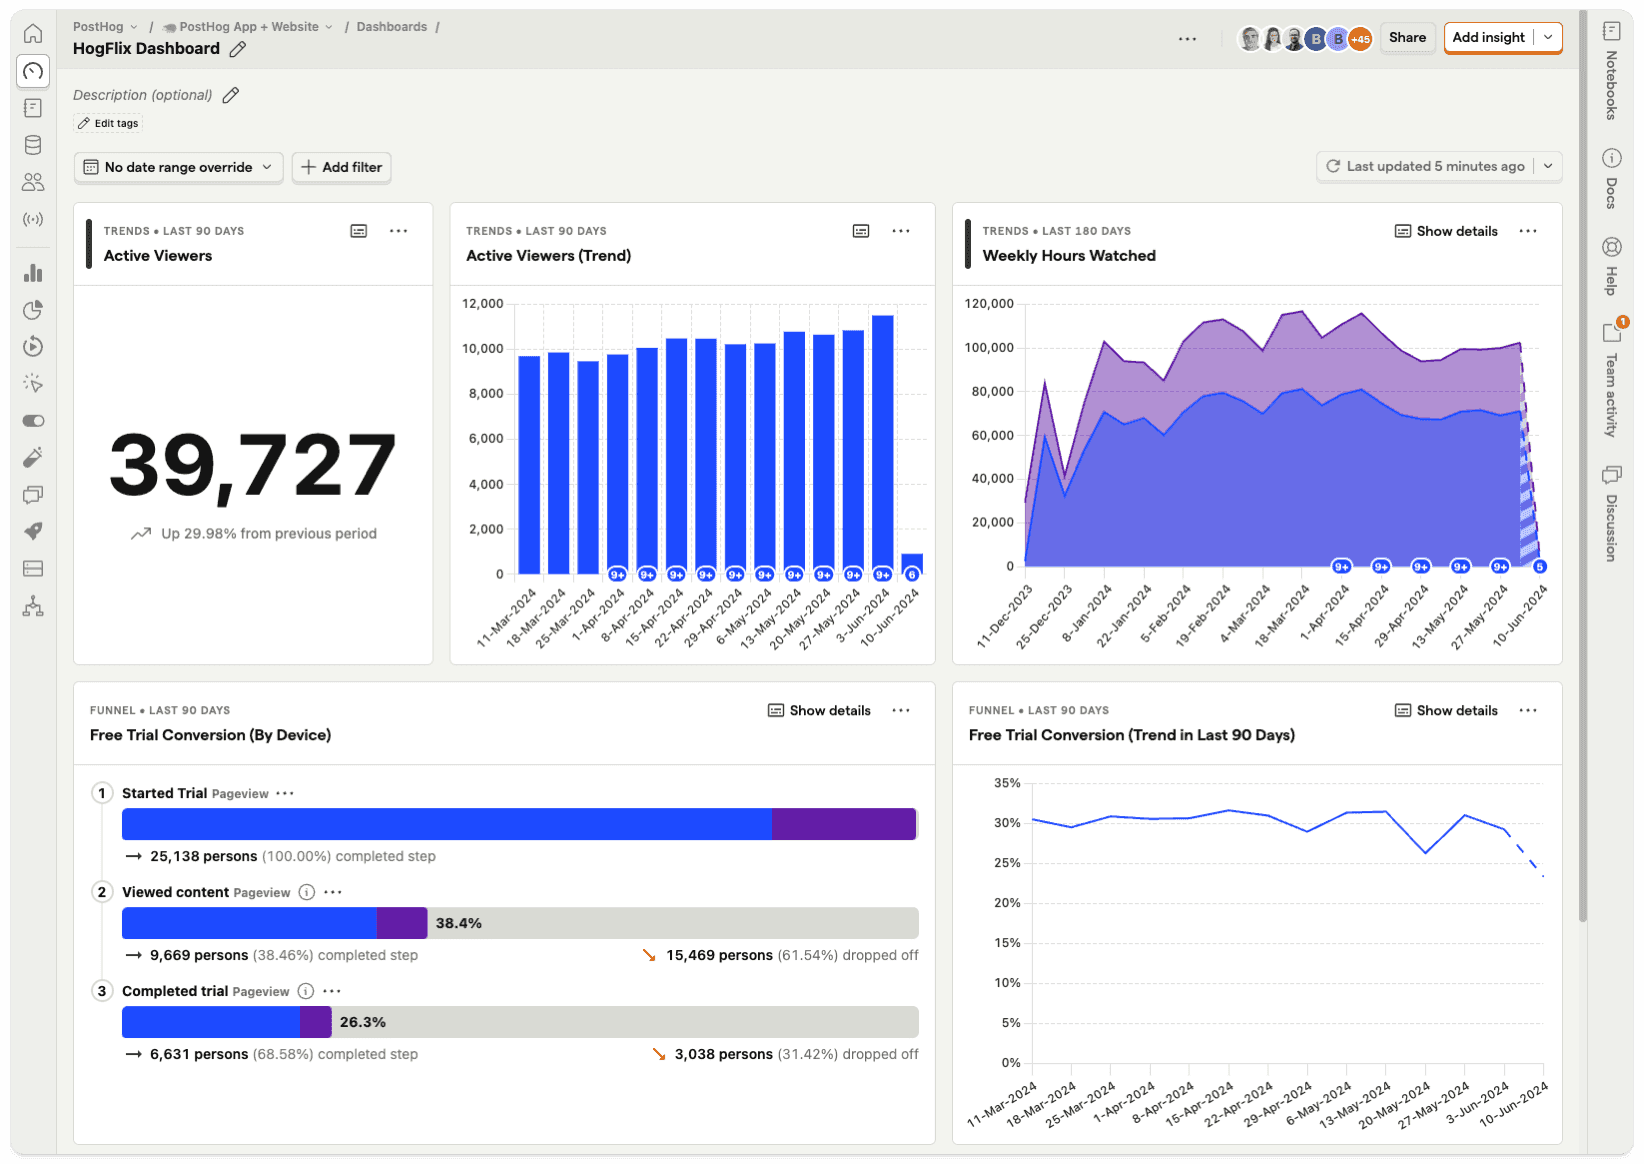
To use PostHog as your analytics provider, you need to configure a PostHog instance. You can obtain the Cloud instance by creating an account or self-host it.
Then, create a project and, based on your project settings, fill the following environment variables in your .env.local file in apps/web directory and your deployment environment:
NEXT_PUBLIC_POSTHOG_KEY="your-posthog-api-key"
NEXT_PUBLIC_POSTHOG_HOST="your-posthog-instance-host"
Also, make sure to activate the PostHog provider as your analytics provider by updating the exports in:
export * from "./posthog";export * from "./posthog/server";export * from "./posthog/env";To customize the provider, you can find its definition in packages/analytics/web/src/providers/posthog directory.
For more information, please refer to the PostHog documentation.
To use Mixpanel as your analytics provider, you need to create an account and obtain your project token.
Then, set it as an environment variable in your .env.local file in the apps/web directory and your deployment environment:
NEXT_PUBLIC_MIXPANEL_TOKEN="your-project-token"Also, make sure to activate the Mixpanel provider as your analytics provider by updating the exports in:
export * from "./mixpanel";export * from "./mixpanel/server";export * from "./mixpanel/env";To customize the provider, you can find its definition in packages/analytics/web/src/providers/mixpanel directory.
For more information, please refer to the Mixpanel documentation.
To use Plausible as your analytics provider, you need to create an account and set up a website.
Then, set your domain and host in your .env.local file in the apps/web directory and your deployment environment:
NEXT_PUBLIC_PLAUSIBLE_DOMAIN="your-website-domain.com"
NEXT_PUBLIC_PLAUSIBLE_HOST="https://plausible.io"
Also, make sure to activate the Plausible provider as your analytics provider by updating the exports in:
export * from "./plausible";export * from "./plausible/server";export * from "./plausible/env";To customize the provider, you can find its definition in packages/analytics/web/src/providers/plausible directory.
For more information, please refer to the Plausible documentation.
To use Umami as your analytics provider, you need to set up Umami either by using their cloud service or self-hosting.
Then, set your website ID and host in your .env.local file in the apps/web directory and your deployment environment:
NEXT_PUBLIC_UMAMI_WEBSITE_ID="your-website-id"
NEXT_PUBLIC_UMAMI_HOST="https://your-umami-instance.com"
UMAMI_API_HOST="https://your-umami-instance.com"
UMAMI_API_KEY="your-api-key"
Also, make sure to activate the Umami provider as your analytics provider by updating the exports in:
export * from "./umami";export * from "./umami/server";export * from "./umami/env";To customize the provider, you can find its definition in packages/analytics/web/src/providers/umami directory.
For more information, please refer to the Umami documentation.
To use Open Panel as your analytics provider, you need to create an account and set up a client for your project.
Then, you would need to set your client ID and secret in your .env.local file in apps/web directory and your deployment environment:
NEXT_PUBLIC_OPEN_PANEL_CLIENT_ID="your-client-id"
OPEN_PANEL_CLIENT_SECRET="your-client-secret"
Also, make sure to activate the Open Panel provider as your analytics provider by updating the exports in:
export * from "./open-panel";export * from "./open-panel/server";export * from "./open-panel/env";To customize the provider, you can find its definition in packages/analytics/web/src/providers/open-panel directory.
For more information, please refer to the Open Panel documentation.
To use Vemetric as your analytics provider, you need to create an account and obtain your project token.
Then, set it as an environment variable in your .env.local file in the apps/web directory and your deployment environment:
NEXT_PUBLIC_VEMETRIC_PROJECT_TOKEN="your-project-token"Also, make sure to activate the Vemetric provider as your analytics provider by updating the exports in:
export * from "./vemetric";export * from "./vemetric/server";export * from "./vemetric/env";To customize the provider, you can find its definition in packages/analytics/web/src/providers/vemetric directory.
For more information, please refer to the Vemetric documentation.
Client-side context
To enable tracking events, capturing page views and other analytics features on the client-side, you need to wrap your app with the Provider component that's implemented by every provider and available through the @workspace/analytics-web package:
import { memo } from "react";

import { Provider as AnalyticsProvider } from "@workspace/analytics-web";

interface ProvidersProps {
  readonly children: React.ReactNode;
}

export const Providers = memo<ProvidersProps>(({ children }) => {
  return (
    <OtherProviders>
      <AnalyticsProvider>{children}</AnalyticsProvider>
    </OtherProviders>
  );
});

Providers.displayName = "Providers";
By implementing this setup, you ensure that all analytics events are properly tracked from your client-side code. This configuration allows you to safely utilize the Analytics API within your client components, enabling comprehensive event tracking and data collection.
How is this guide?
Last updated on