For the complete documentation index, see llms.txt. Prefer markdown by appending.mdto documentation URLs or sendingAccept: text/markdown.
Polar
Connect Polar to TurboStarter: generate an access token, create a separate product per pricing tier, and wire up subscription webhooks.
Polar is another billing provider available within TurboStarter. Here we'll go through the configuration and how to set it up as a provider for your app.
To switch to Polar, update the exports in packages/billing/web/src/providers:
export * from "./polar";export * from "./polar/env";Then, let's configure the integration:
Get the access token
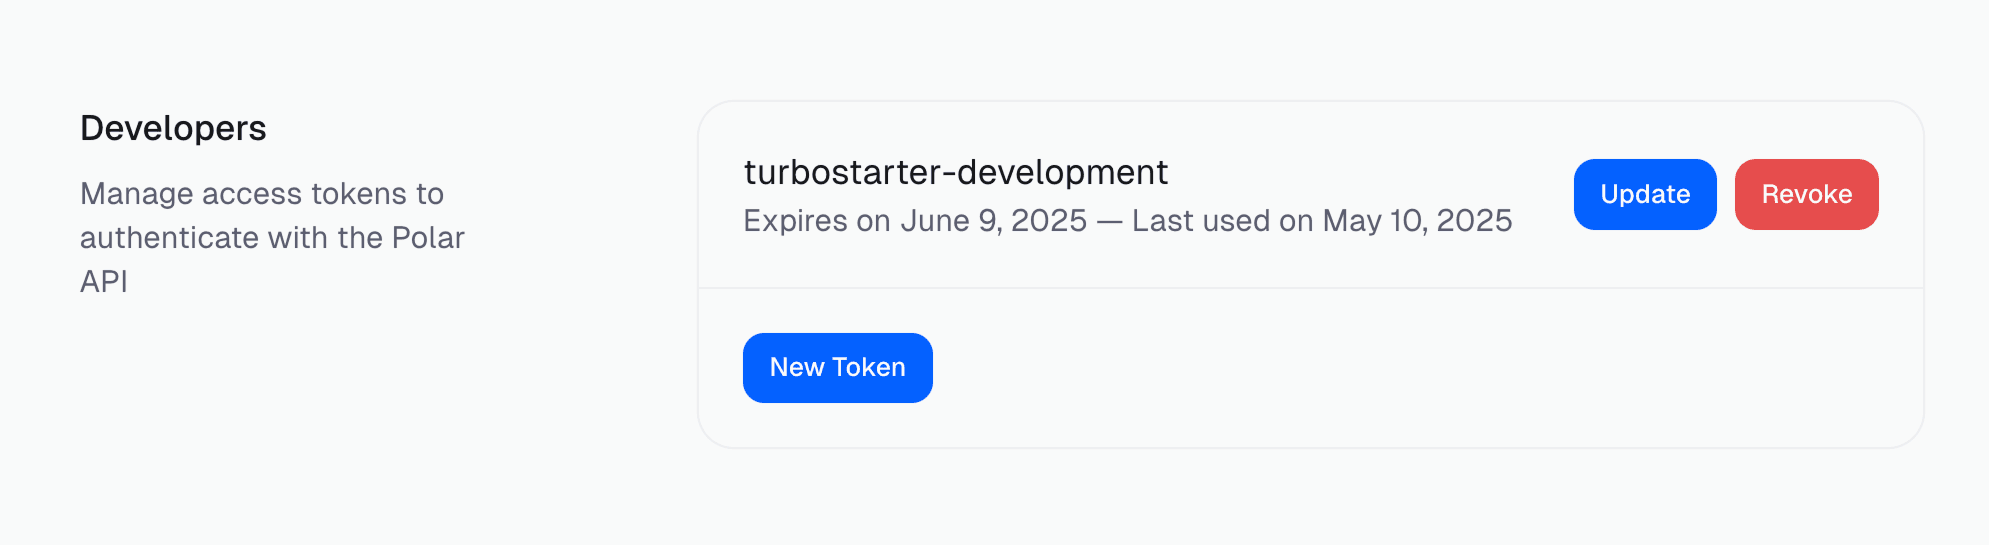
After you have created your account for Polar and created your organization, you will need to get the access token.
Under the Settings, scroll to Developers and click "New token". Enter a name for the token, set the expiration duration and select the scopes you want the token to have.
To keep it simple, you can select all scopes.
For local development, make sure to use Sandbox Mode to not mess with the real transactions.
Set environment variables
You need to set the following environment variables:
POLAR_ACCESS_TOKEN="" # Your Polar access token
POLAR_WEBHOOK_SECRET="" # Your Polar webhook secret
POLAR_ORGANIZATION_SLUG="" # Your Polar organization slug (can be found under Settings > Organization)
Please do not add the secret keys to the .env file in production. During development, you can place them in .env.local as it's not committed to the repository. In production, you can set them in the environment variables of your hosting provider.
Create products
For your users to choose from the available subscription plans, you need to create those Products first on the Products page. You can create as many products as you want.
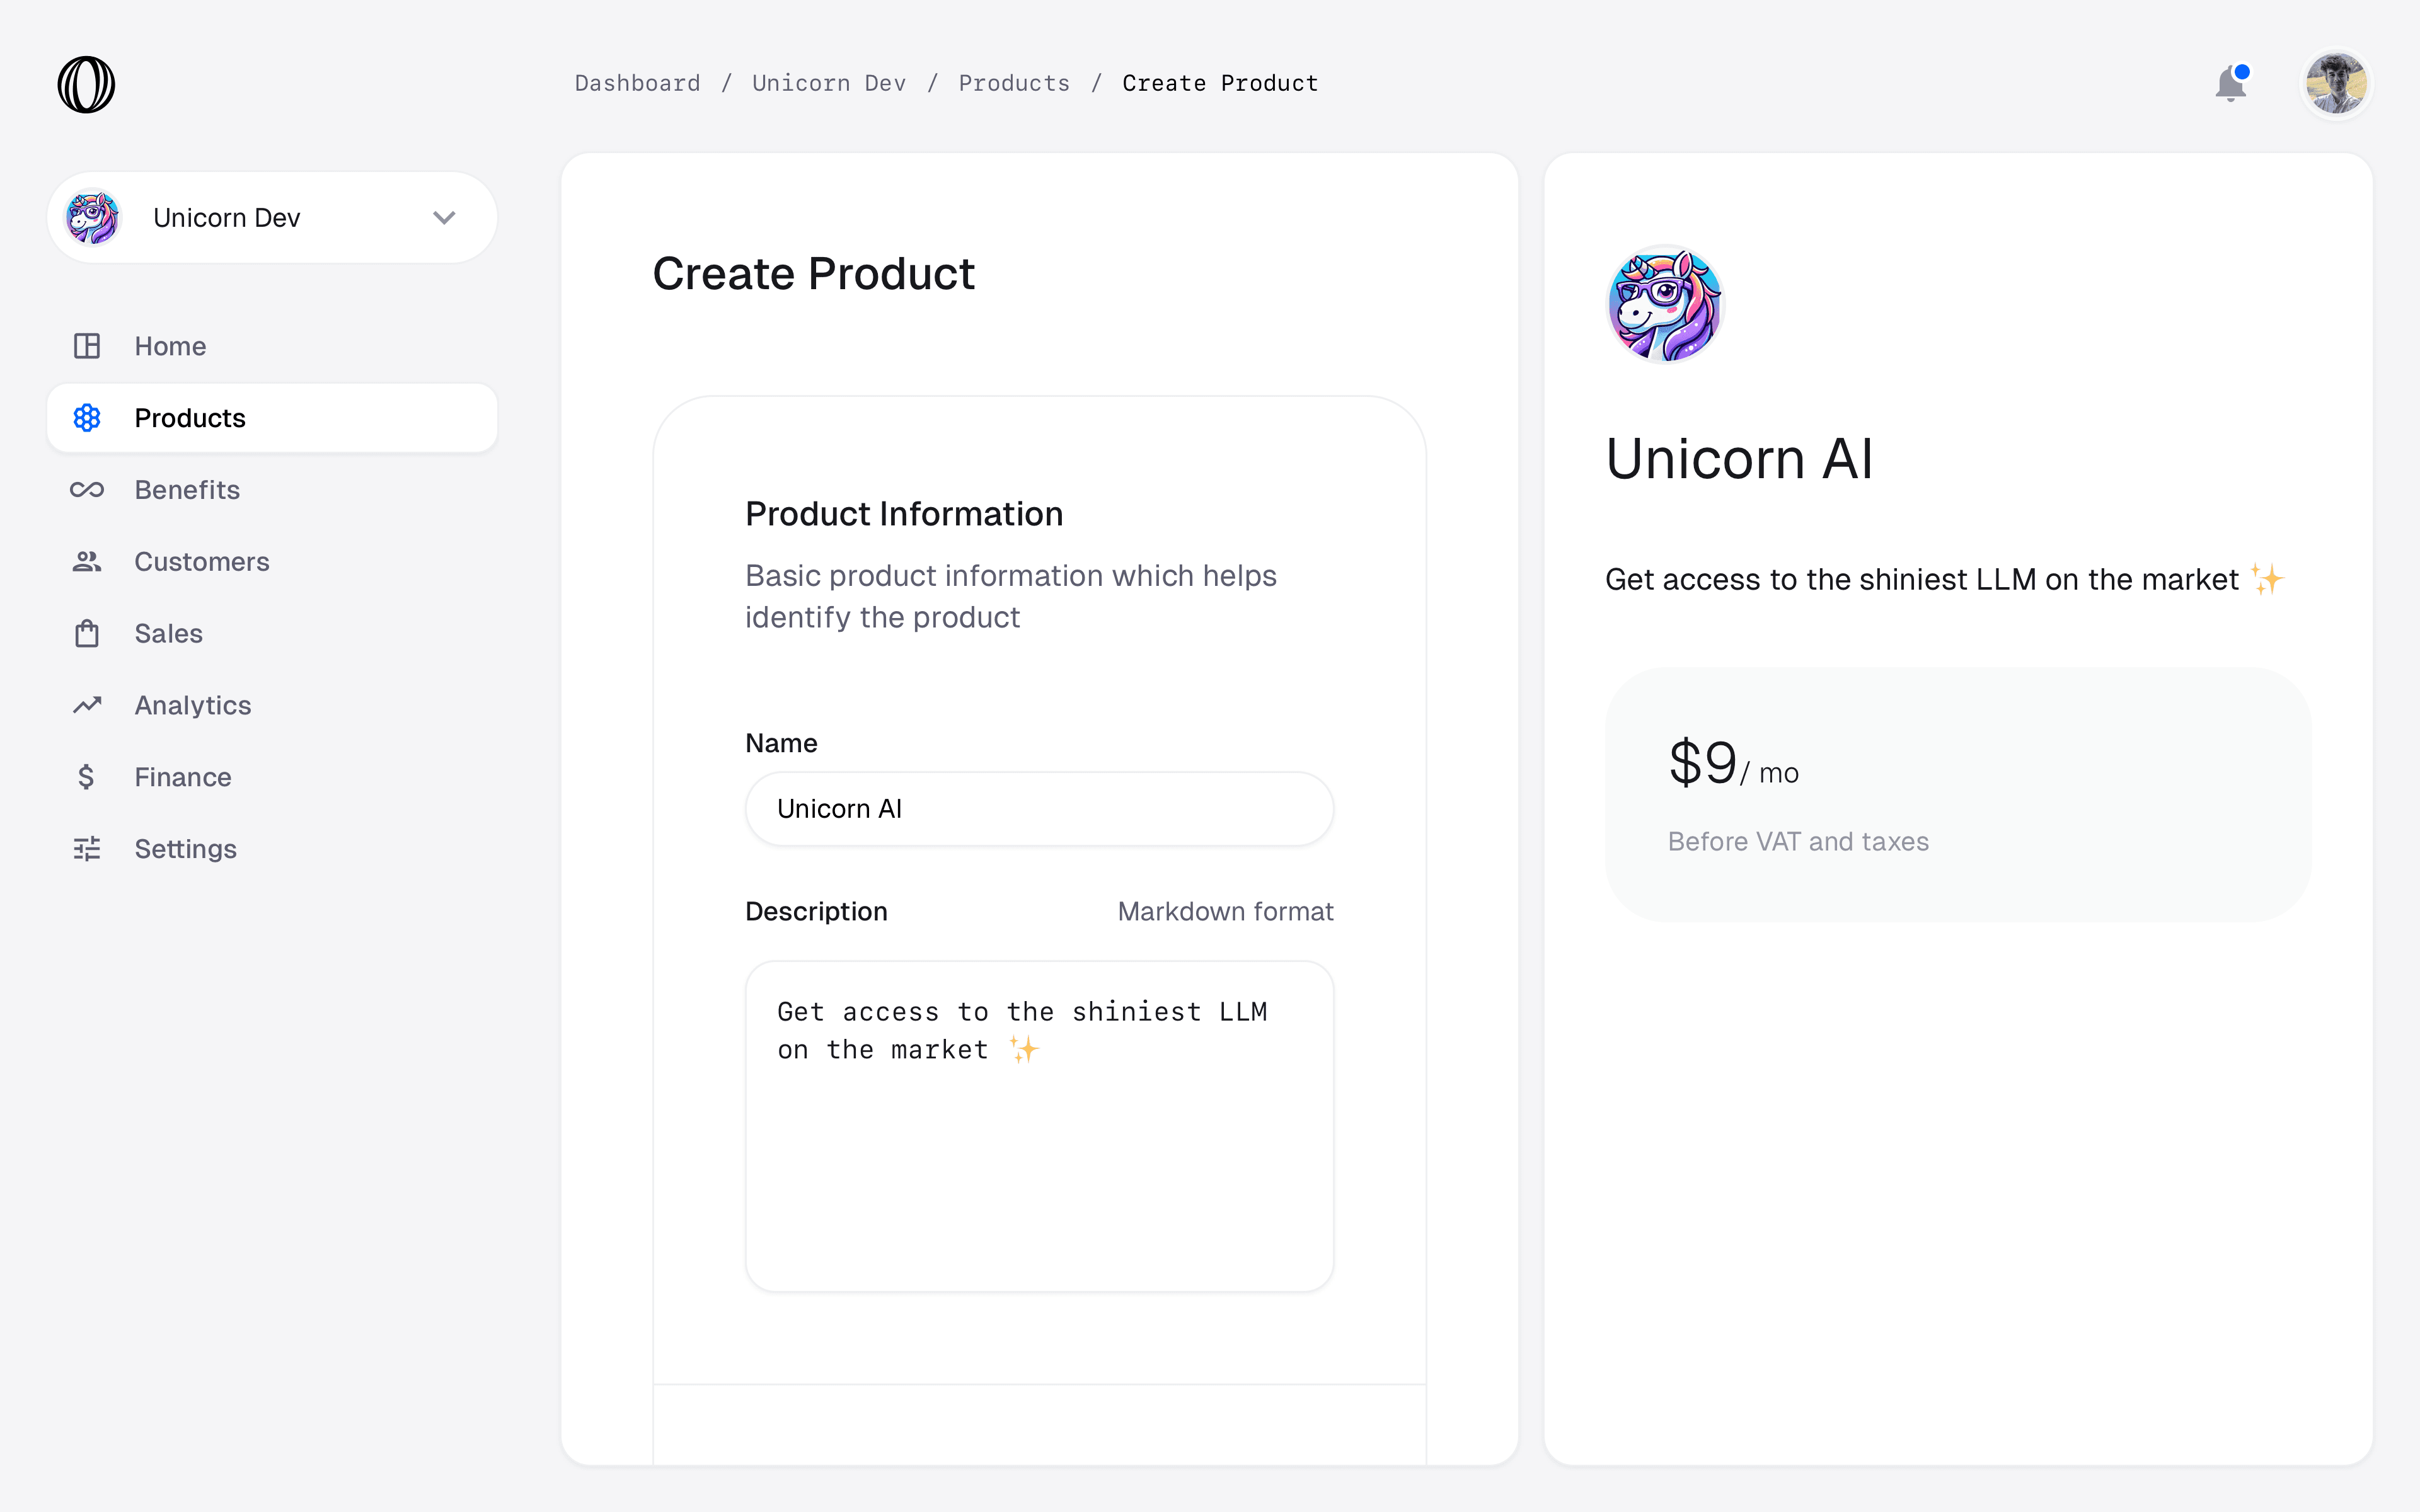
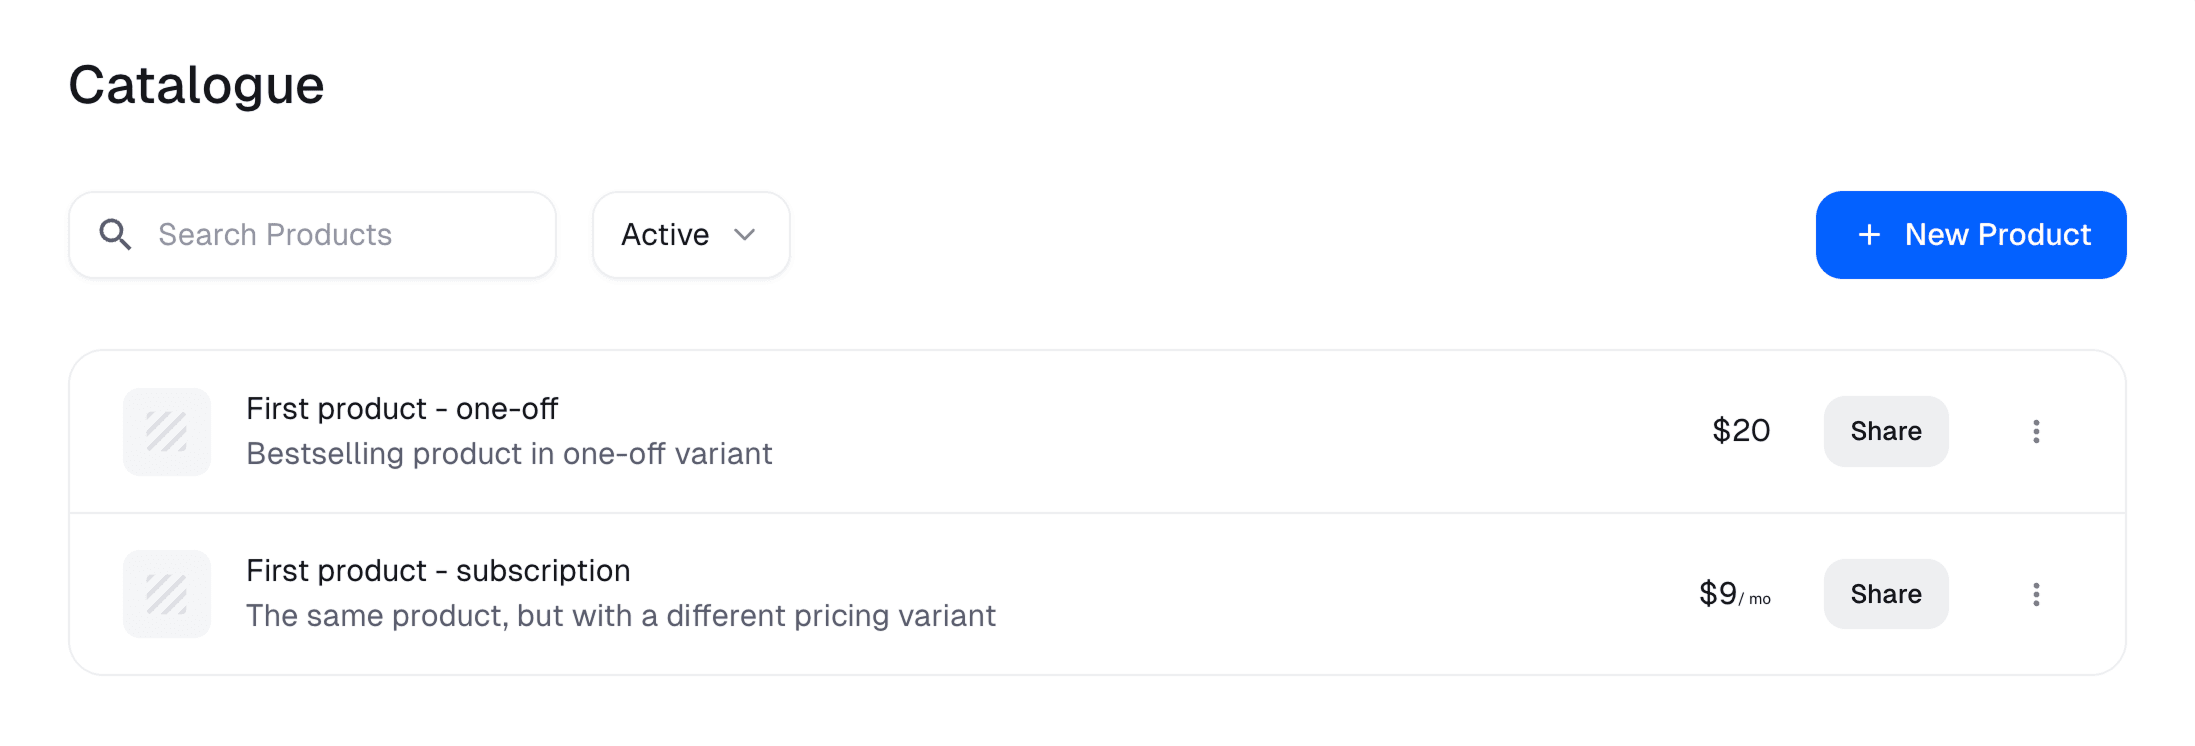
Polar takes a different approach to product variants. Instead of having one product with multiple pricing options, Polar treats each pricing option as a separate product. This simplifies the user experience and API while giving you full flexibility.
At checkout, customers can choose between different products (like monthly or yearly plans), each with its own pricing and benefits.
Match the product id with configuration
You need to make sure that the product ID you set in the configuration matches the ID of the product you created in Polar.
See configuration for more information.
Create a webhook
To sync the current subscription status or checkout conclusion and other information to your database, you need to set up a webhook.
The webhook handling code comes ready to use with TurboStarter, you just have to create the webhook in the Polar dashboard and insert the URL for your project.
To configure a new webhook, go to the Webhooks page in the Polar settings and click the Add endpoint button.
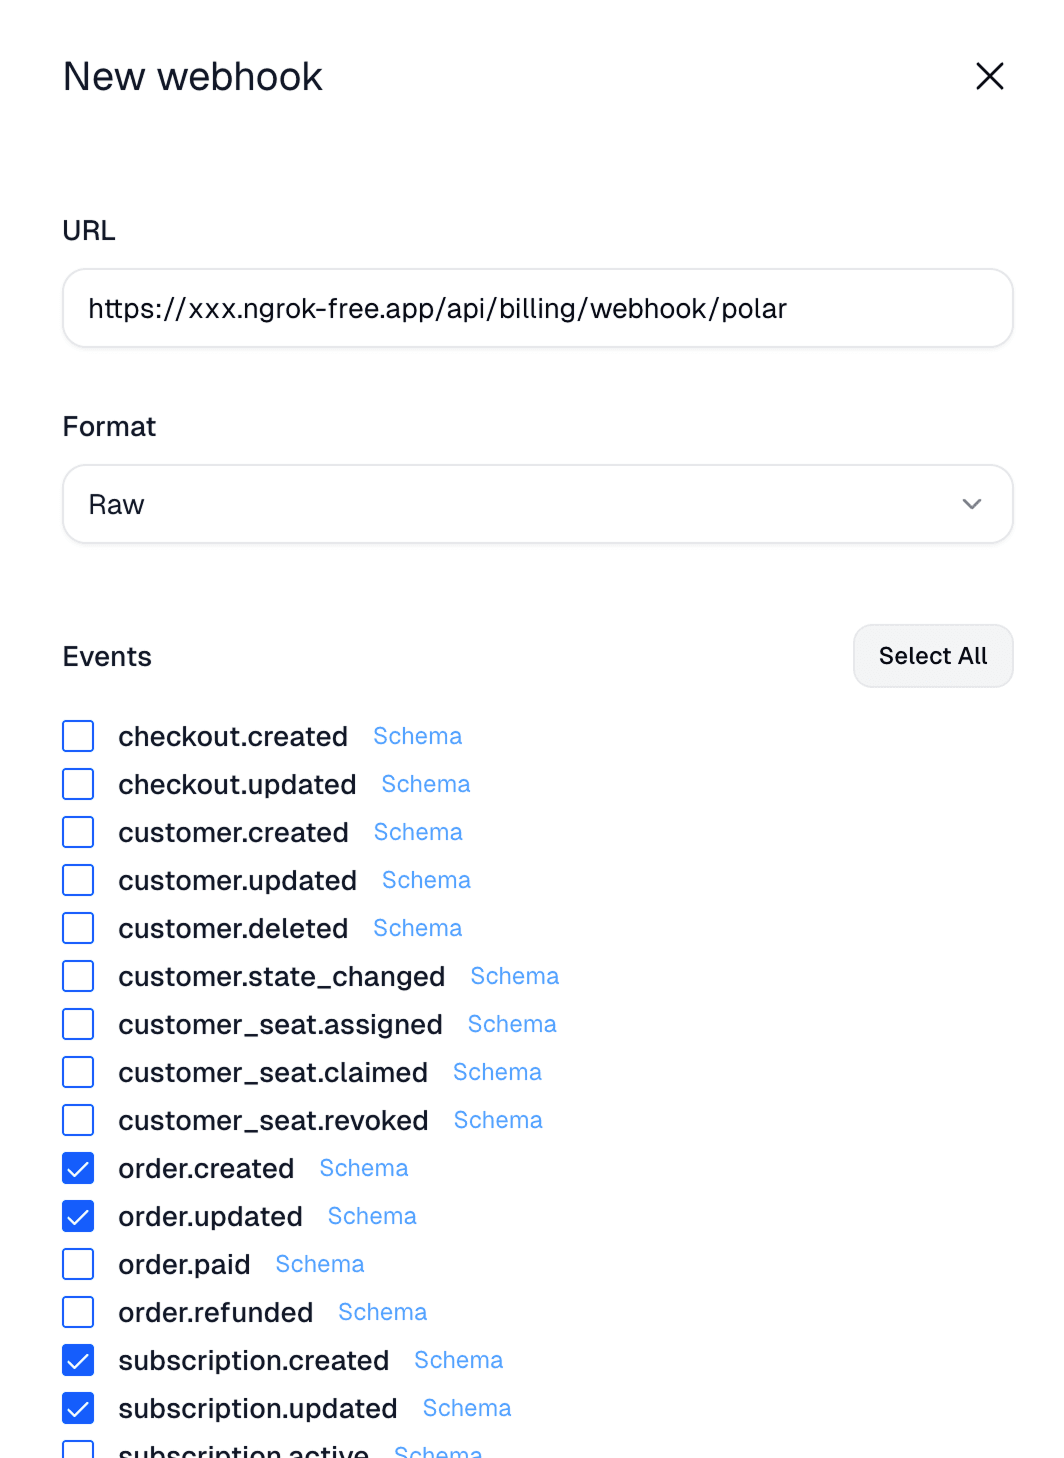
Select the following events:
- For subscriptions:
subscription.createdsubscription.updated
- For one-off payments:
order.createdorder.updated
You will also have to enter a Secret which you can get by running the following command in your terminal:
openssl rand -base64 32Copy the generated string and paste it into the Secret field.
You also need to add this secret to your environment variables:
POLAR_WEBHOOK_SECRET=<your-generated-secret>To get the URL for the webhook, you can either use a local development URL or the URL of your deployed app:
Local development
If you want to test the webhook locally, you can use ngrok to create a tunnel to your local machine. Ngrok will then give you a URL that you can use to test the webhook locally.
To do so, install ngrok and run it with the following command (while your TurboStarter web development server is running):
ngrok http 3000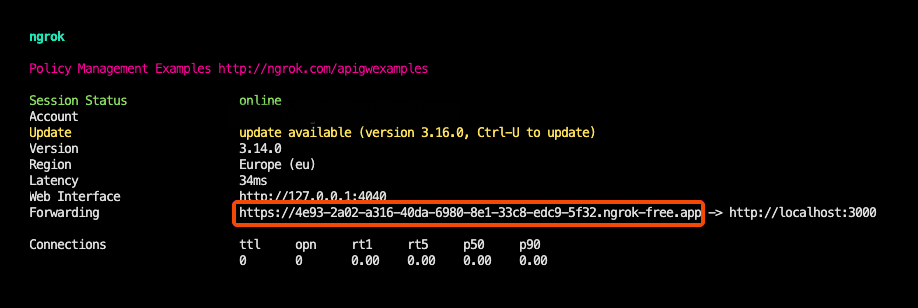
This will give you a URL (see the Forwarding output) that you can use to create a webhook in Polar. Just use that url and add /api/billing/webhook/polar to it.
Polar Webhooks
docs.polar.sh
Production deployment
When going to production, you will need to set the webhook URL and the events you want to listen to in Polar.
The webhook path is /api/billing/webhook/polar. If your app is hosted at https://myapp.com then you need to enter https://myapp.com/api/billing/webhook/polar as the URL.
All the relevant events are automatically handled by TurboStarter, so you don't need to do anything else. If you want to handle more events please check Webhooks for more information.
Add discount
You can add a discount for your customers that will apply on a specific product.
You can create the discount under the Products page on Discounts tab in the Polar dashboard.
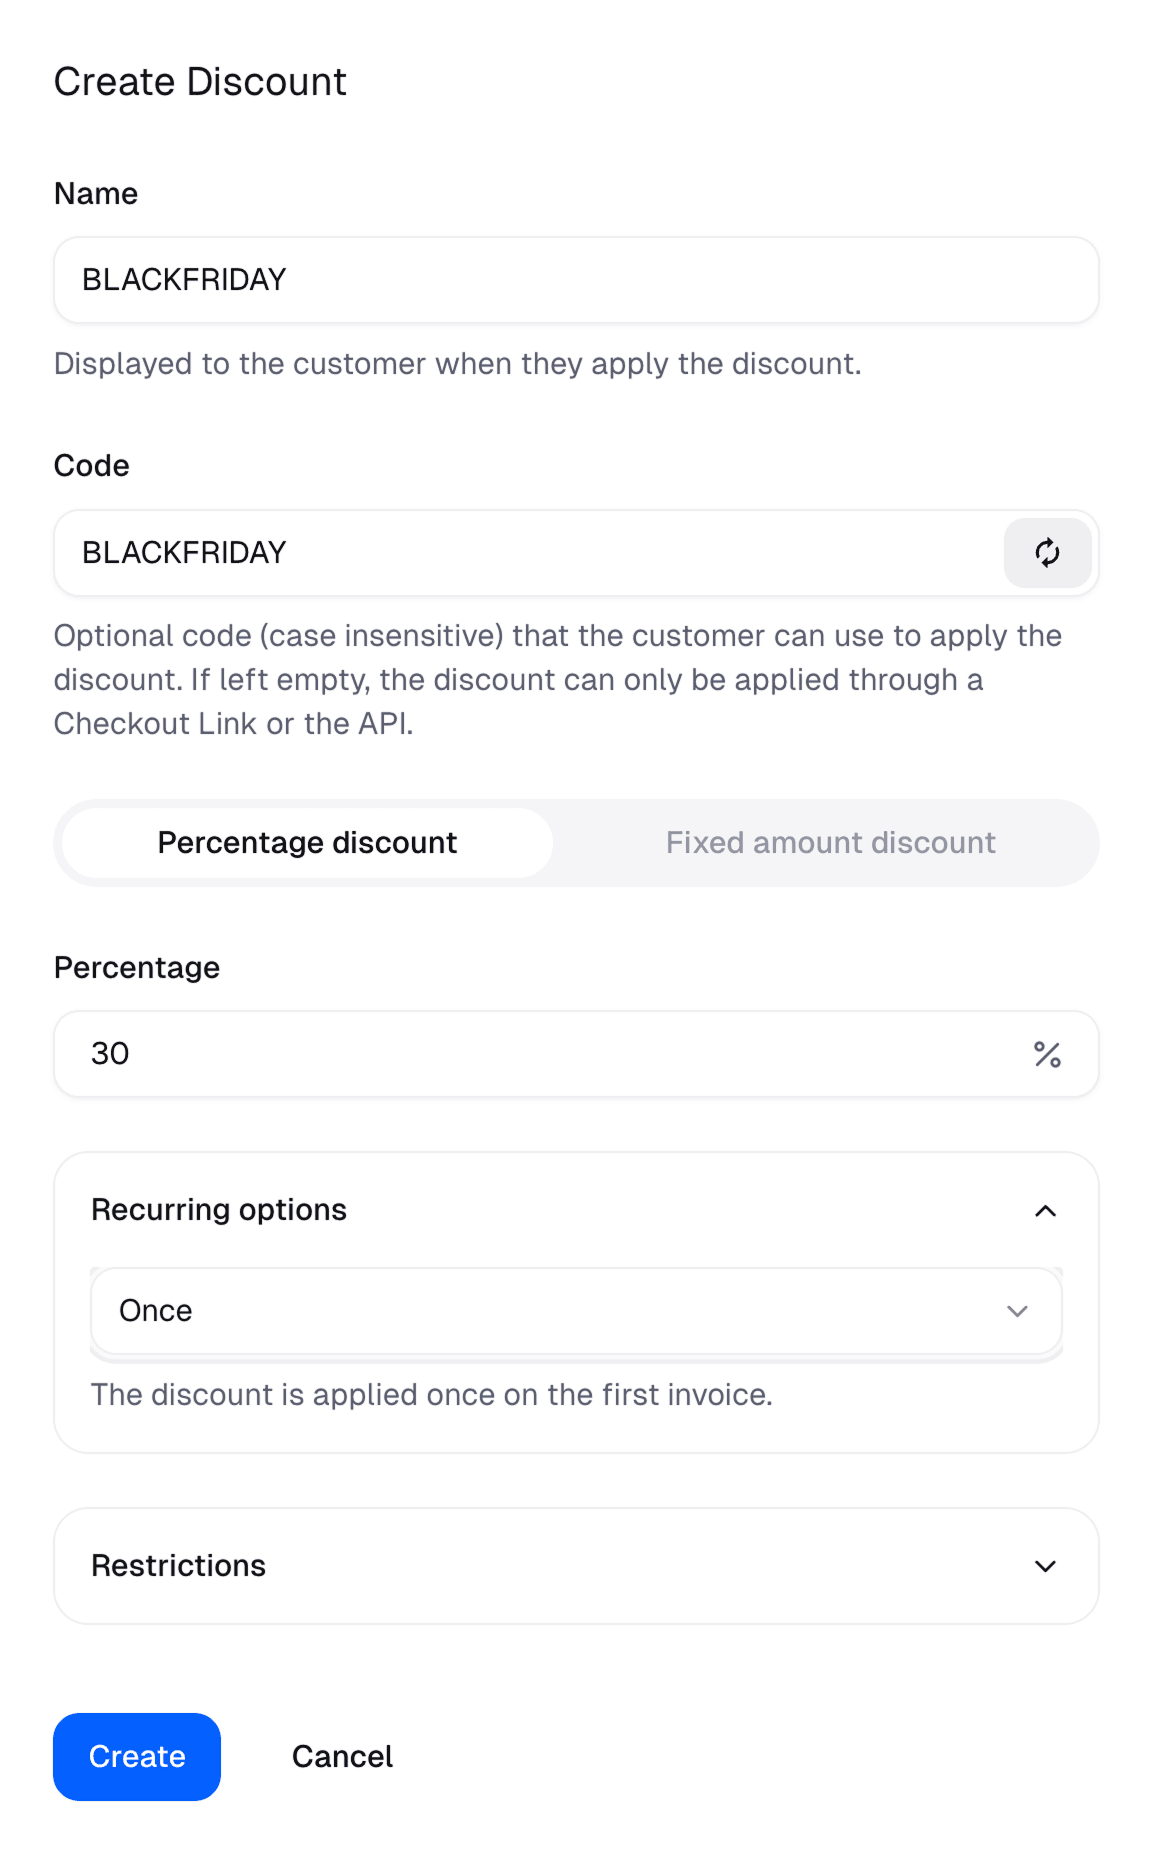
You can set there a details of discount such as products that it should apply to, amount off, duration, max redemptions and more.
Polar Discounts
docs.polar.sh
You need to add also the discount code and details to TurboStarter billing configuration to enable displaying it in the UI, creating checkout sessions with it and calculate prices.
See discounts configuration for more details.
That's it! 🎉 You have now set up Polar as a billing provider for your app.
Feel free to add more products, prices, discounts and manage your customers data and subscriptions using Polar.
Ensure configuration matches
Make sure that the data you set in the configuration matches the details of things you created in Polar.
See configuration for more information.
How is this guide?
Last updated on