For the complete documentation index, see llms.txt. Prefer markdown by appending.mdto documentation URLs or sendingAccept: text/markdown.
Cloudflare
Run your Next.js app on Cloudflare's global edge network using OpenNext, Wrangler for deployment, Hyperdrive for database connections, and R2 for caching.
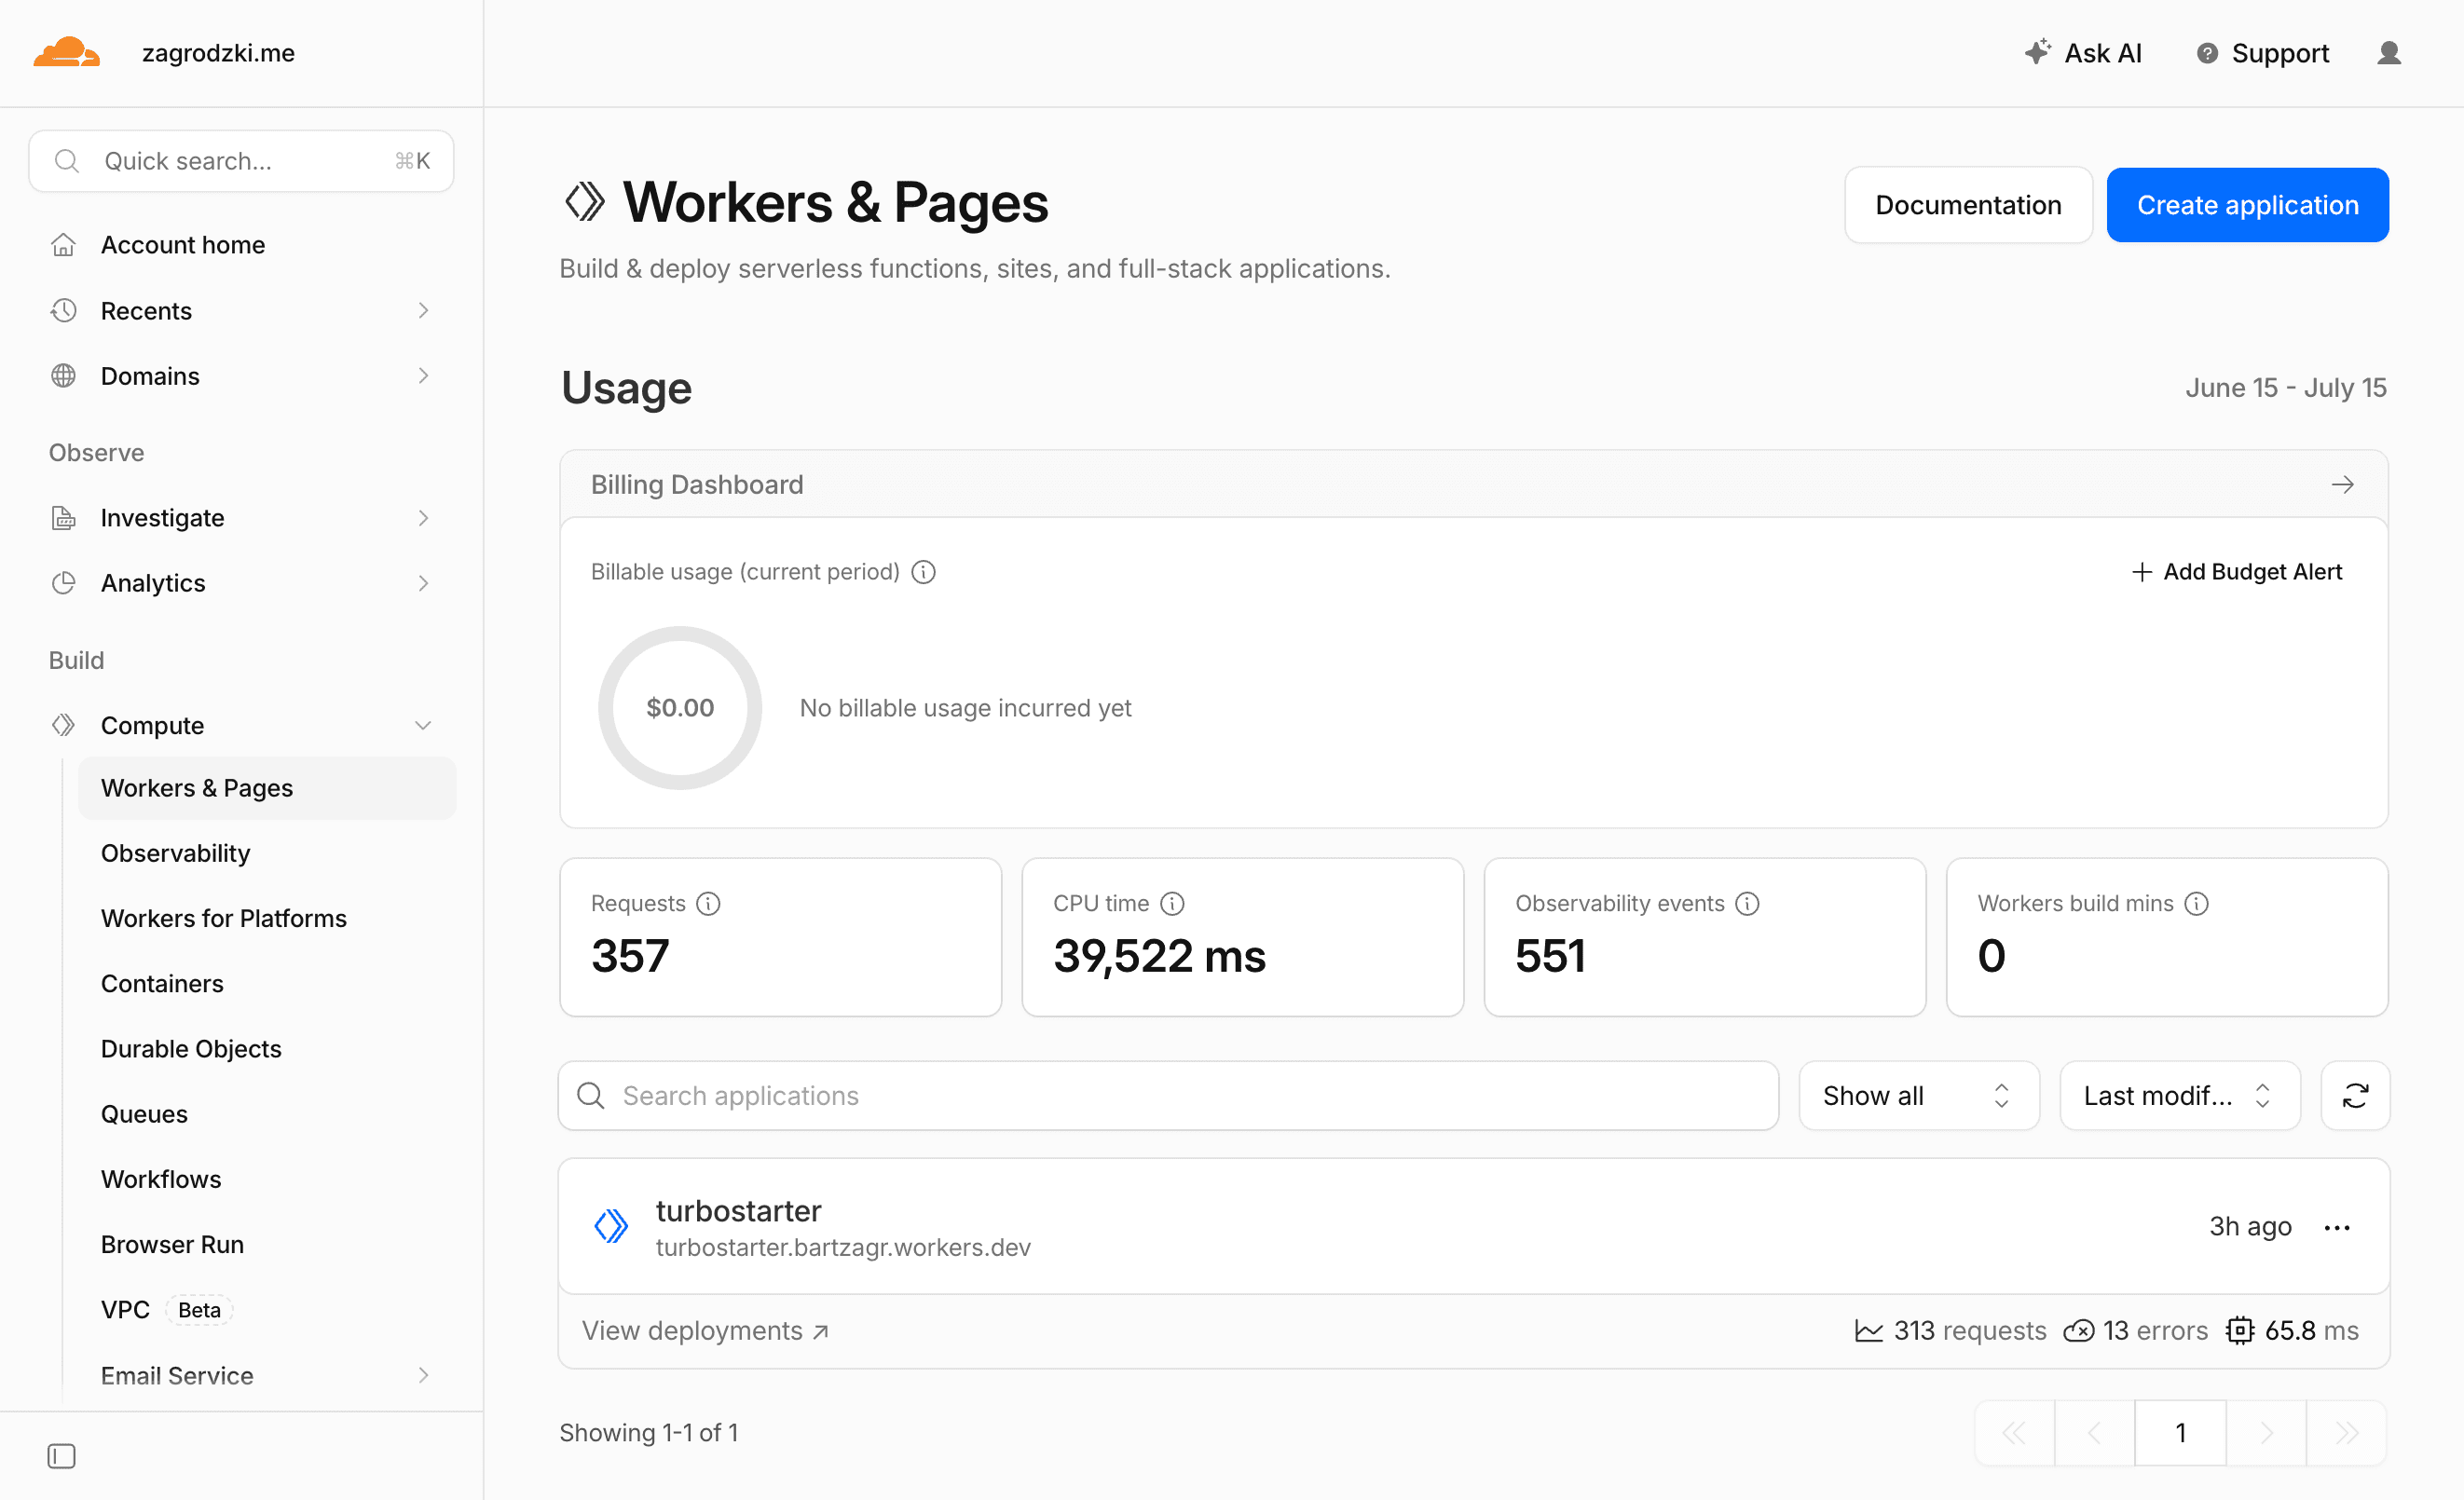
Cloudflare Workers can run your TurboStarter web app close to your users on Cloudflare's global network. TurboStarter uses OpenNext for Cloudflare to build the Next.js app into a Worker, Wrangler to preview and deploy it, Hyperdrive for database connections, and R2 for Next.js incremental cache.
This guide focuses on the most convenient path: generate the Cloudflare files, create the required Cloudflare resources, preview the app locally in the Workers runtime, then deploy.
Prerequisites
Before deploying, make sure you have:
- a Cloudflare account
- a production database with migrations already applied
- your production environment variables ready
- Wrangler authenticated locally with
pnpm --filter web exec wrangler login
Cloudflare Workers have script size limits. Wrangler prints the compressed upload size during deployment, so check that output if the upload is rejected.
Generate the Cloudflare setup
Run the Cloudflare generator from the repository root:
pnpm turbo gen cloudflareThe generator asks for:
- Worker name - the Cloudflare Worker name, usually your product slug
- R2 bucket name - the bucket used by OpenNext for incremental cache
- Hyperdrive config id - paste this after you create Hyperdrive in the next step
- Local database URL - used by Wrangler preview
- App URL - used by local Cloudflare preview
- Wrangler compatibility date - keep the default unless you have a reason to pin it
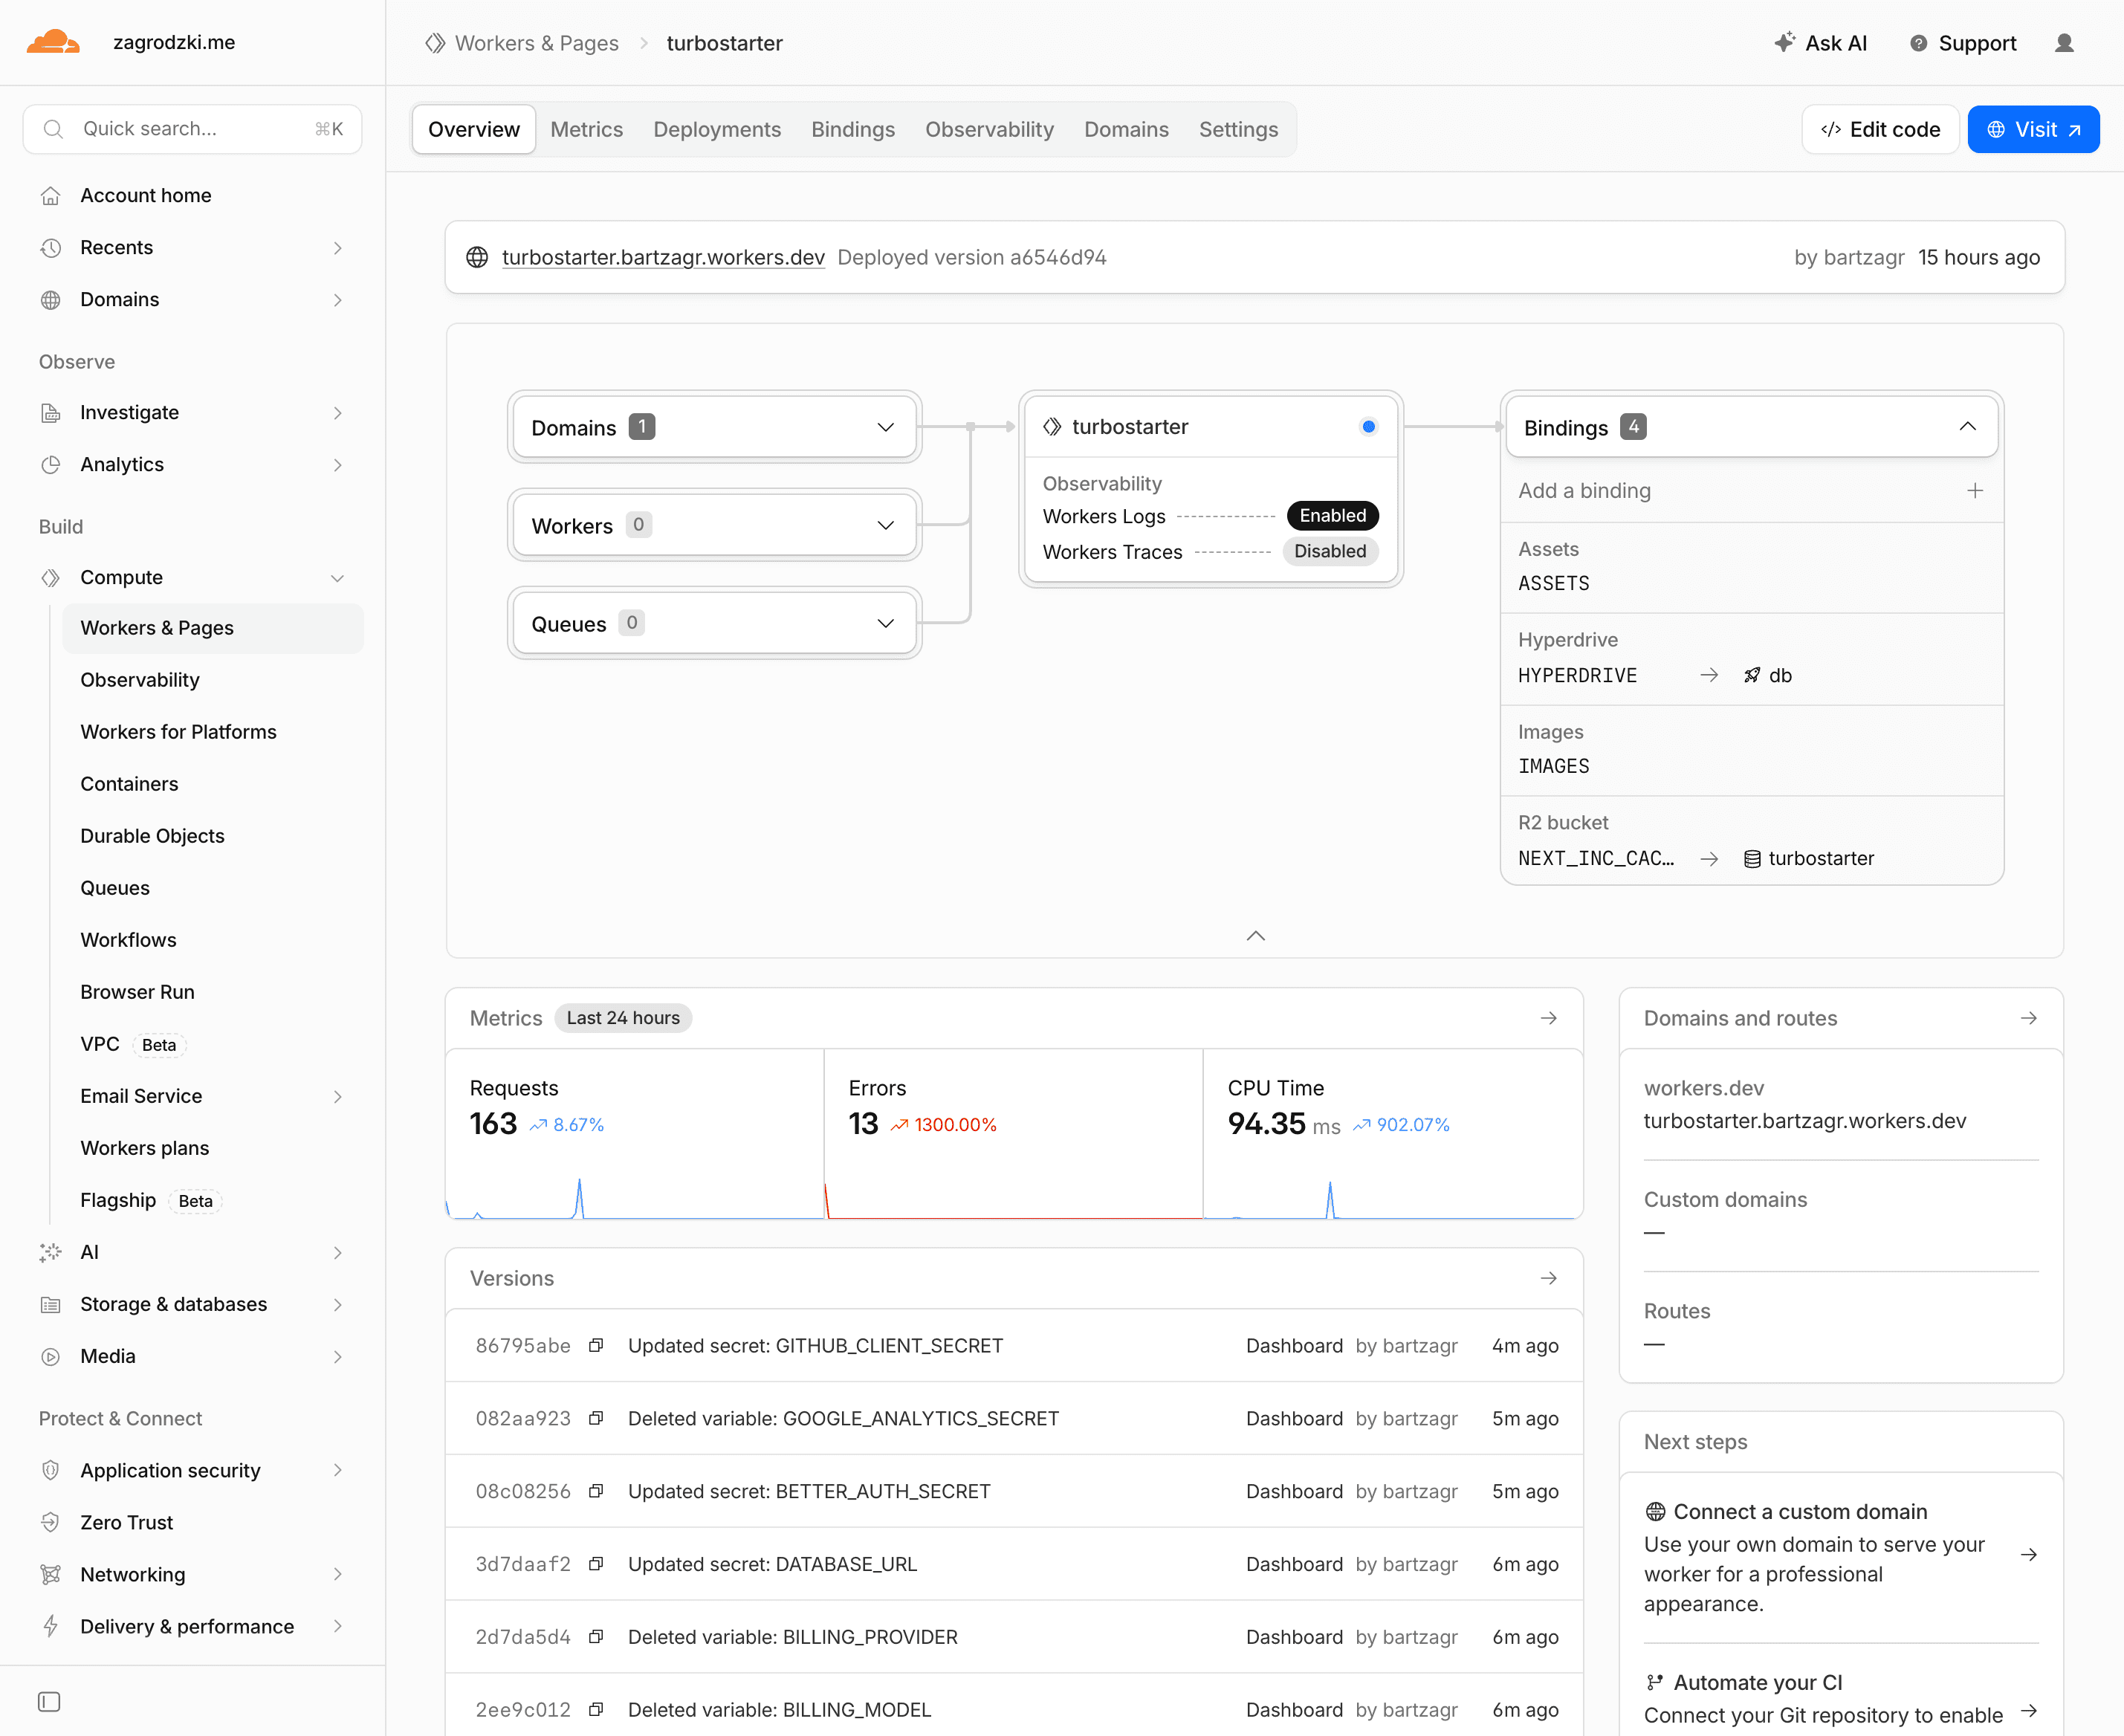
It creates and updates the files needed by the web app:
apps/web/wrangler.jsoncapps/web/open-next.config.tsapps/web/scripts/cf-build.mjsapps/web/.dev.vars.exampleapps/web/next.config.tsapps/web/package.jsonapps/web/middleware.tspackages/db/src/server.tsturbo.json
It also adds scripts like cf:build, cf:preview, cf:deploy, cf:upload, and cf:typegen to the web package.
Prefer doing it manually?
You can add the same files yourself. Use the generated setup as the source of truth: wrangler.jsonc points to .open-next/worker.js, enables nodejs_compat, binds ASSETS, IMAGES, NEXT_INC_CACHE_R2_BUCKET, and HYPERDRIVE, while open-next.config.ts enables the R2 incremental cache override.
Create Hyperdrive
Cloudflare Workers run globally, while most Postgres databases live in one region. Hyperdrive keeps pooled connections inside Cloudflare's network and exposes a Worker binding called HYPERDRIVE.
Create a Hyperdrive configuration with your production database URL:
pnpm --filter web exec wrangler hyperdrive create <name> --connection-string="$DATABASE_URL"Copy the returned id into apps/web/wrangler.jsonc:
{
  "hyperdrive": [
    {
      "binding": "HYPERDRIVE",
      "id": "<your-hyperdrive-id>",
      "localConnectionString": "postgresql://turbostarter:turbostarter@localhost:5432/core"
    }
  ]
}
Keep localConnectionString pointed at your local database. Wrangler uses it when you run cf:preview.

Create the R2 cache bucket
The generated open-next.config.ts configures OpenNext to use R2 for incremental cache. Create the bucket with the same name you entered in the generator:
pnpm --filter web exec wrangler r2 bucket create <bucket-name>Then verify the binding in apps/web/wrangler.jsonc:
{
  "r2_buckets": [
    {
      "binding": "NEXT_INC_CACHE_R2_BUCKET",
      "bucket_name": "<bucket-name>"
    }
  ]
}
If you are not using ISR or cached server data yet, you can still keep this bucket configured. It gives your app the right production shape before you need it.
Using R2 for app uploads
This bucket is for OpenNext's incremental cache. If your app stores user uploads, exports, avatars, or generated files, create a separate Cloudflare R2 bucket and wire it through the storage package. Keeping cache and user files separate makes permissions, lifecycle rules, and cleanup much easier.
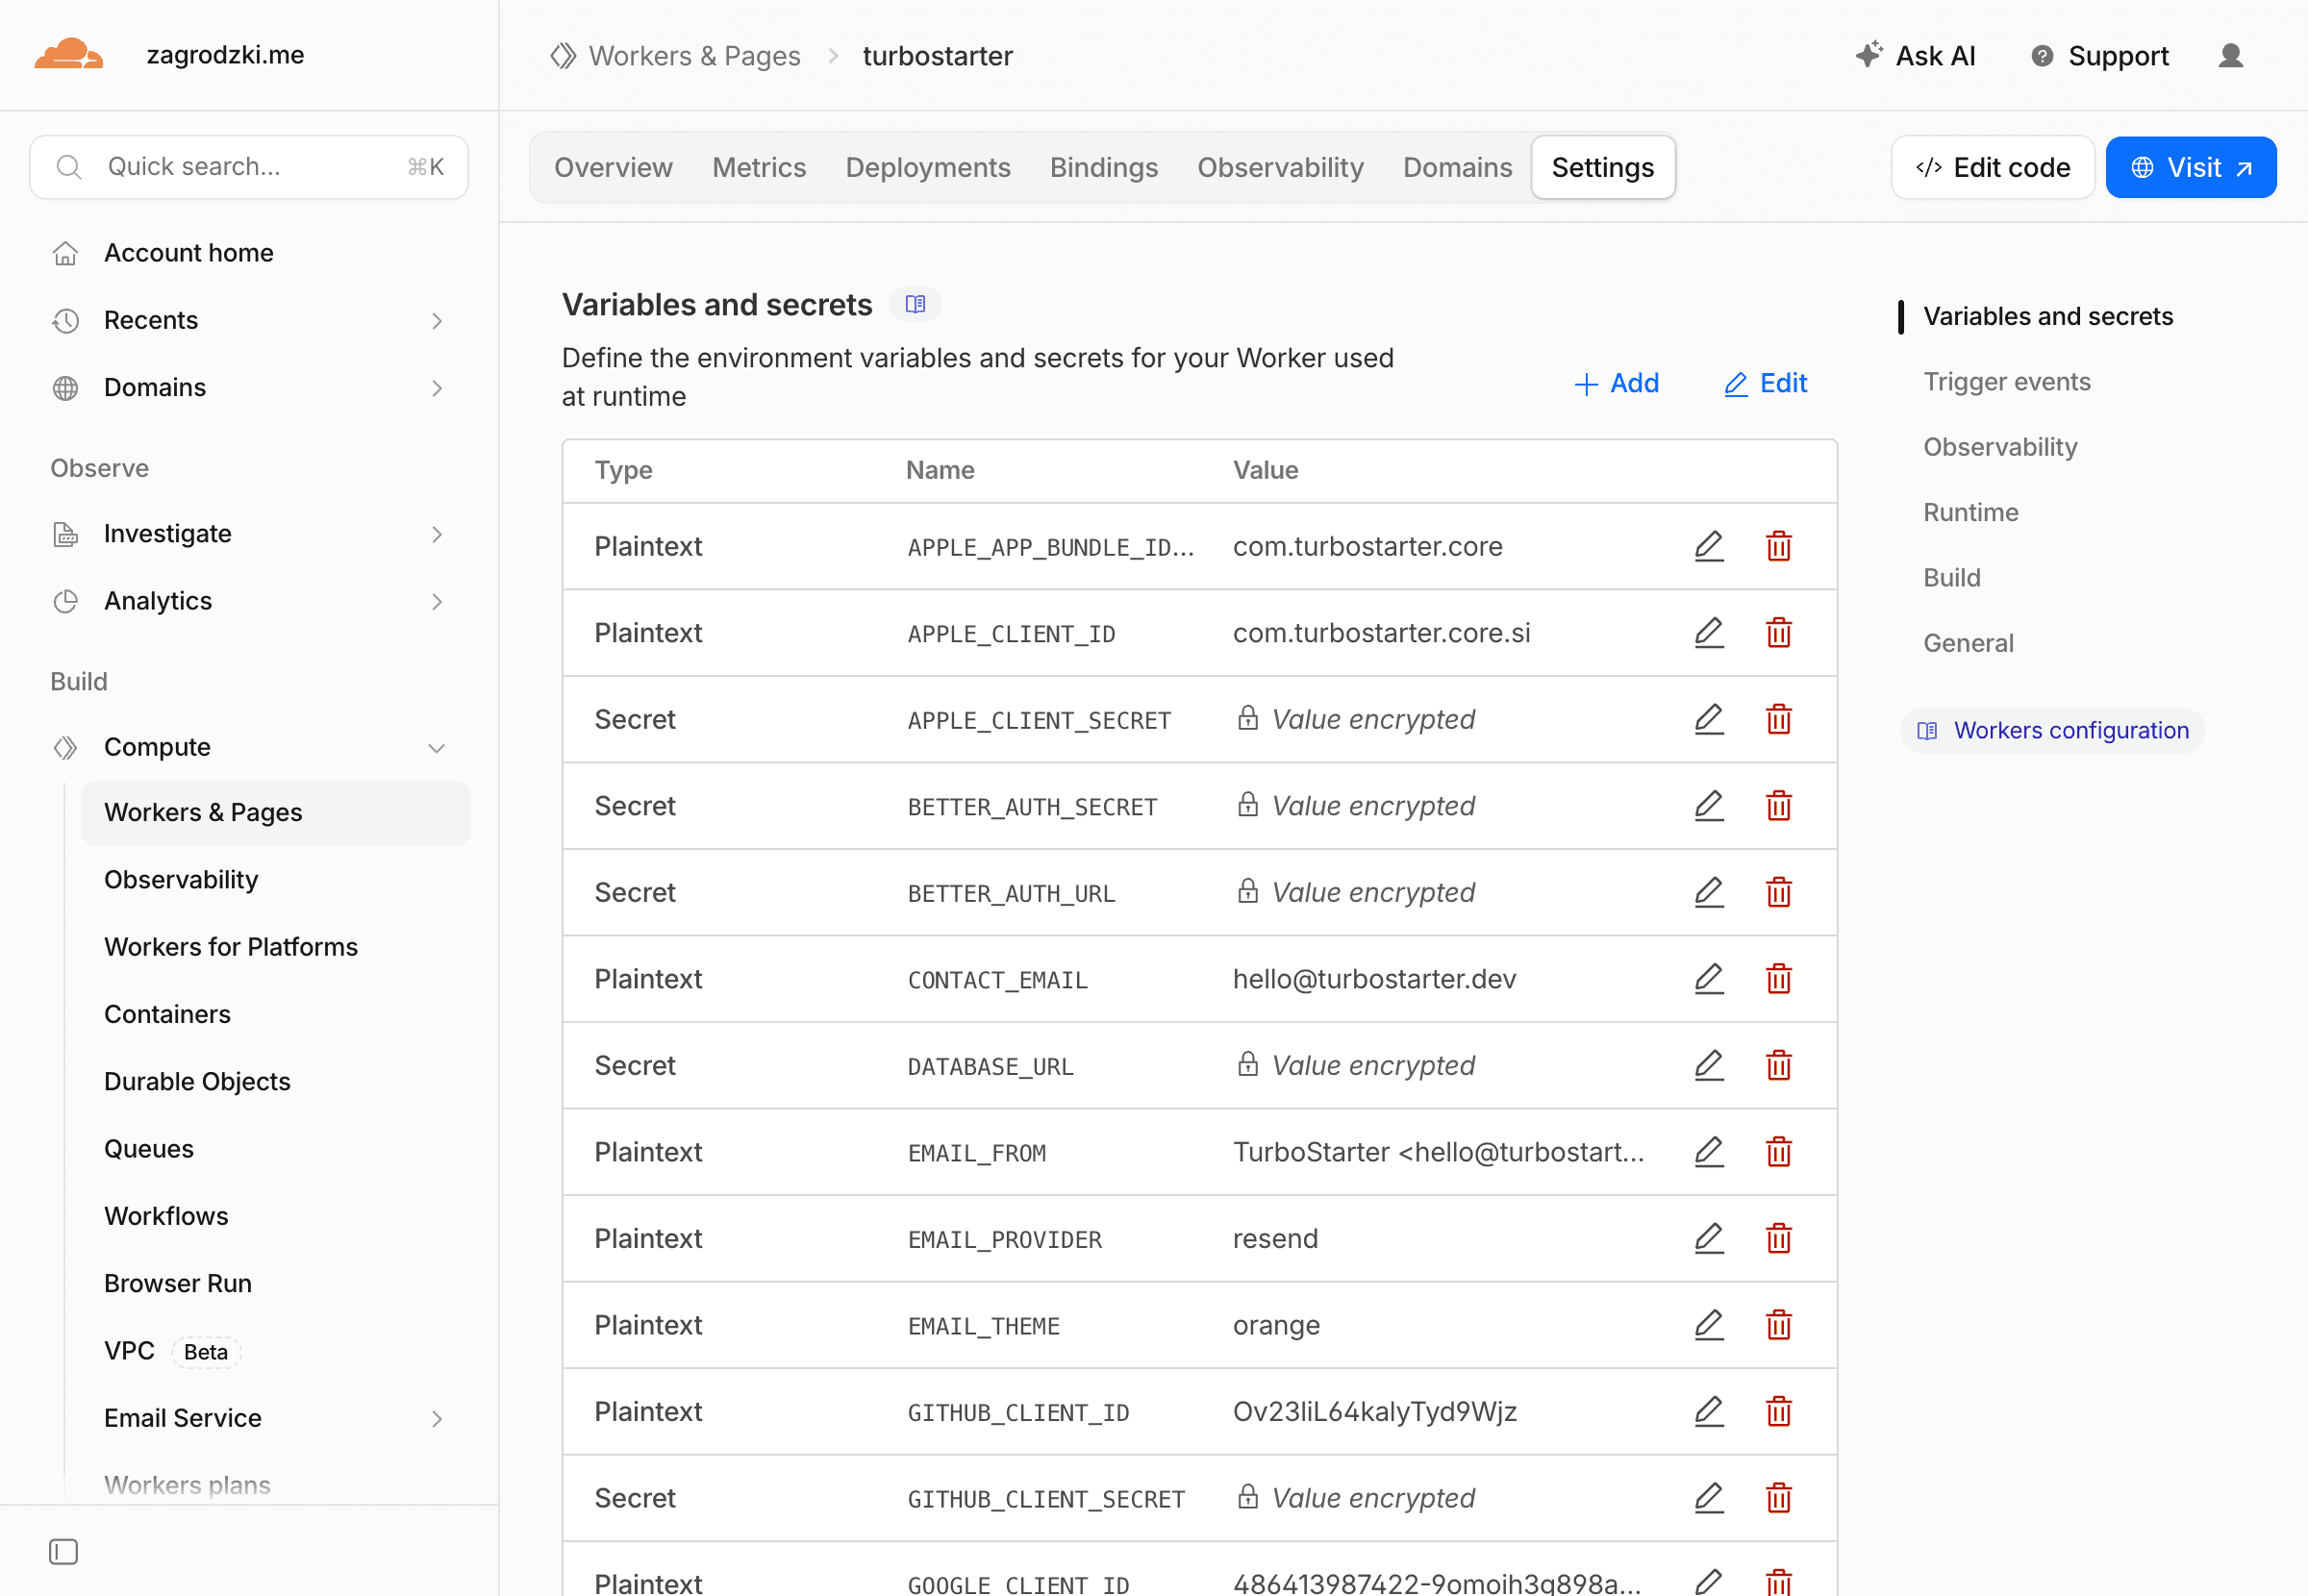
Configure environment variables
Cloudflare needs two kinds of variables:
- Build-time variables - available when
cf:buildruns, especiallyNEXT_PUBLIC_values and anything used by static generation - Runtime variables and secrets - available to the deployed Worker
For local preview, copy the generated example file:
cp apps/web/.dev.vars.example apps/web/.dev.varsKeep your normal local values in .env.local and apps/web/.env.local as described in environment variables. Use .dev.vars only for values Wrangler needs during Worker preview, such as DATABASE_URL and URL.
For production, add the same variables you use for other deployments:
URL="https://example.com"
BETTER_AUTH_URL="https://example.com"
NEXT_PUBLIC_URL="https://example.com"
DATABASE_URL="postgresql://..."
BETTER_AUTH_SECRET="..."
You can set them in the Cloudflare dashboard or with Wrangler:
pnpm --filter web exec wrangler secret put DATABASE_URL
pnpm --filter web exec wrangler secret put BETTER_AUTH_SECRET
The generated wrangler.jsonc includes keep_vars: true, so deployments will not remove variables you manage in the Cloudflare dashboard.
Use separate staging and production values
If you deploy multiple environments, keep the same variable names and change only the values. The multiple environments recipe shows the recommended structure.
Generate Cloudflare types
After wrangler.jsonc has a real Hyperdrive id and R2 bucket name, generate Worker binding types:
pnpm --filter web cf:typegenThis creates apps/web/cloudflare-env.d.ts. The generator also adds that file to the web app's TypeScript config.
Preview locally
Run the app in the same Workers runtime it will use in production:
pnpm --filter web cf:previewTest the paths that depend on external services:
- sign in and sign out
- organization creation
- database reads and writes
- billing checkout and webhooks
- email sending
- file uploads, if your app uses storage
Preview before every first deploy
pnpm dev is still the fastest daily development command. cf:preview is the production-shape check that catches Worker, Hyperdrive, and environment issues before your users do.
Deploy
Deploy the Worker from your local machine:
pnpm --filter web cf:deployThis runs the custom Cloudflare build script, transforms the Next.js output with OpenNext, uploads the Worker, and deploys it to Cloudflare.
If you want to upload a version without immediately routing traffic to it, use:
pnpm --filter web cf:uploadAfter deployment, open the Worker URL and update your production URL, NEXT_PUBLIC_URL, BETTER_AUTH_URL, OAuth callbacks, and billing webhooks to use the final domain.
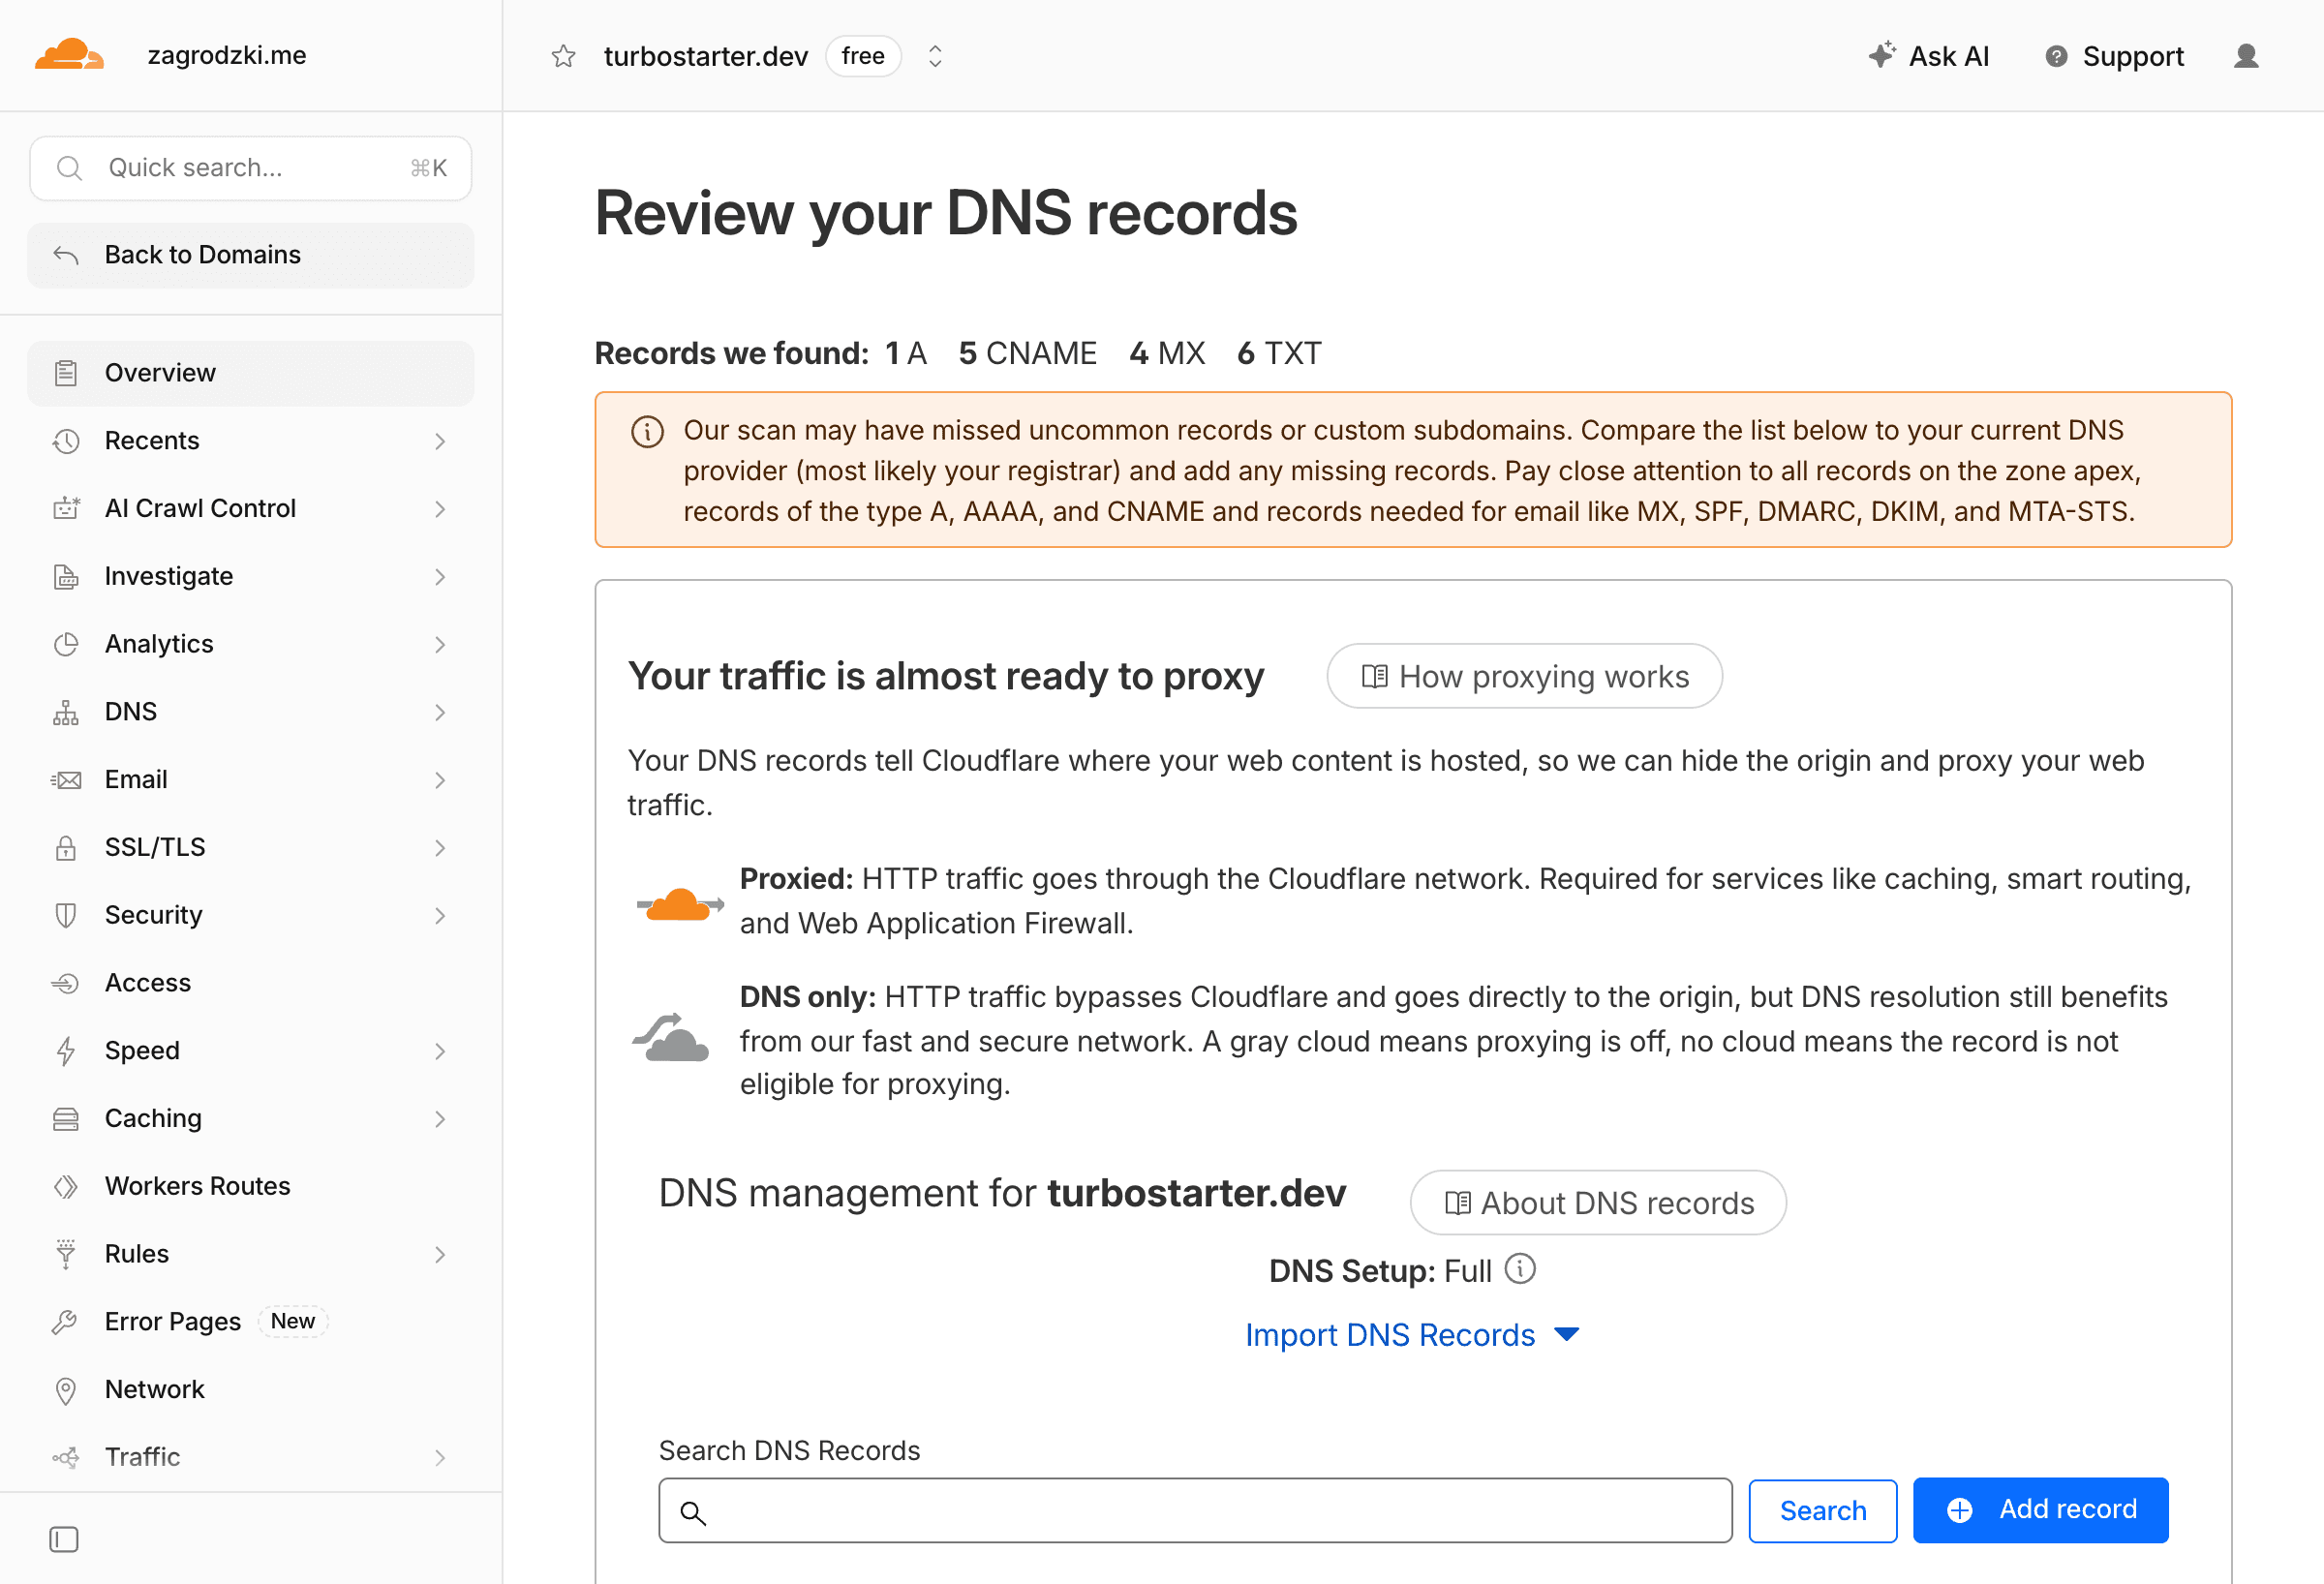
Add a custom domain
In the Cloudflare dashboard, open your Worker and add a custom domain or route for your production host.
After the domain is active:
- update
URL,NEXT_PUBLIC_URL, andBETTER_AUTH_URL - update OAuth redirect URLs in each provider
- update billing webhook URLs to
/api/billing/webhook - redeploy with
pnpm --filter web cf:deploy
Optional Cloudflare services
You do not need these services for the first deployment, but they are useful once your app grows beyond the default Worker, Hyperdrive, and R2 cache setup.
R2
Store user uploads, exports, generated files, and private assets without S3 egress fees.
Images
Optimize, resize, and serve images from Cloudflare's edge.
Workers KV
Store global read-heavy data such as feature flags, public config, or cached lookup tables.
Queues
Run async work such as email fan-out, imports, webhooks, and retryable background jobs.
Durable Objects
Coordinate stateful features like live collaboration, presence, chat, or rate limits.
D1
Use Cloudflare's serverless SQLite database for small edge-native features or per-tenant data.
Turnstile
Protect sign-up, contact, invite, and waitlist forms with Cloudflare's CAPTCHA alternative.
Zaraz
Load analytics, pixels, and marketing tools through Cloudflare instead of adding more client scripts.
Start small
Keep Postgres as the main TurboStarter database unless you intentionally redesign that layer. Services like KV, D1, Durable Objects, and Queues are best added for specific workloads, not as replacements for the default app database on day one.
Useful commands
# Build the OpenNext Worker output
pnpm --filter web cf:build

# Preview locally in the Workers runtime
pnpm --filter web cf:preview

# Deploy to Cloudflare
pnpm --filter web cf:deploy

# Upload a new Worker version without deploying traffic immediately
pnpm --filter web cf:upload

# Regenerate Cloudflare binding types
pnpm --filter web cf:typegen
Troubleshooting
Build fails because an environment variable is missing
TurboStarter validates environment variables during build. Make sure build-time values exist locally before cf:build, and runtime values exist in Cloudflare before the deployed Worker starts.
For NEXT_PUBLIC_ values, remember that Next.js inlines them during the build.
Hyperdrive binding is missing
Check that apps/web/wrangler.jsonc includes a hyperdrive entry with binding: "HYPERDRIVE" and a real id. Then rerun:
pnpm --filter web cf:typegen
pnpm --filter web cf:preview
Upload fails because the Worker is too large
Wrangler prints the compressed Worker size during upload. If it exceeds your Cloudflare plan limit, remove unused server dependencies, avoid importing large packages into server routes, or upgrade the Workers plan.
A package expects unsupported Node.js behavior
The generated wrangler.jsonc enables nodejs_compat, which is required for many Next.js and database use cases on Workers. Some Node.js APIs are still only partially supported, so replace Node-only libraries with HTTP/fetch-based providers when needed.
A route uses the Edge runtime
OpenNext for Cloudflare is designed around the Next.js Node.js runtime on Workers. If you added export const runtime = "edge" to a route, remove it and preview again.
Next steps
Production checklist
Review the full launch checklist before going live.
Environment variables
Set the required root and web app variables.
Multiple environments
Keep staging and production values cleanly separated.
Docker
Use containers instead when you need full Node.js runtime control.
Official references
OpenNext for Cloudflare
Learn how the Next.js app is converted into a Cloudflare Worker.
Cloudflare Next.js guide
Review Cloudflare's framework guide for Next.js apps.
Hyperdrive
Set up pooled database connections for Workers.
Wrangler
Use Cloudflare's CLI to preview, configure, and deploy Workers.
Cloudflare bindings
Bind services like R2, KV, D1, Queues, and Durable Objects to your Worker.
How is this guide?
Last updated on