For the complete documentation index, see llms.txt. Prefer markdown by appending.mdto documentation URLs or sendingAccept: text/markdown.
RevenueCat
Step-by-step RevenueCat setup for TurboStarter: connect App Store and Play Store, create entitlements, build paywalls, and register webhooks.
RevenueCat is a popular platform for managing in-app purchases and subscriptions. It's a great choice for mobile billing because it's fully compliant with App Store and Google Play guidelines.
It's the default billing provider for mobile apps in TurboStarter. This guide walks you through configuring RevenueCat and wiring it up to your app.
Prerequisite: Store configuration
First complete the store configuration and create your products in the native stores before configuring RevenueCat.
Configure a new project
RevenueCat projects are top-level containers for your apps, products, entitlements, paywalls, and more. If you don't already have a project for your app, create one in the dashboard.
To create a project, click the + Create new project button in the Projects dropdown at the top of the RevenueCat dashboard.
You can also set a name and configure global restore behavior.
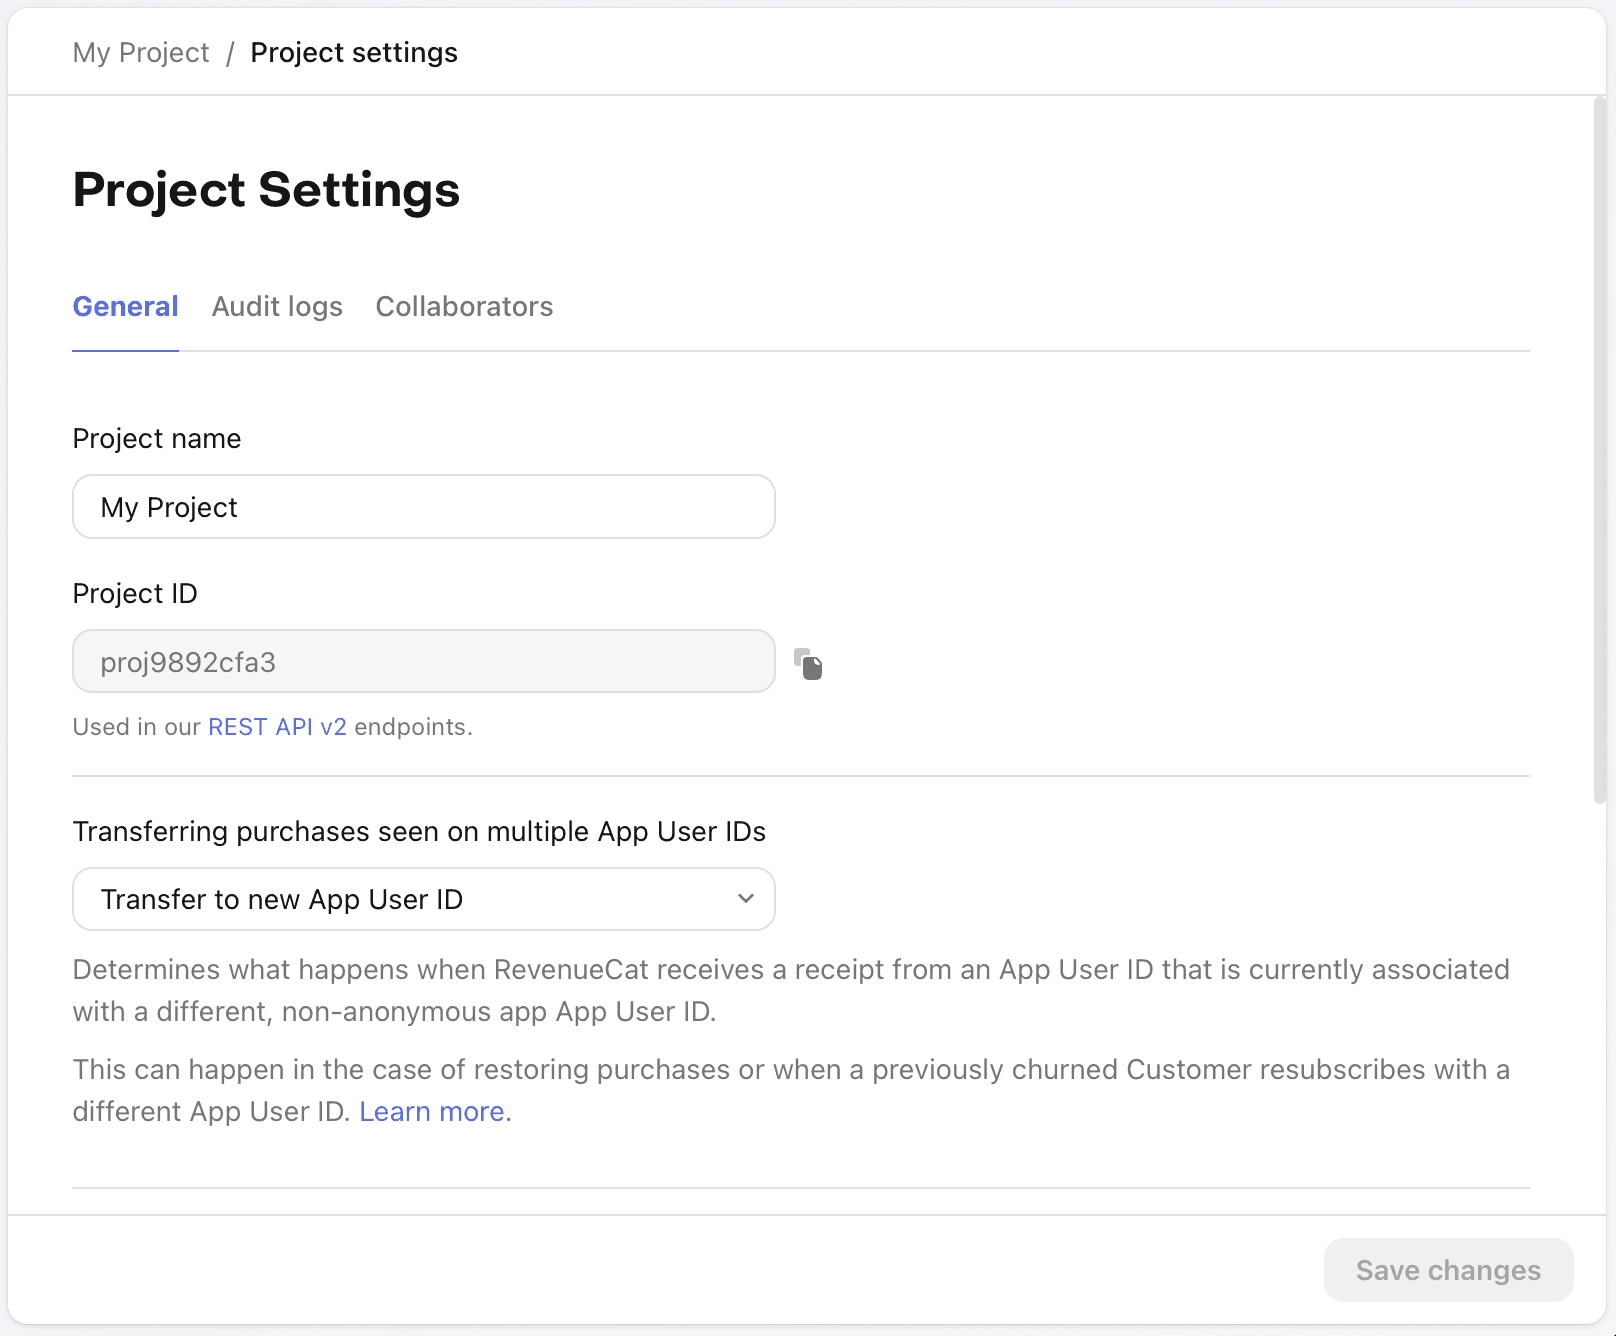
RevenueCat Projects
revenuecat.com
Connect to a store
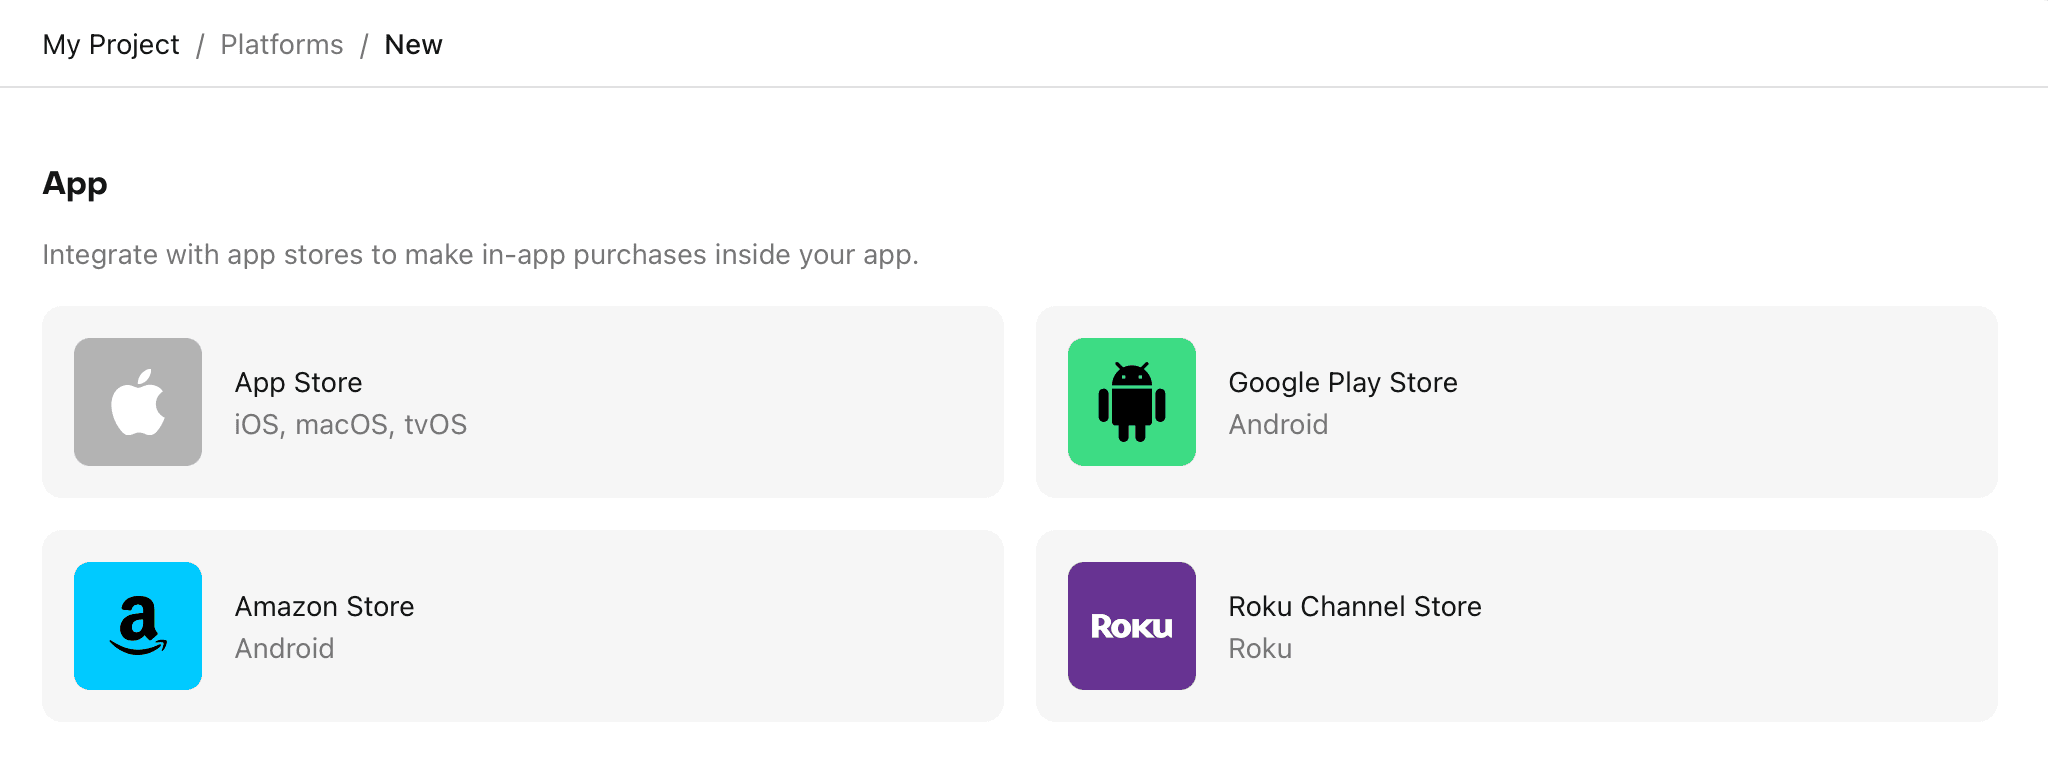
Depending on which platform you're building for, you'll need to connect your RevenueCat project to one or more stores.
Each project comes with a Test Store where you can create products, configure offerings, and test the complete purchase flow—without connecting to any app store or payment provider.
When you're ready to submit your app for review, connect it to the real stores and payment providers you want to support and set up Server Notifications. After you've connected your app, you can import your products and start configuring offerings.
Add an app configuration in the Apps & providers section of your app settings.
To learn more about how to obtain all the required API keys and secrets, refer to the official documentation.
Switching from Test Store to Production
If you've been using the Test Store during development, switch from your Test Store API key to your platform-specific API key before submitting for app review.
Get API keys
After you've connected to a store, you'll need the API keys and secrets for the SDK. You can find them under API Keys in the dashboard.
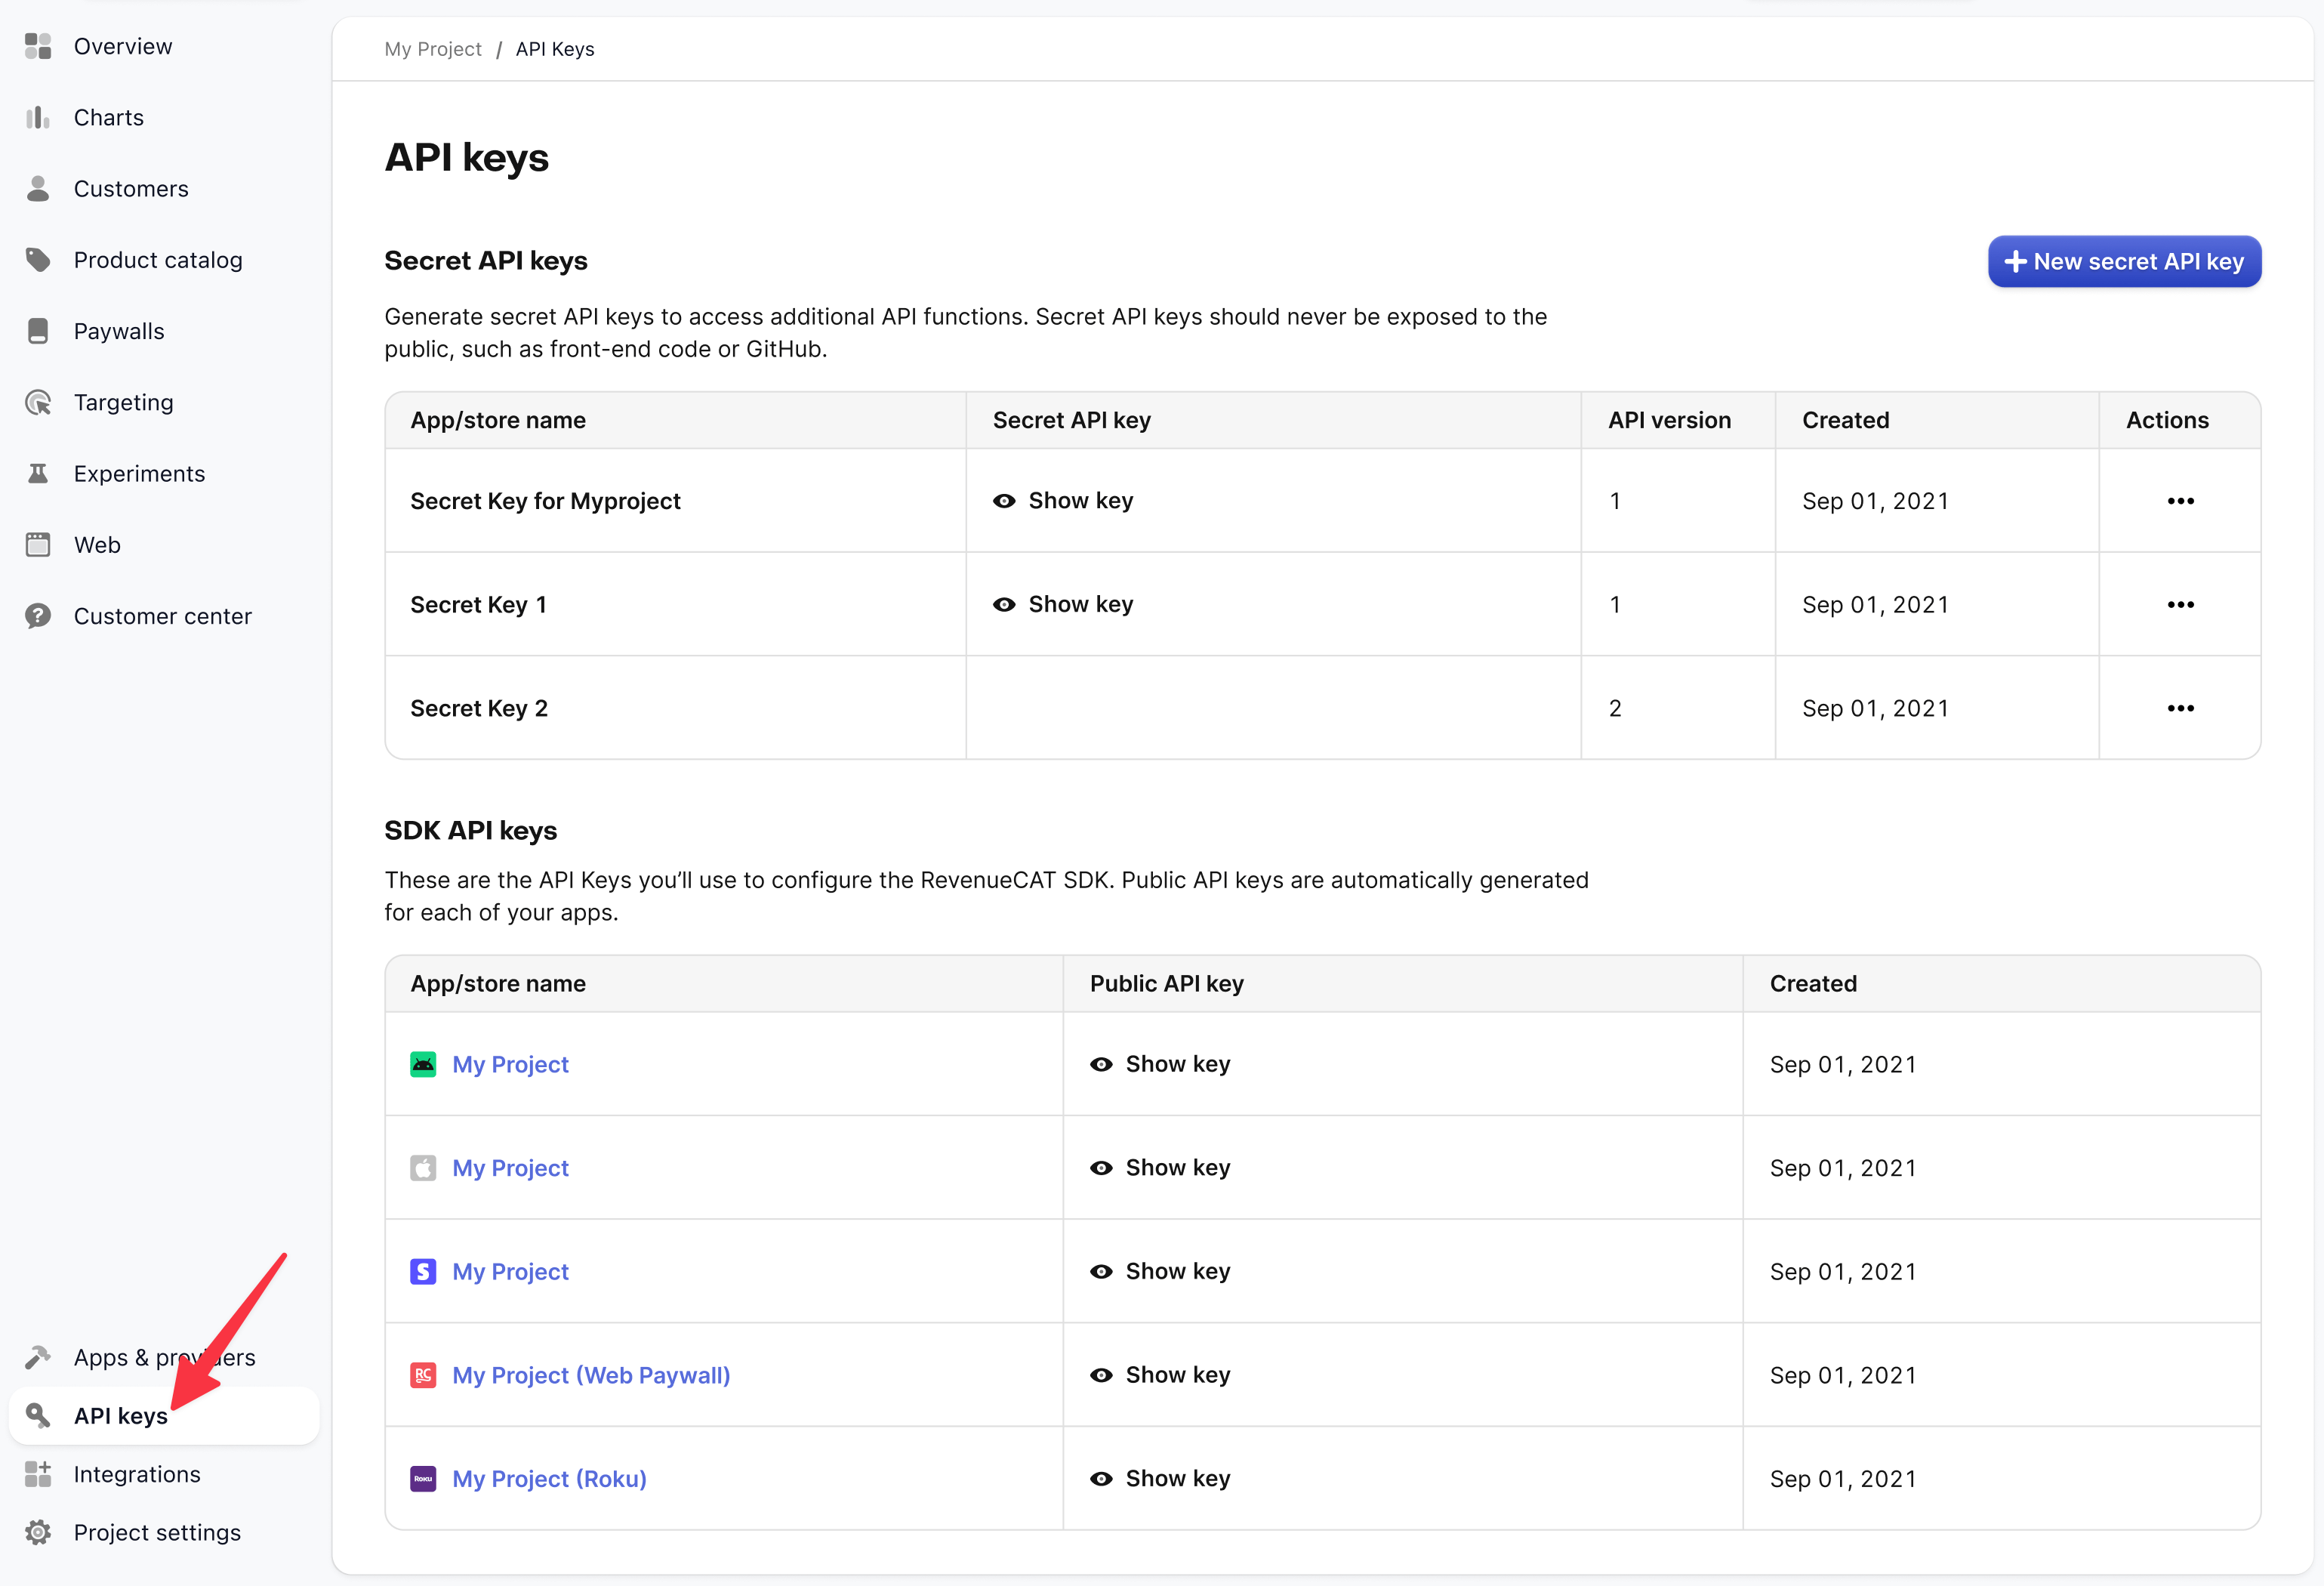
To make server-side API requests work, create a Secret API key for your project. Pick v1 as the API version so the server can fetch customer billing data on webhook requests.
For local development, you can use the Test Store API key (sandbox).
API Keys & Authentication
revenuecat.com
Set environment variables
You need to set the following environment variables:
EXPO_PUBLIC_REVENUECAT_APPLE_API_KEY="" # Your RevenueCat Apple API key
EXPO_PUBLIC_REVENUECAT_GOOGLE_API_KEY="" # Your RevenueCat Google API key
Additionally, set the secret API key as an environment variable for your web app:
REVENUECAT_API_KEY="" # Your RevenueCat secret API keyThis is required to fetch customer billing data on webhook requests, and it should only be available on the server.
Don't commit secret keys. During development, put them in .env.local (it's not committed). In production, set them as environment variables in your hosting provider.
Create products
For each store you're supporting, you'll need to add the products you plan on offering to your customers.
To streamline setup, RevenueCat can import products you've already created in the app stores. This keeps your catalog consistent and saves manual work.
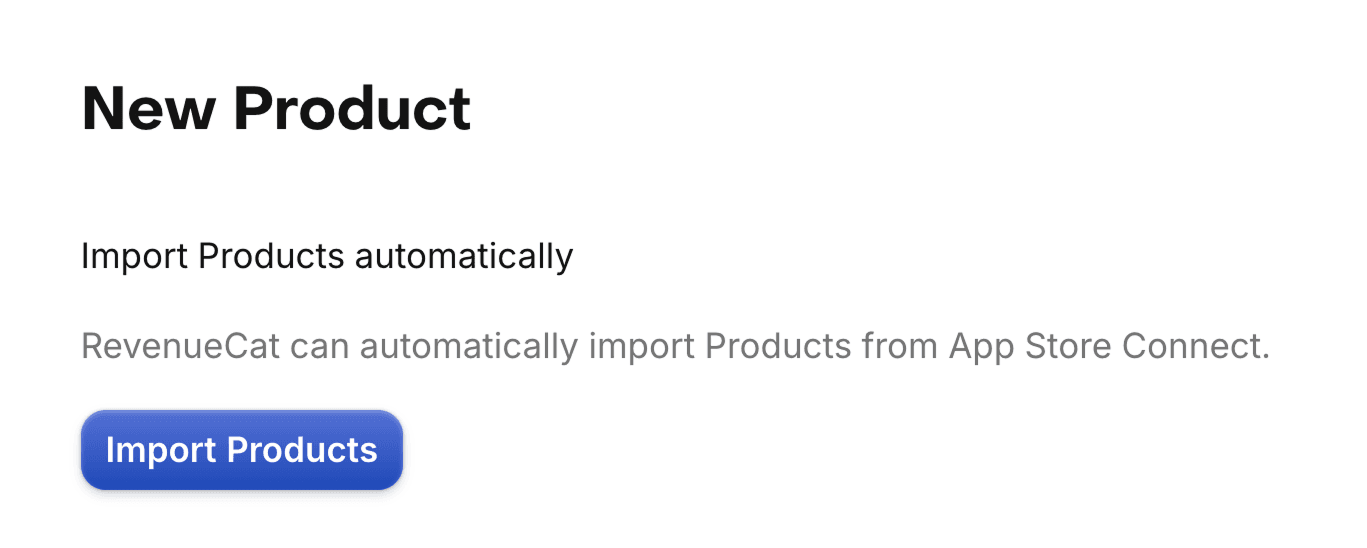
You can also create products manually in the dashboard, although it's not recommended—those products still need to exist in the app stores.
Read more about product setup in the official documentation.
Create an entitlement
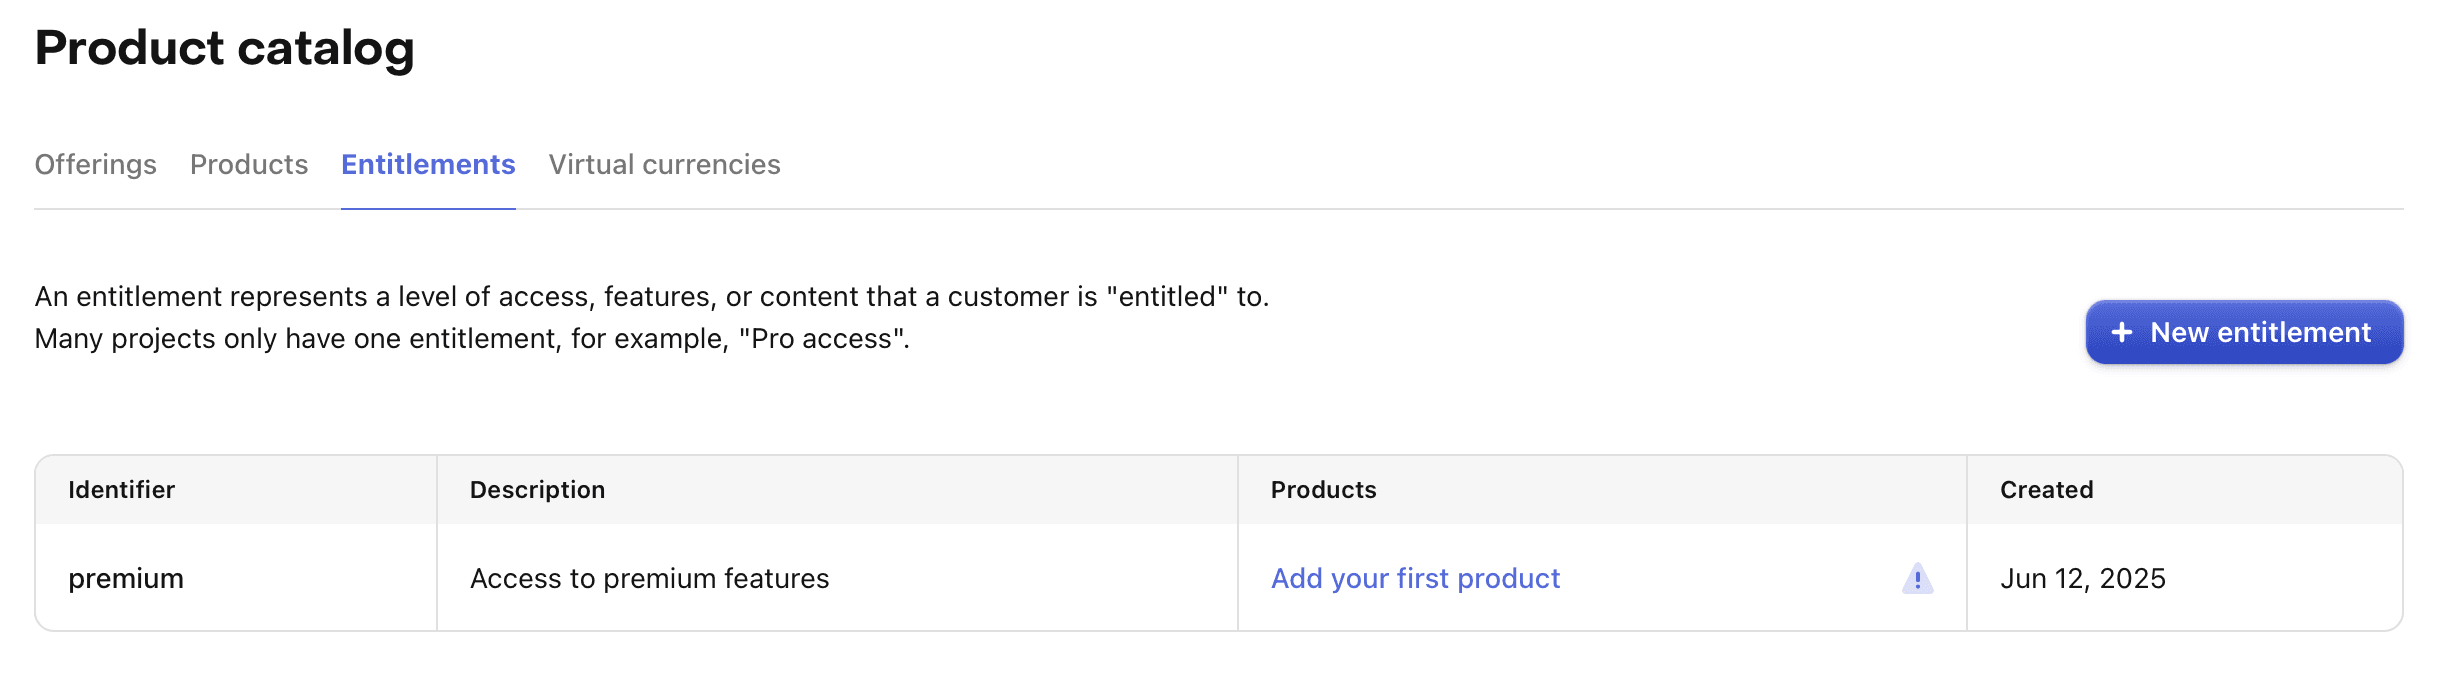
RevenueCat entitlements represent a level of access, features, or content that a user is "entitled" to. Entitlements are scoped to a project and are typically unlocked after a user purchases a product.
To create a new entitlement, click Product catalog in the left menu, open the Entitlements tab, and click + New entitlement. Enter a unique identifier you'll reference in your app, like pro.
Most apps only need one entitlement, but create as many as your product requires. For example, a navigation app might have a subscription for pro access and one-time purchases to unlock specific map regions - one pro entitlement plus additional entitlements for each region.
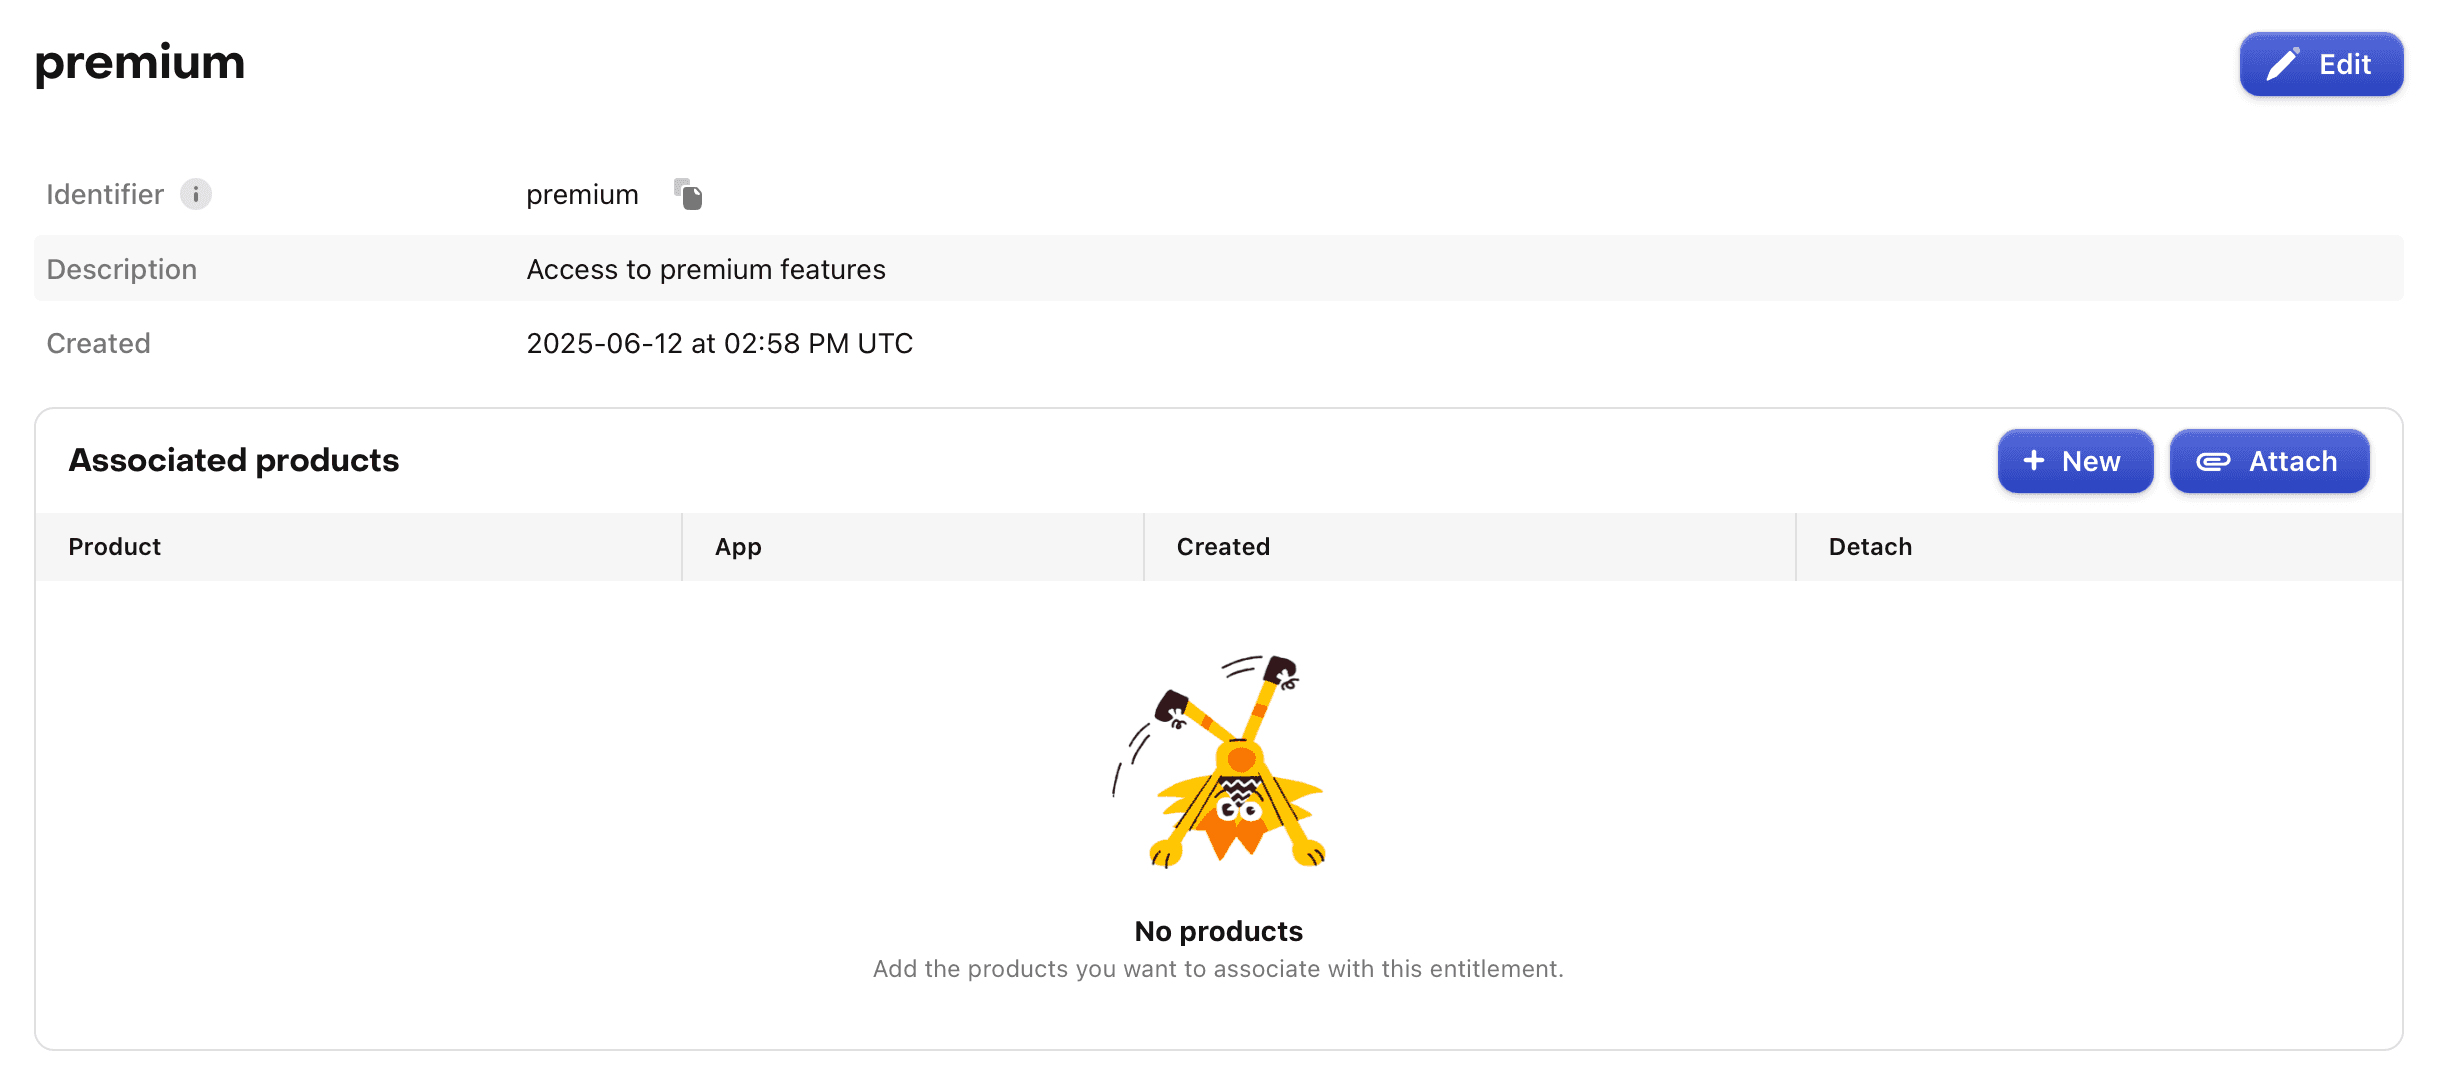
Attach products to an entitlement
After you create entitlements, attach products to them. This tells RevenueCat which entitlement(s) to unlock after a customer purchases a product.
When viewing an entitlement, click Attach to attach a product. If you've already added your products, you'll be able to select one from the list.
When a customer buys a product attached to an entitlement, that entitlement becomes active for the duration of the product. Subscription products unlock entitlements for the subscription period. Non-consumable purchases can unlock content permanently.
If you have non-subscription products, whether you attach them to entitlements depends on your use case. If a product is non-consumable (e.g. lifetime access to pro), you usually want an entitlement. If it's consumable (e.g. buying more lives), you usually don't.
Attaching an entitlement to a product will grant that entitlement to any customers that have previously purchased that product. Likewise, detaching an entitlement from a product will remove it for any customers that have previously purchased that product.
When designing your Entitlement structure, keep in mind that a single product can unlock multiple entitlements, and multiple products may unlock the same entitlement.
RevenueCat Entitlements
revenuecat.com
Create an offering
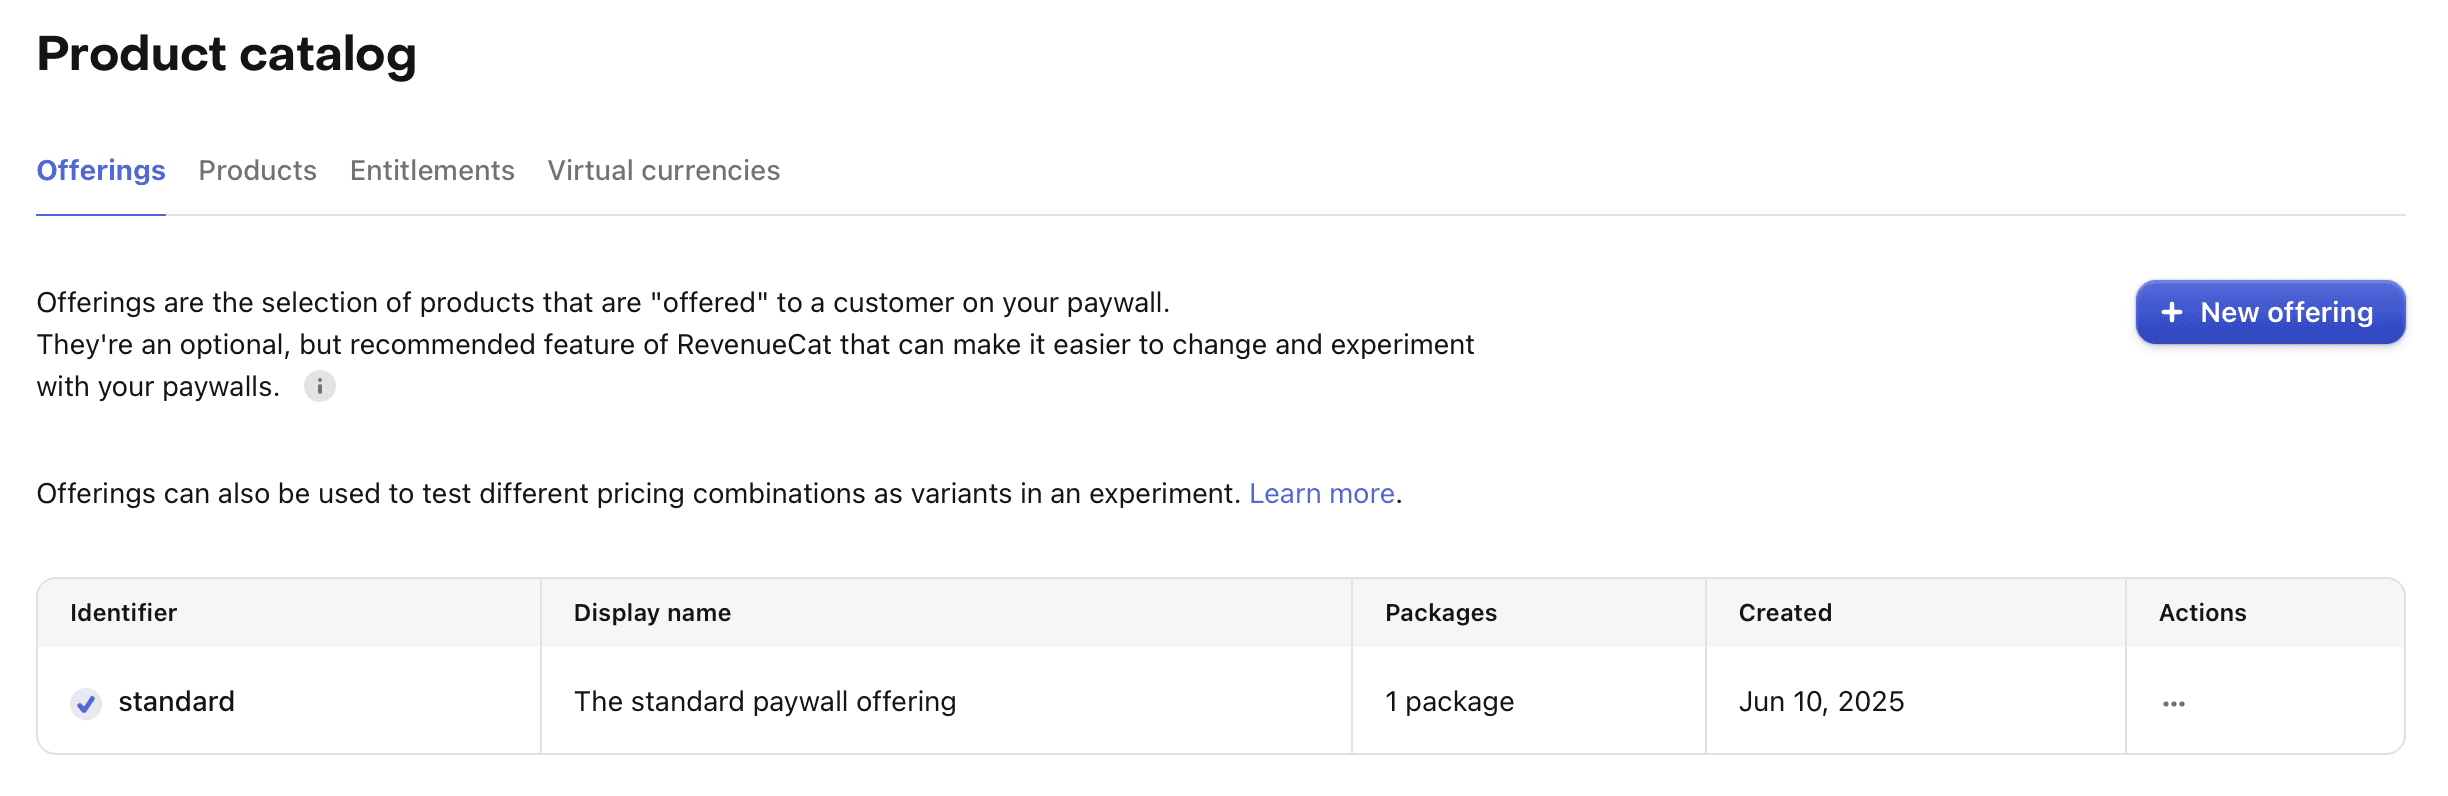
Offerings are the selection of products that are "offered" to a user on your paywall. Think of an offering as the product group your paywall will display.
Offerings are created and configured in the RevenueCat dashboard. When using RevenueCat Paywalls, you'll configure a single paywall that is paired to a single Offering.
To create an offering, go to the Offerings tab in your project settings and click + New.
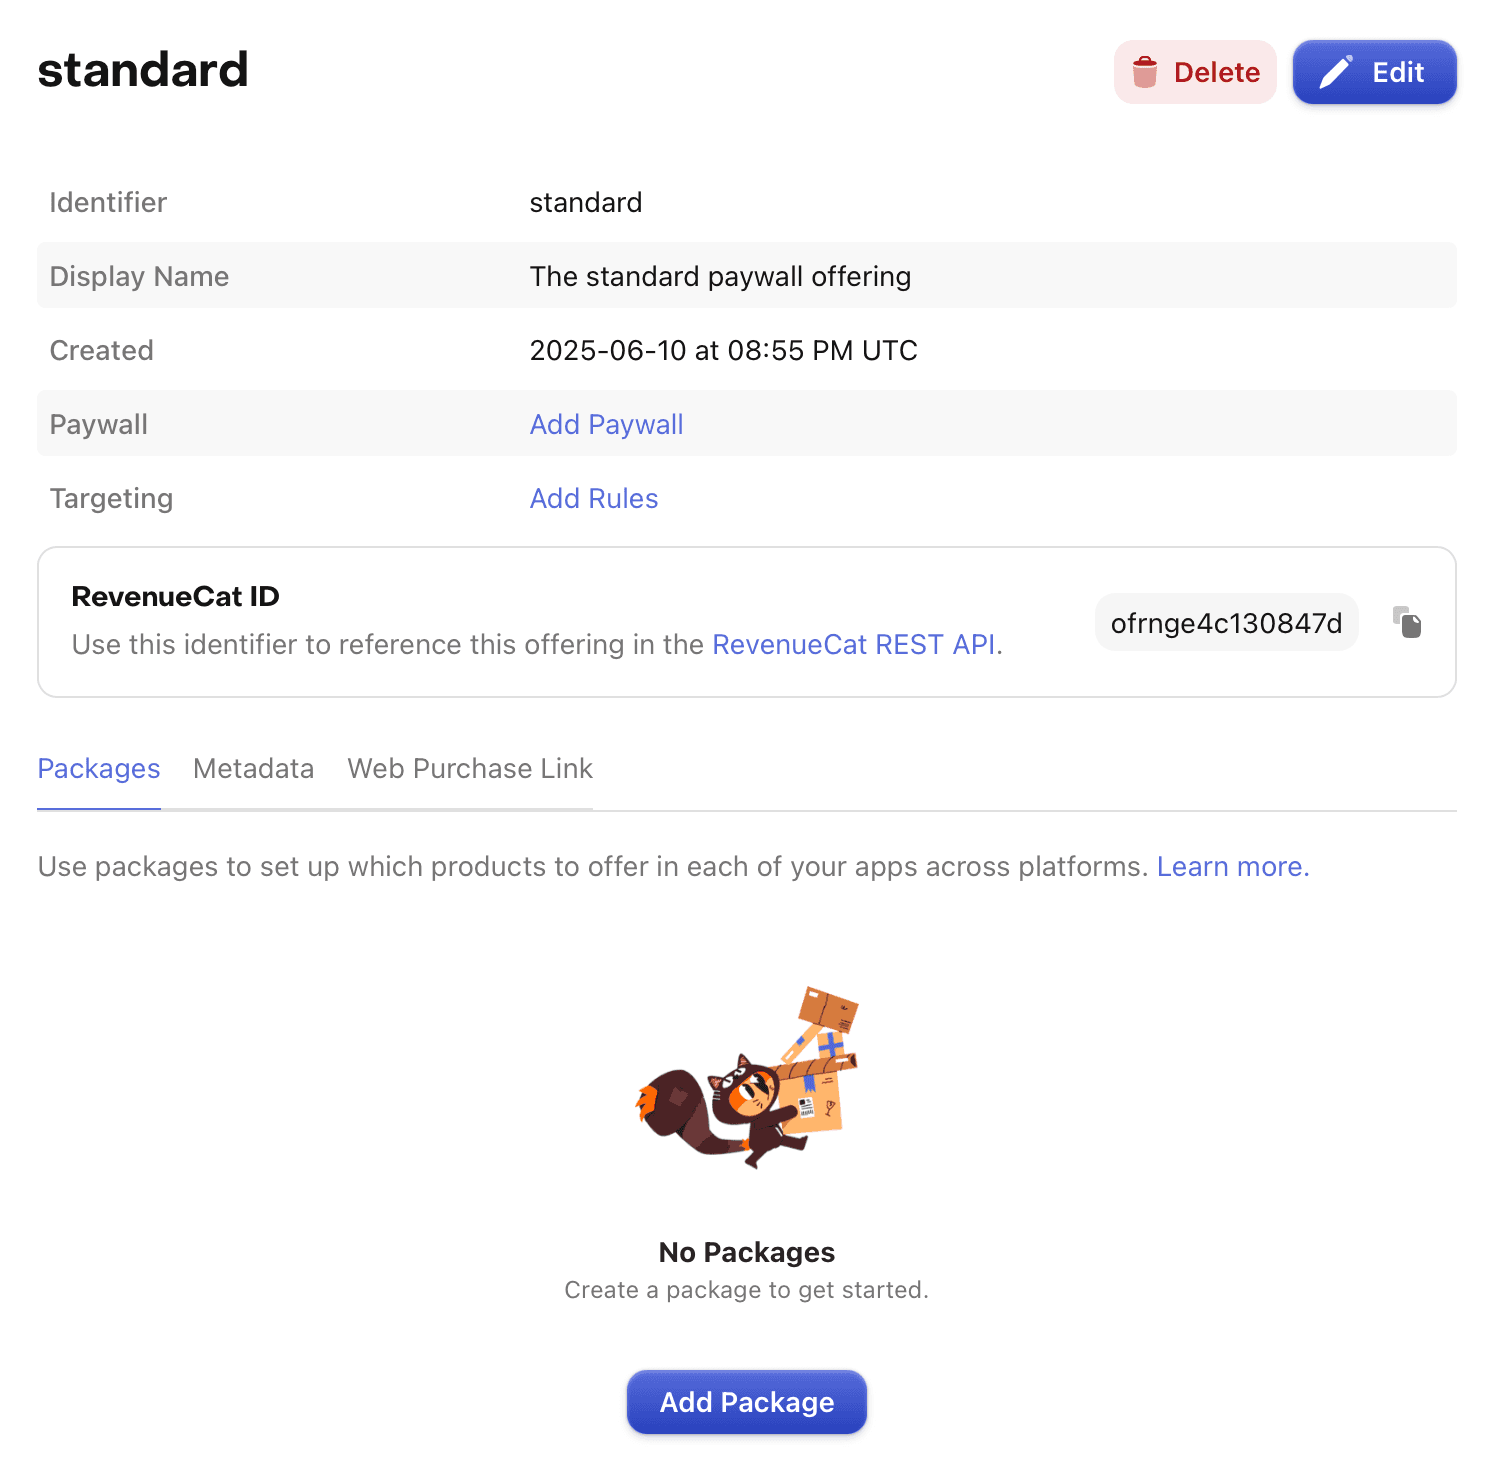
You'll be prompted to enter an Identifier and Description for your offering. Note that the offering identifier cannot be changed later. Once you've entered this information, click Save.
Each Offering you create should contain at least one Package that holds cross-platform products.
To create a package, open your new offering and click + Add package in the Packages section. Choose an identifier that matches the package duration. If a duration isn't suitable (e.g. consumables), choose a custom identifier. Add a description.
Attach the relevant products (i.e., the products with the same duration you chose) for this Offering, then click Save.
Any product can be added to an Offering, even if it's not part of any Entitlement. This can come in handy if your app's paywall contains a combination of subscription products that unlock Entitlements, and consumable products that do not.
RevenueCat Offerings
revenuecat.com
Configure a paywall
RevenueCat Paywalls let you configure your paywall UI remotely - without code changes or app updates. They're great for iterating on designs and running experiments.
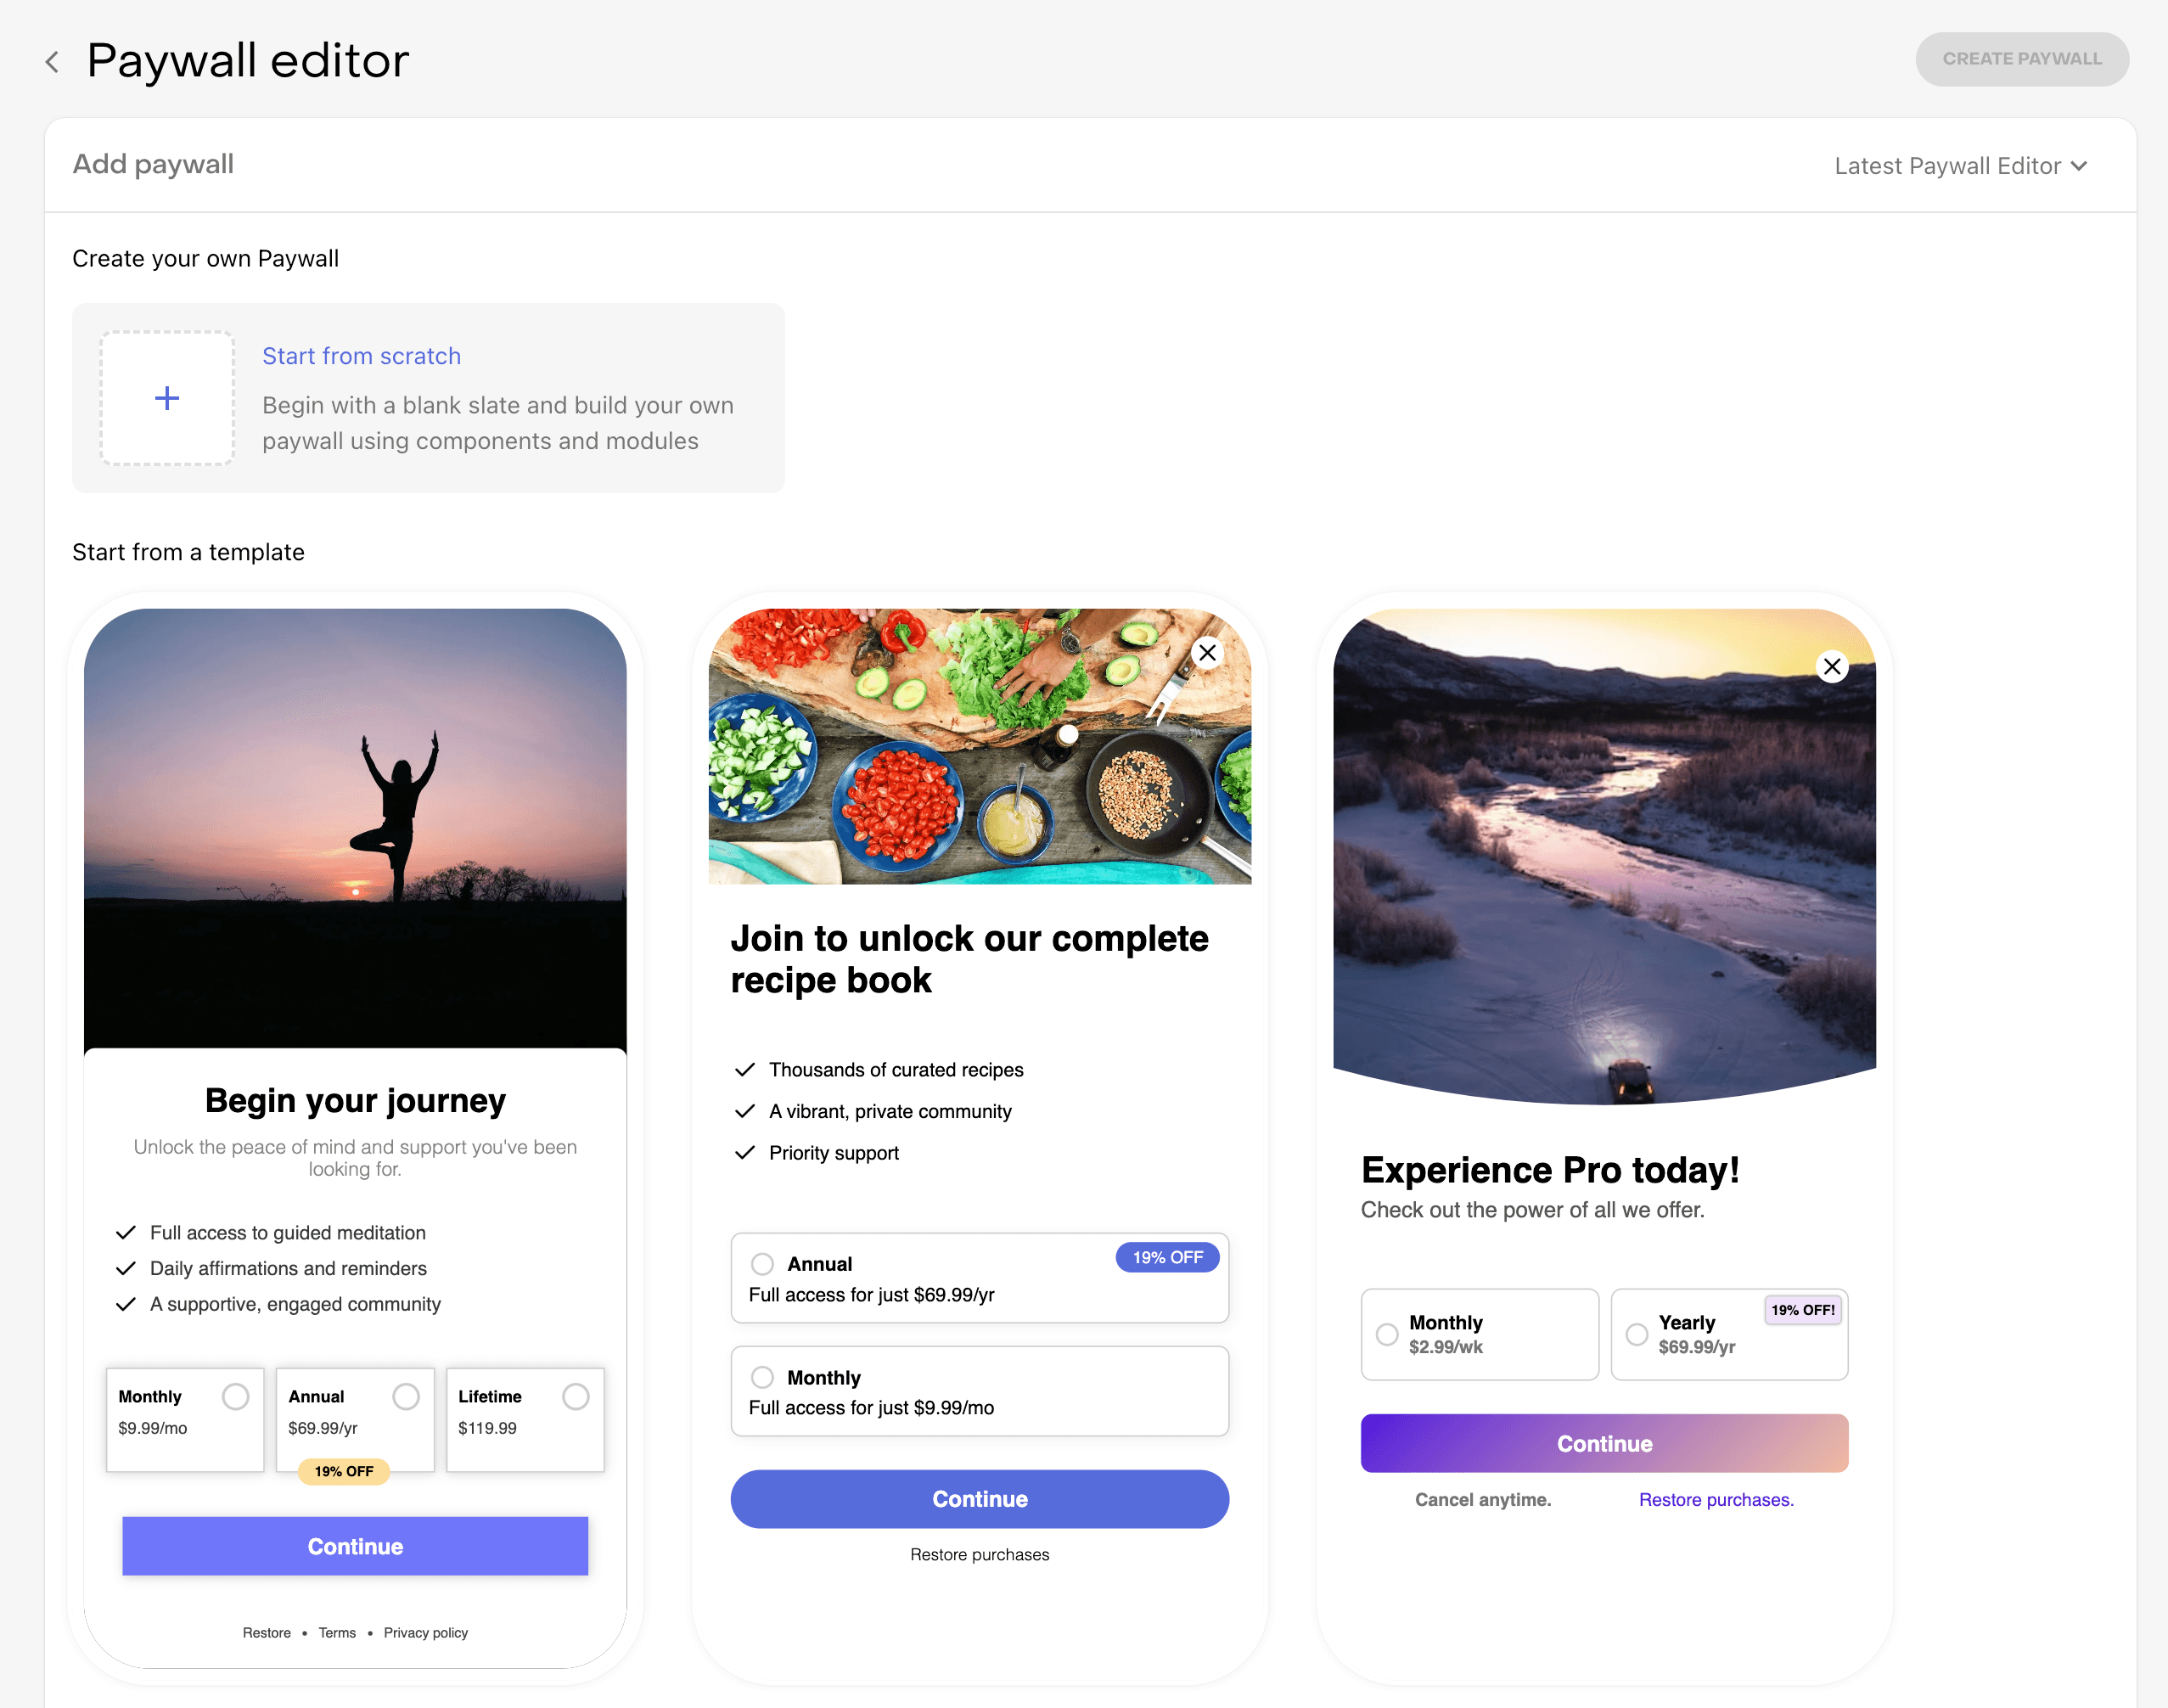
To get started, click + New Paywall on the Paywalls page for your project:

Next, you'll need to select the Offering you want to add a Paywall to. Or, if you don't have any Offerings without Paywalls, you'll have the option to duplicate an existing one or create a new one.
Unless you have a very specific custom design in mind, start with a template. You can customize everything after you pick one - it's just a starting point.
To customize your paywall, you can edit components in the dedicated editor.
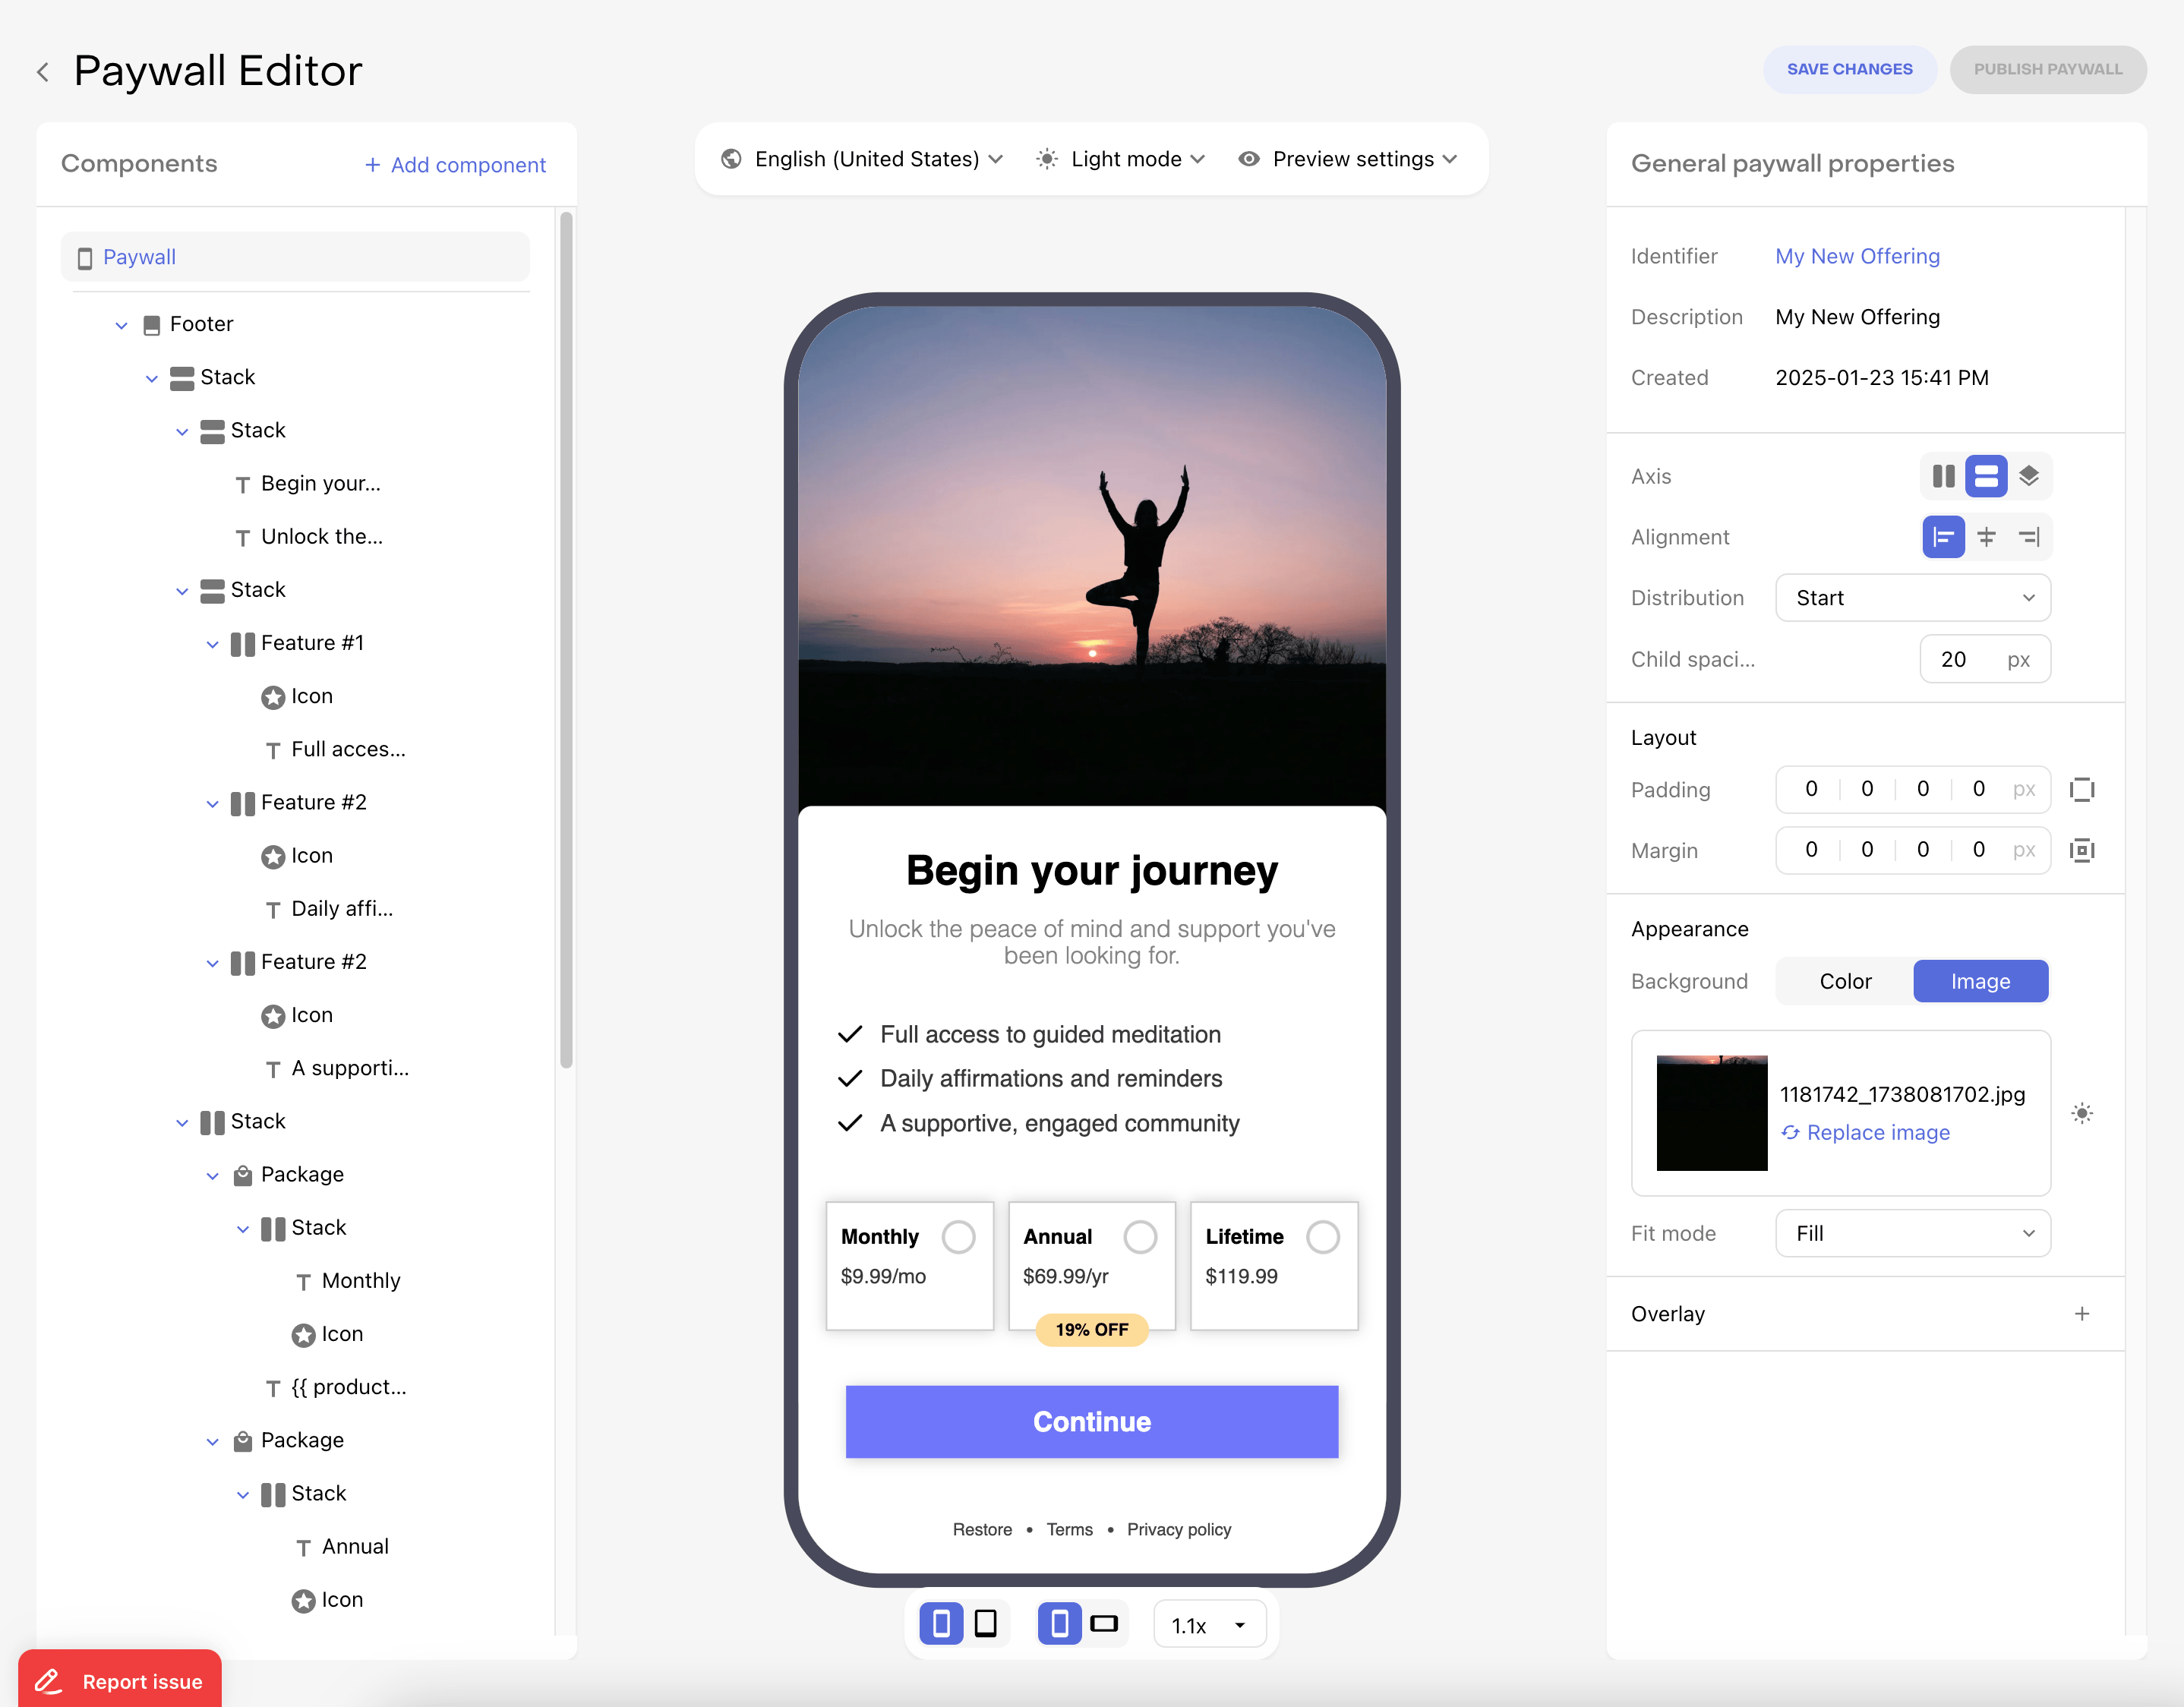
When you're ready to publish your paywall, click Publish in the top-right corner of the editor. Check Overview for details on how to display the paywall in your app.
Preview paywall before publishing
You can preview your paywall on your phone before publishing by clicking the Preview button in the top-right corner of the editor.
Create a webhook
To sync subscription status (and other purchase events) to your database, you need to set up a webhook.
TurboStarter includes the webhook handler out of the box - you just need to create the webhook in RevenueCat and paste in your callback URL.
To configure a new webhook, go to the Integrations tab and choose the Webhooks option.
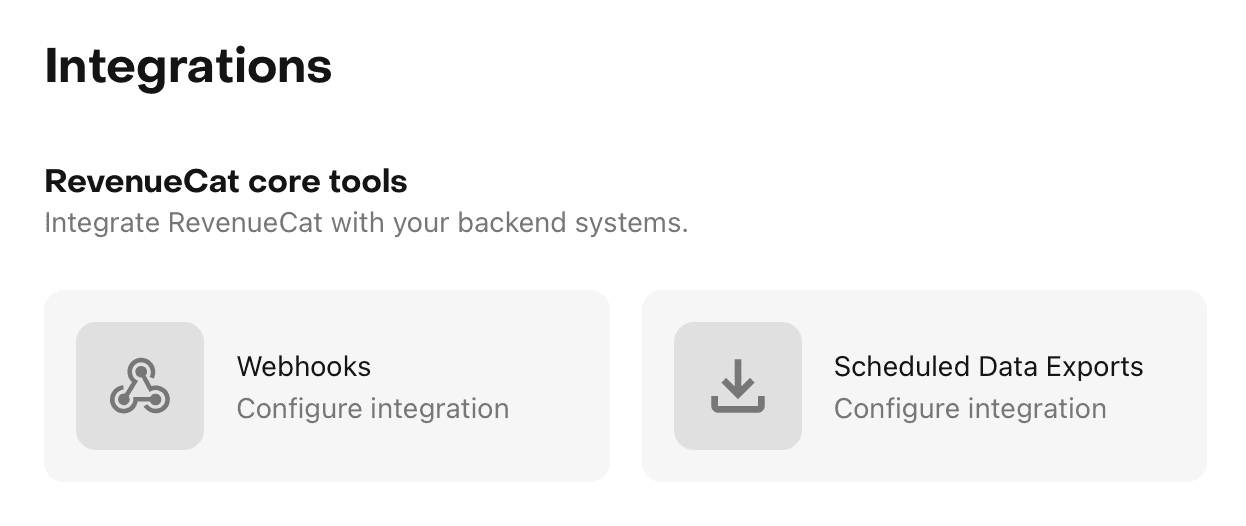
Click on the Add new configuration button to create a new webhook configuration.
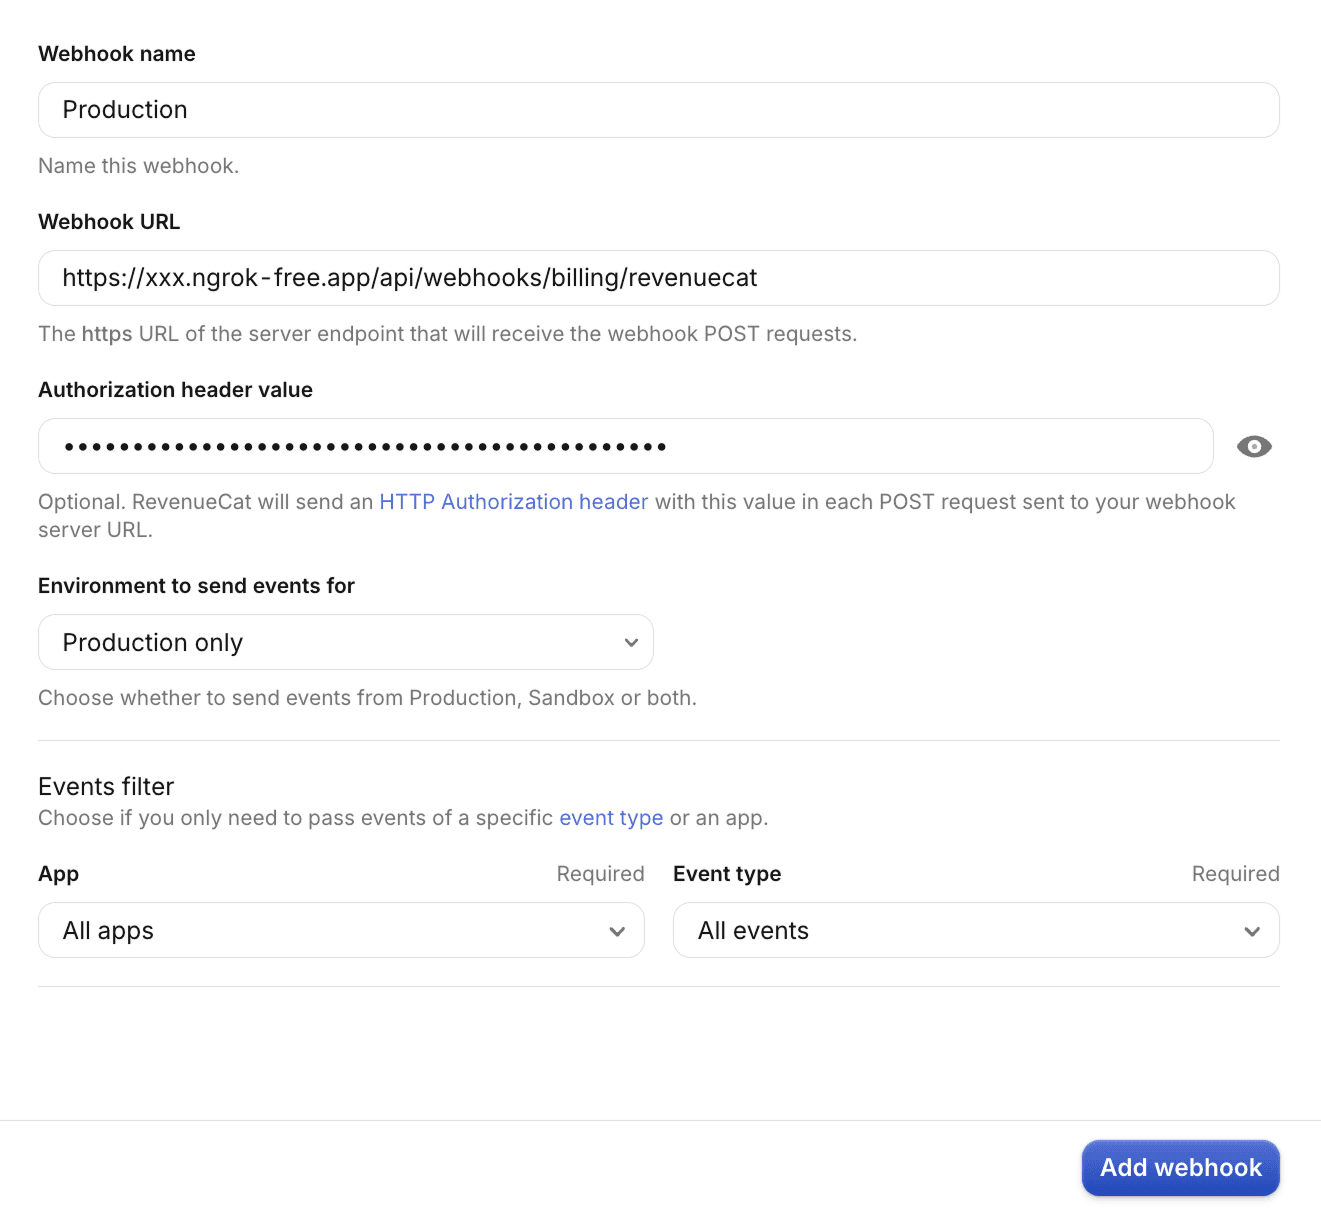
It's also recommended to set an Authorization header that will be sent with every request. Your server can verify it to ensure the request is coming from a trusted source.
You can get it by running the following command in your terminal:
openssl rand -base64 32Copy the generated string and paste it into the Authorization header.
You also need to add this secret to your environment variables for your web app:
REVENUECAT_WEBHOOK_SECRET=<your-generated-secret>This secret is used by your server to verify incoming webhook requests.
To get the callback URL for the webhook, you can either use a local development URL or the URL of your deployed app:
Local development
If you want to test the webhook locally, you can use ngrok to create a tunnel to your local machine. Ngrok will then give you a URL that you can use to test the webhook locally.
To do so, install ngrok and run it with the following command (while your TurboStarter web development server is running):
ngrok http 3000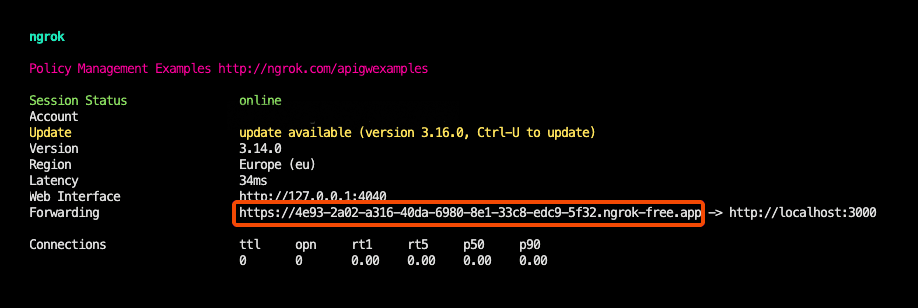
This will give you a URL (see the Forwarding output) that you can use to create a webhook in RevenueCat. Use that URL and append /api/billing/webhook/revenuecat.
RevenueCat Webhooks
revenuecat.com
Production deployment
When going to production, you will need to set the webhook URL and choose which events you want to listen to in RevenueCat.
The webhook path is /api/billing/webhook/revenuecat. If your app is hosted at https://myapp.com then you need to enter https://myapp.com/api/billing/webhook/revenuecat as the URL.
All the relevant events are automatically handled by TurboStarter, so you don't need to do anything else. If you want to handle more events, check Webhooks for more information.
API deployment required
To handle billing webhooks in production (and allow your Expo app to talk to your backend), you must first deploy the Hono API.
That's it! 🎉 You have now set up RevenueCat as a billing provider for your app.
Feel free to add more products, variants, and promotional offers, and manage your customer data and subscriptions using RevenueCat.
How is this guide?
Last updated on