For the complete documentation index, see llms.txt. Prefer markdown by appending.mdto documentation URLs or sendingAccept: text/markdown.
E2E tests
Run Maestro end-to-end tests on iOS and Android against a production API build. Covers flows, testIDs, EAS profiles, and CI.
Mobile E2E tests verify real user flows on iOS and Android: welcome screens, sign-in, onboarding, and sign-out. Tests use Maestro against a native app build and a production API server, so you catch issues that only appear on device. See the Maestro docs for the full reference.
Why Maestro?
Maestro uses YAML flows that are easy to read and maintain. It handles waits, retries, and platform quirks (like iOS keychain prompts) without boilerplate. Flows run on real emulators and simulators, giving you confidence that gestures, navigation, and native UI behave correctly.
Prerequisites
- Start services: Postgres must be running for the API server:
pnpm services:setup- Environment files:
cp .env.example .env
cp apps/web/.env.example apps/web/.env.local
cp apps/mobile/.env.example apps/mobile/.env- Install Maestro (first time only):
curl -Ls "https://get.maestro.mobile.dev" | bash- Build the app: E2E tests need a native build. Use the EAS
e2eprofile:
cd apps/mobile
eas build --platform android --profile e2e --local
# or
eas build --platform ios --profile e2e --local
The e2e profile in eas.json produces an APK (Android) or simulator build (iOS) with the correct EXPO_PUBLIC_SITE_URL for reaching your local API:
| Platform | EXPO_PUBLIC_SITE_URL | Why |
|---|---|---|
| Android emulator | http://10.0.2.2:3000 | Emulator loopback alias for host machine |
| iOS simulator | http://127.0.0.1:3000 | Localhost on the Mac host |
- Start the API server: the mobile app needs a running backend:
pnpm with-env pnpm turbo build --filter=web
pnpm with-env pnpm --filter web start -H 0.0.0.0 -p 3000
Test structure
E2E tests live in apps/mobile/e2e/:
apps/mobile/e2e/
├── config.yaml              # Flow discovery and execution order
├── flows/
│   ├── welcome.yaml         # Welcome screen smoke test
│   └── auth/
│       ├── sign-in-password.yaml
│       └── sign-out.yaml
├── subflows/
│   └── complete-setup.yaml  # Reusable onboarding steps
└── test-results/            # JUnit reports and debug output
Flow execution order
config.yaml defines which flows run and in what execution order:
flows:
  - "flows/**"
executionOrder:
  continueOnFailure: false
  flowsOrder:
    - welcome
    - sign-in-password
    - sign-out
Flows run sequentially: welcome → sign-in → sign-out. The sign-out flow depends on the sign-in flow leaving the user on the dashboard.
Example flows
Test IDs
Mobile screens expose testID props for Maestro to target. This keeps flows stable when copy or styling changes.
Add testID to any new interactive element you want to cover in Maestro flows.
Welcome screen
appId: com.turbostarter.core
---
- launchApp:
    clearState: true
    clearKeychain: true
- extendedWaitUntil:
    visible:
      id: welcome-get-started
    timeout: 120000
- assertVisible:
    id: welcome-get-started
- assertVisible:
    id: welcome-login
clearState and clearKeychain ensure each run starts fresh, with no leftover sessions from previous tests.
Sign in with password
The sign-in flow navigates from welcome → login → onboarding → dashboard:
appId: com.turbostarter.core
env:
  E2E_USER_EMAIL: me+user@turbostarter.dev
  E2E_USER_PASSWORD: "Pa$$w0rd"
---
- launchApp:
    clearState: true
    clearKeychain: true
- tapOn:
    id: welcome-login
- tapOn:
    id: login-email-input
- inputText: ${E2E_USER_EMAIL}
- tapOn:
    id: login-password-input
- inputText: ${E2E_USER_PASSWORD}
- pressKey: Enter
- runFlow: ../../subflows/complete-setup.yaml
- assertVisible:
    id: dashboard-home
Subflows like complete-setup.yaml handle reusable steps (checkboxes, skip paywall) so you do not duplicate onboarding logic across flows.
Running tests
All flows
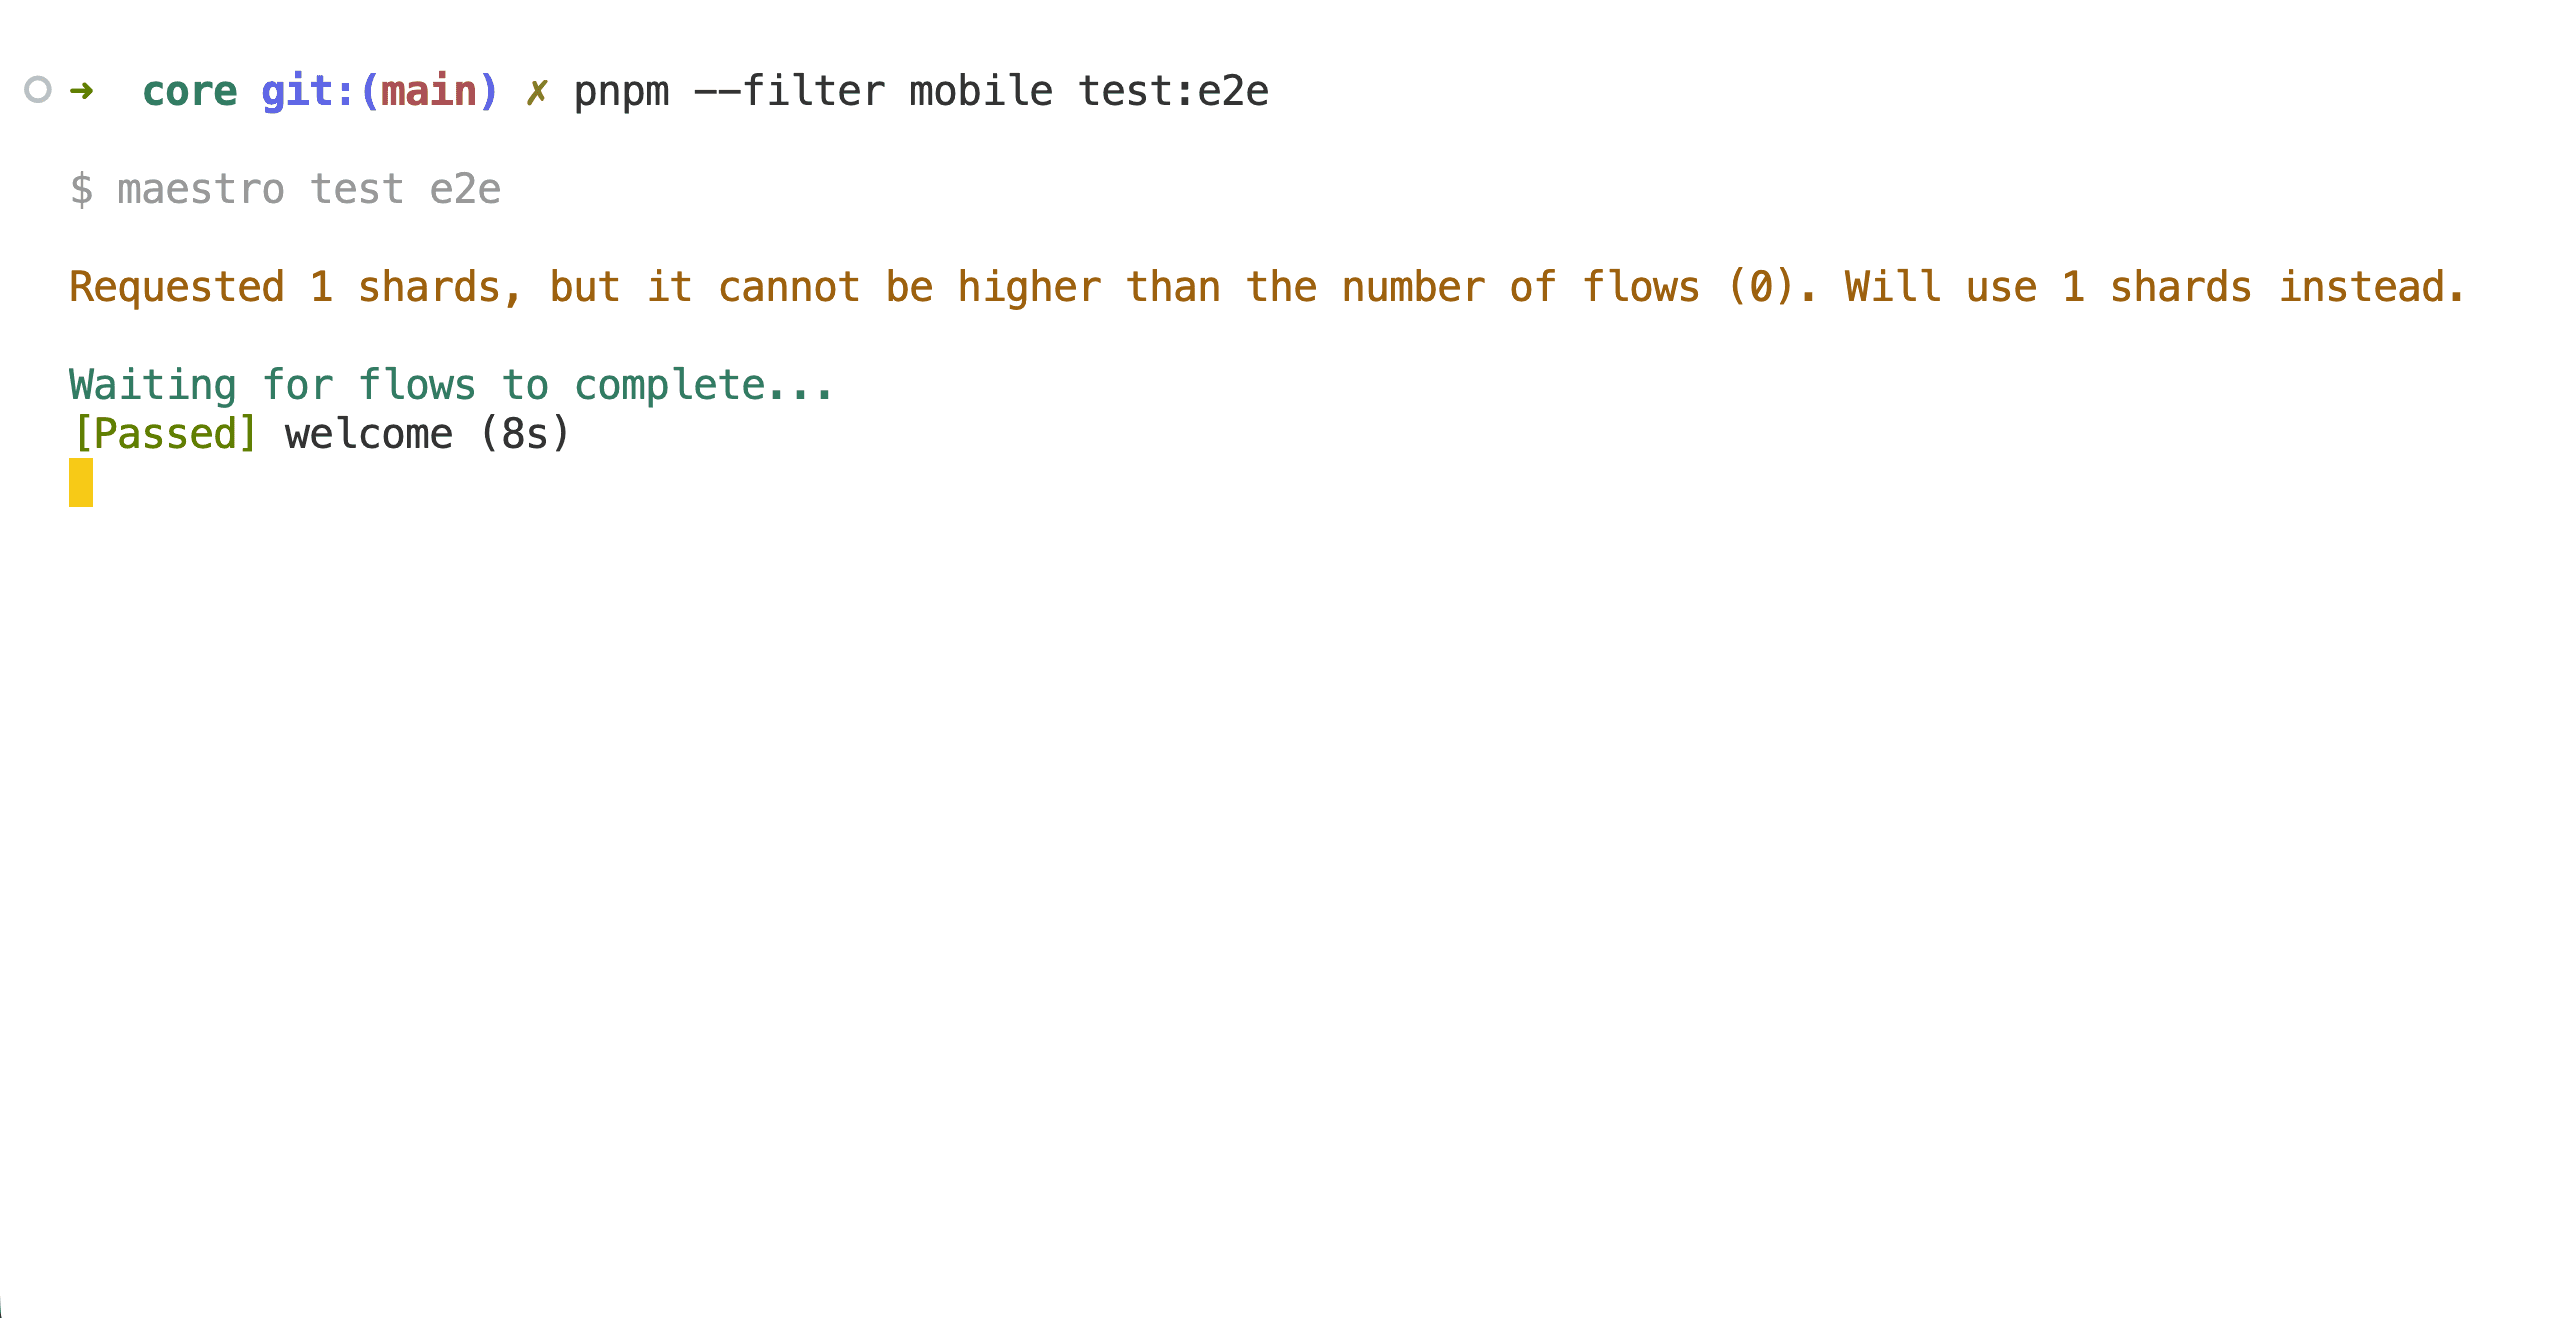
pnpm --filter mobile test:e2eSingle flow
pnpm --filter mobile exec maestro test e2e/flows/welcome.yamlWith JUnit output
pnpm --filter mobile exec maestro test e2e \
  --format junit \
  --output e2e/test-results/report.xml
Maestro Studio (interactive)
maestro studio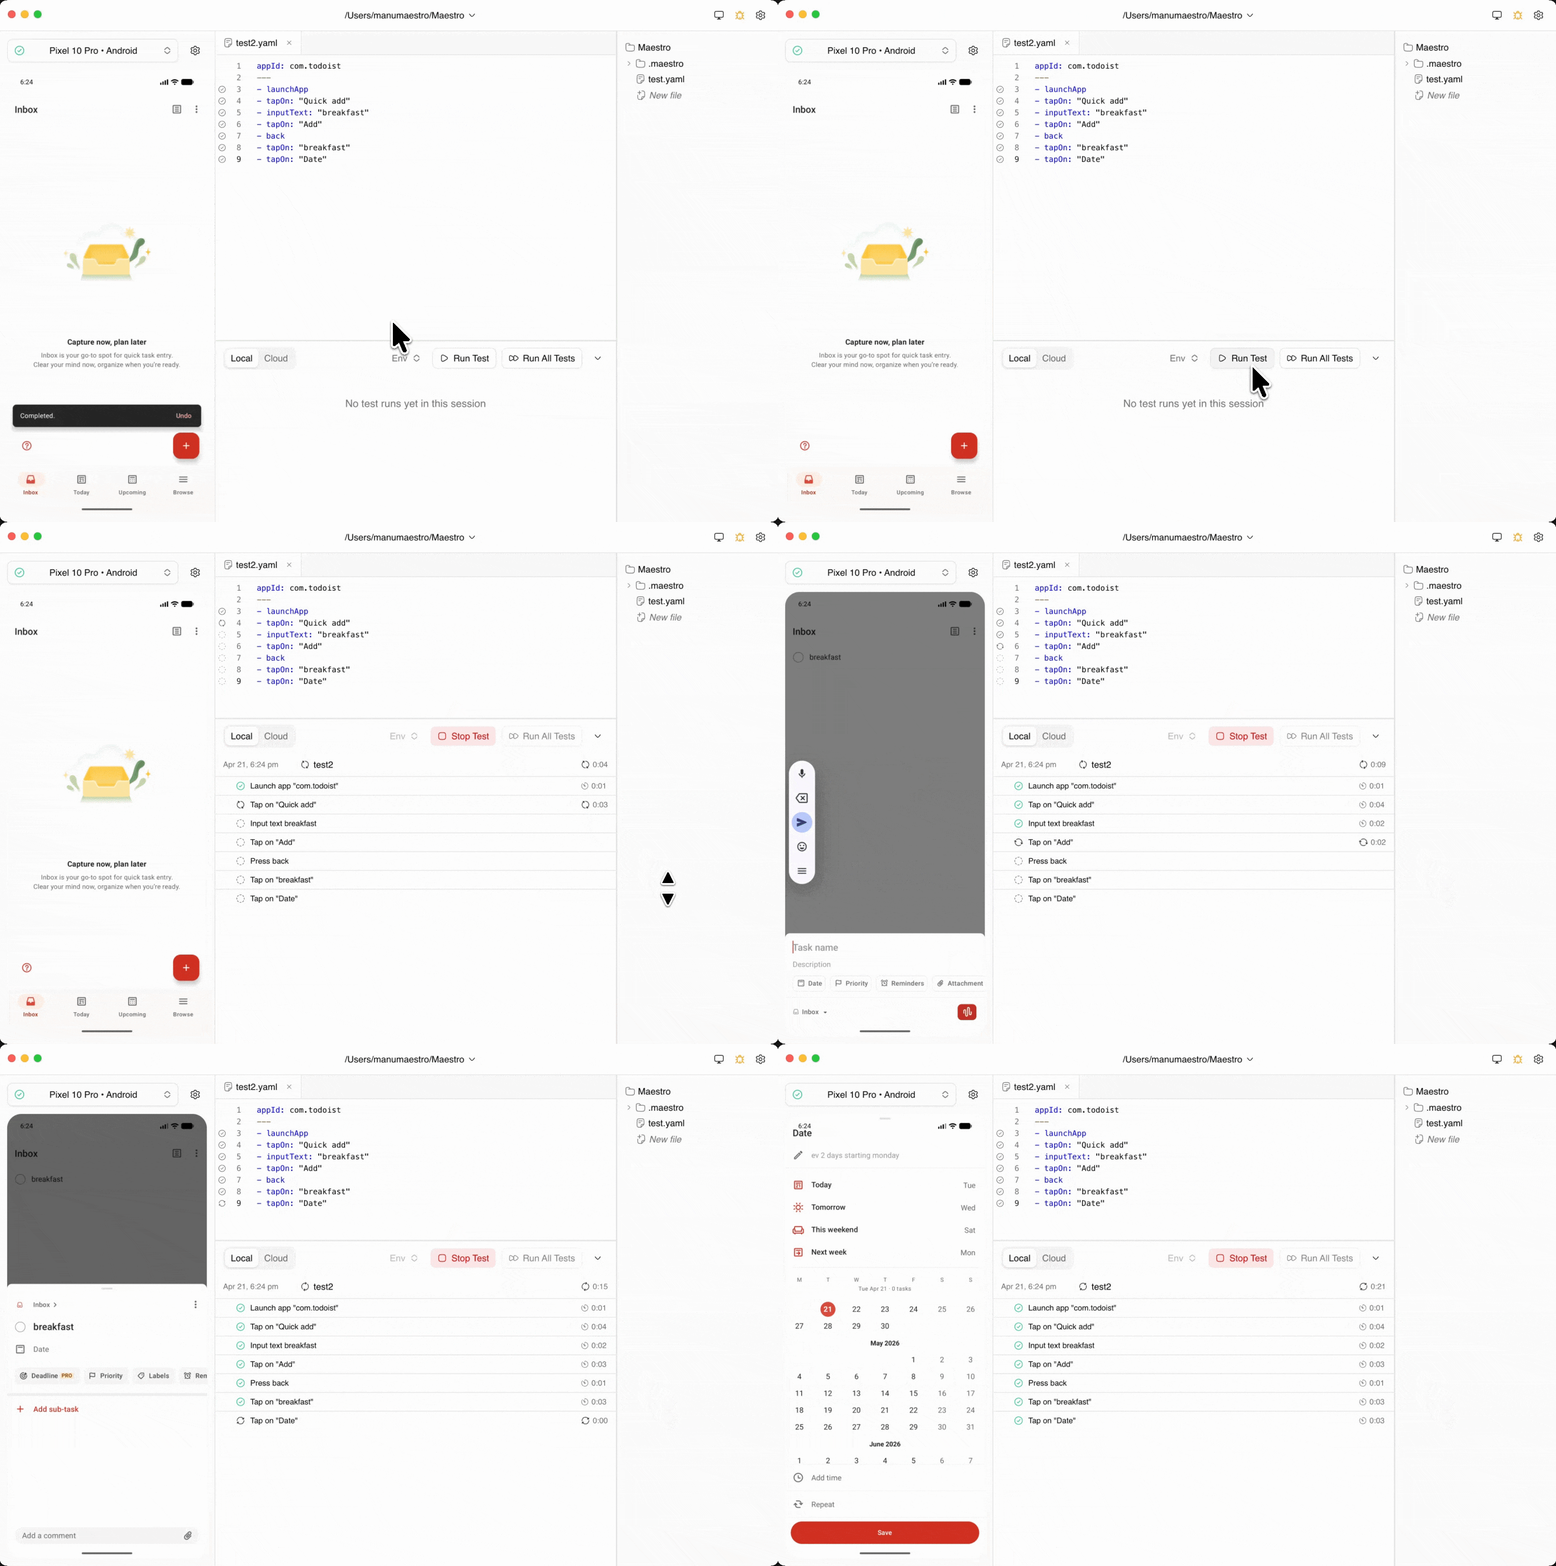
Maestro Studio lets you record, edit, and replay flows visually, which is useful when building new tests.
CI
The CI / E2E / Mobile workflow runs on pull requests labeled e2e or e2e-mobile. It has two jobs:
- Android: builds the app via EAS, starts an API server, boots a Pixel 6 emulator, and runs Maestro flows
- iOS: builds via EAS, starts PostgreSQL natively, boots an iPhone simulator, and runs the same flows
Both jobs upload JUnit reports and debug artifacts. Mobile CI requires an EXPO_TOKEN secret for EAS builds.
Resource requirements
Mobile E2E CI is the most resource-intensive pipeline. Android runs need KVM-enabled runners with a 4 GB emulator. iOS runs need macos-latest. Use the e2e-mobile label only when mobile changes need verification.
Writing new flows
- Add testIDs to the components you want to interact with
- Create a YAML flow in
apps/mobile/e2e/flows/ - Register it in
config.yamlif it should run as part of the suite - Use subflows for steps shared across multiple flows (onboarding, dismiss dialogs)
- Handle platform dialogs: iOS "Save Password?" prompts are dismissed with
repeat/whileblocks in existing flows
Tips for reliable flows
- Use
extendedWaitUntilinstead of fixedsleepvalues - Set
clearState: trueandclearKeychain: trueonlaunchAppfor auth flows - Use
pressKey: Enterto submit forms instead of hunting for submit buttons - Mark optional taps with
optional: truewhen an element may not appear (e.g. tab already selected)
Next steps
- Mobile development setup: emulator and simulator configuration
- Unit tests: fast Vitest tests for mobile packages
- Authentication: auth methods available on mobile
How is this guide?
Last updated on