For the complete documentation index, see llms.txt. Prefer markdown by appending.mdto documentation URLs or sendingAccept: text/markdown.
Deployment
Cloudflare production setup for your Edge app, including resources, domain, build settings, provider credentials, and release checks.
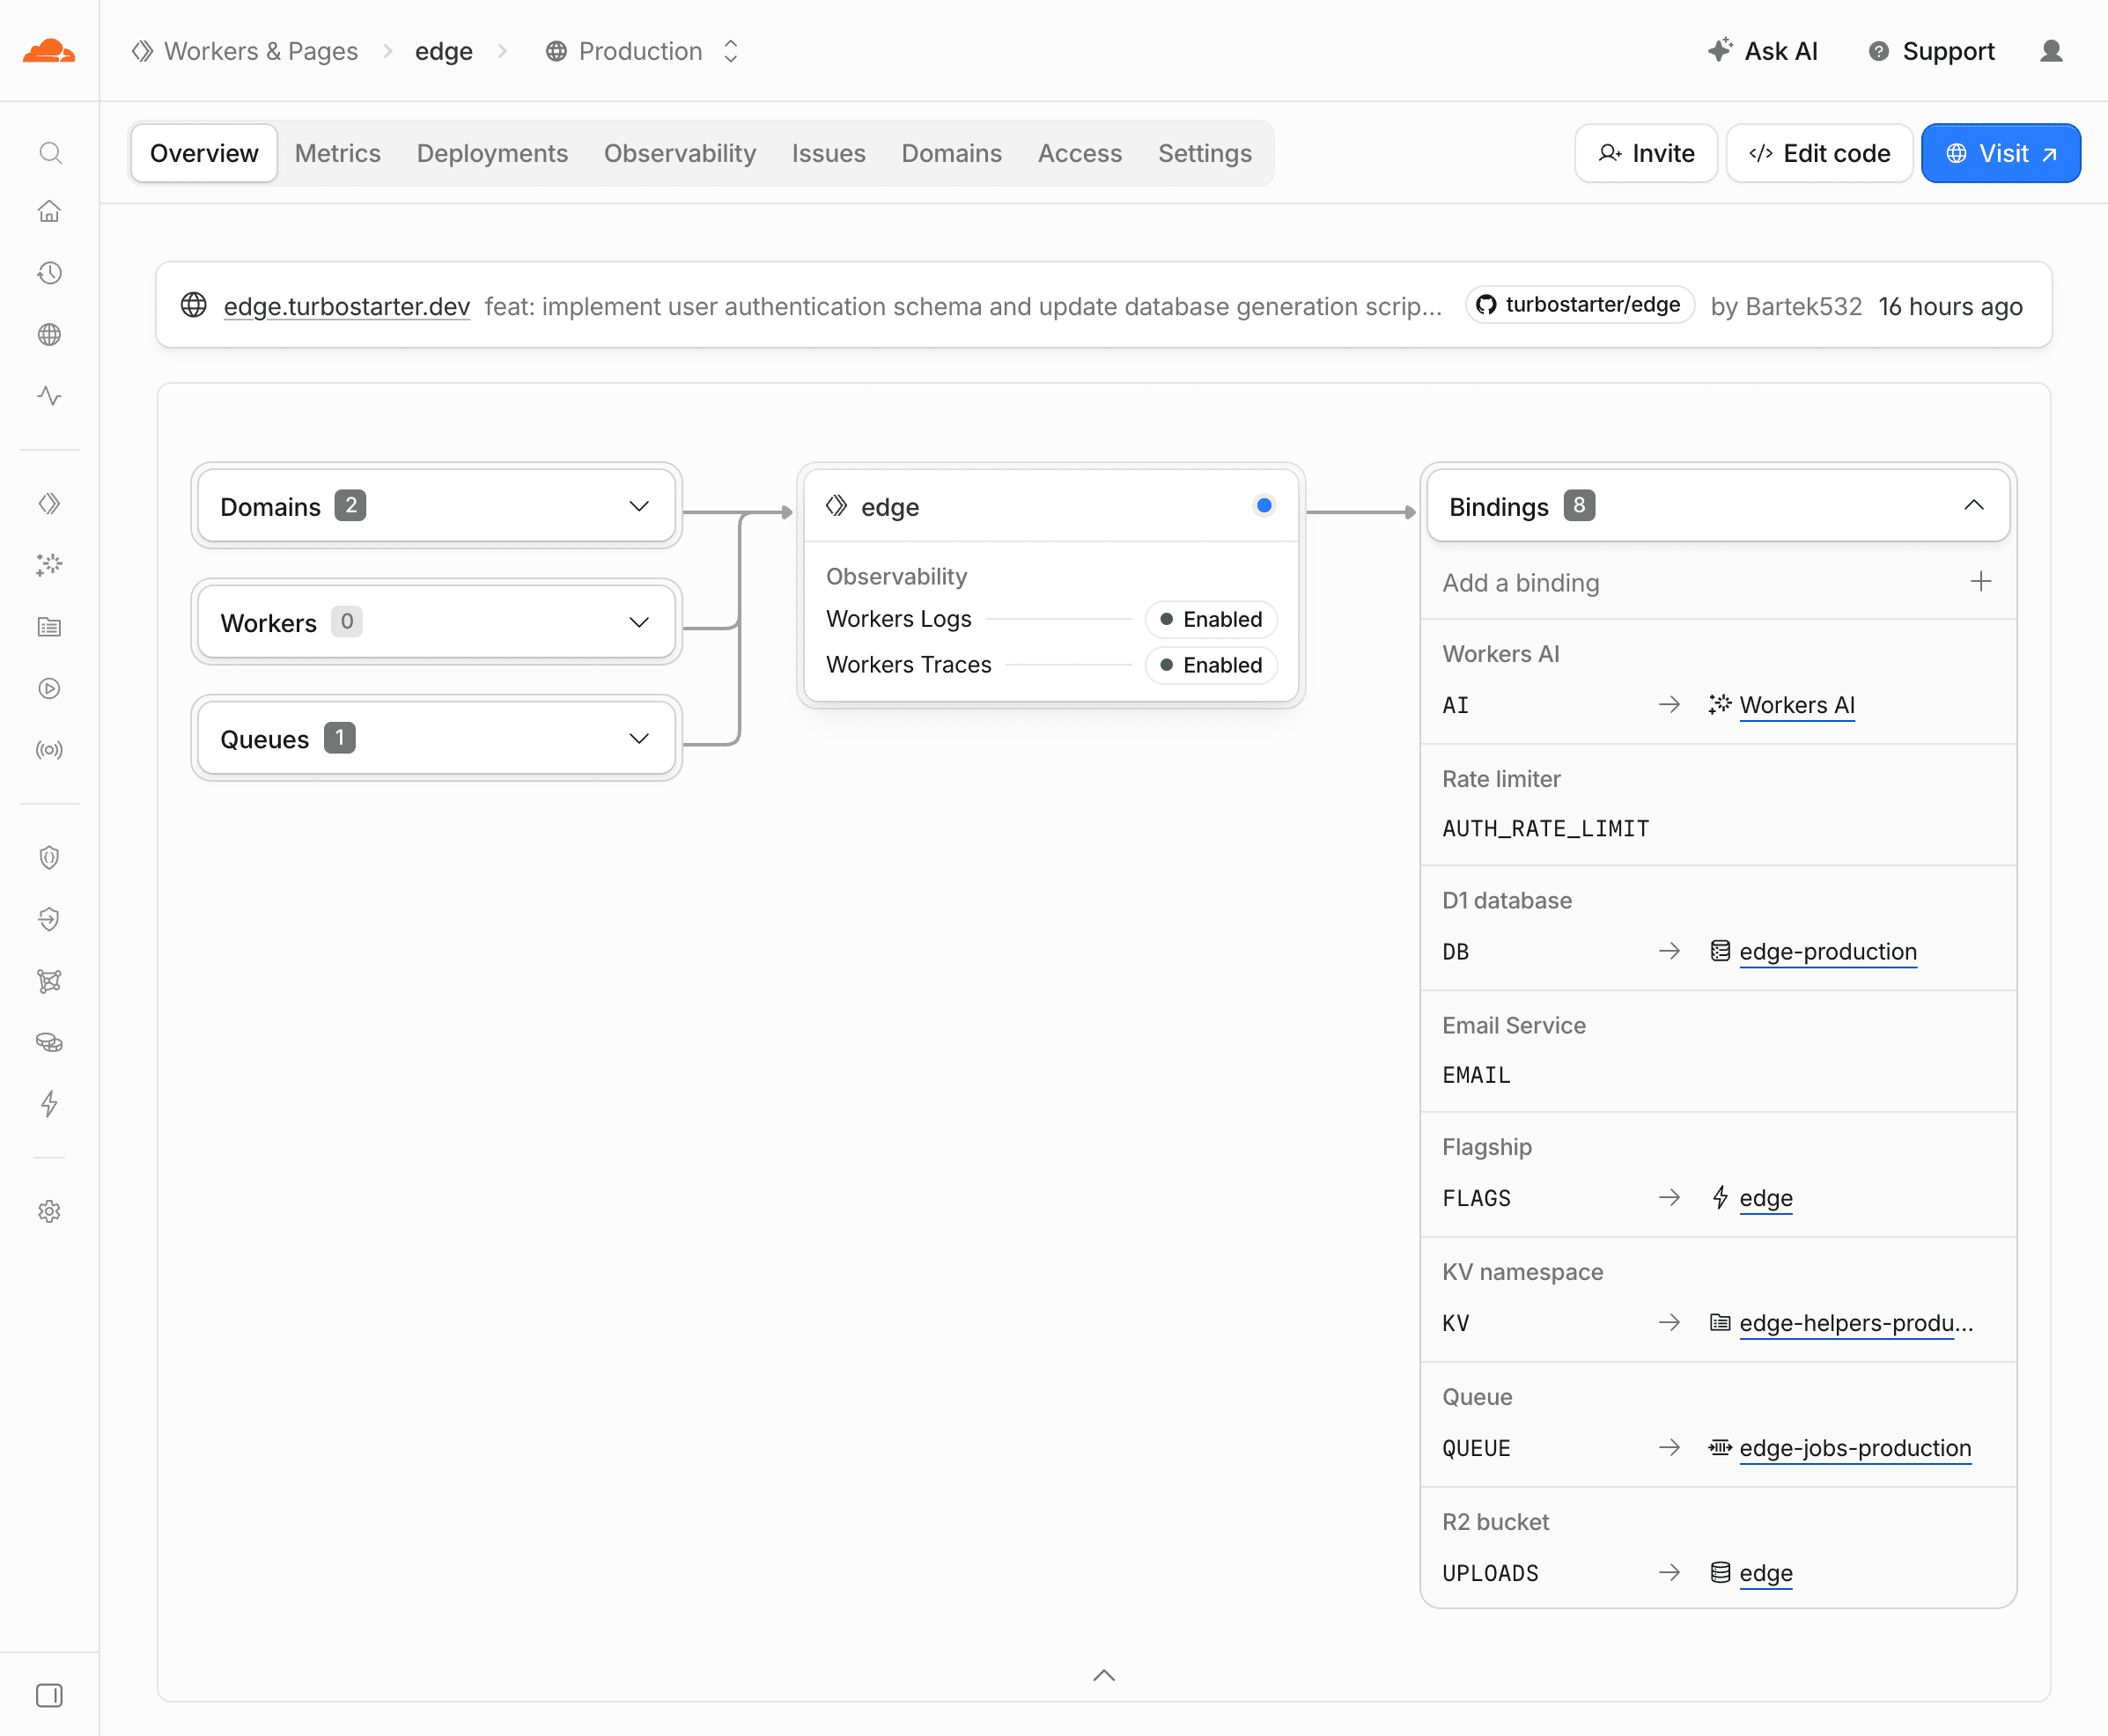
Edge Kit deploys as one Cloudflare Worker. The release command builds your application, applies pending database migrations, and publishes the Worker. Your own Cloudflare resources and provider accounts support the production product.
Prerequisites
Complete local development first. Use the project's Node and pnpm configuration, and enable the Cloudflare services your app uses: Workers, D1, R2, KV, Queues, Email Service, Flagship, and Workers AI.
Production resources
Replace the starting Worker name, domain, resource identifiers, and public tokens with your own configuration before deploying. Keep the binding names used by the application.
Public build values and runtime secrets have separate scopes:
| Scope | Source | Purpose |
|---|---|---|
| Resources | Wrangler configuration | Database, storage, and Cloudflare integrations |
| Public settings | Build environment | Product identity, URLs, and browser settings |
| Credentials | Worker secrets | Authentication and provider access |
The environment guide covers loading and validation.
Create an account
Create and authenticate your Cloudflare account and confirm the selected account:
pnpm wrangler login
pnpm wrangler whoami
For CI, use a CLOUDFLARE_API_TOKEN with the required account permissions. Follow Cloudflare's token guidance.
Set your Worker name in wrangler.jsonc. Keep the existing application entry, migration directory, and binding names; replace the resource values they point to.
Create resources
Create the database, upload bucket, job queue, and KV namespace with your own names:
pnpm wrangler d1 create my-app-production
pnpm wrangler r2 bucket create my-app-uploads
pnpm wrangler queues create my-app-jobs
pnpm wrangler kv namespace create KV
Copy the resulting identifiers and names into the corresponding Wrangler declarations. The queue producer and consumer should use the same queue. Keep the existing rate-limit binding with an account-appropriate namespace identifier.
Wrangler configuration describes each declaration and includes the KV example for caching and app settings.
Connect integrations
Connect the services you use:
- Feature flags: create a Flagship app and connect it in Wrangler. The starting example uses a boolean flag named
edge. - AI: configure the gateway and model access used by your application, or use a supported direct Workers AI model. The AI guide and model recipe cover these choices.
- Email: verify your sending domain through Cloudflare Email Service. Set
EMAIL_FROMand the allowed sender address, plusCONTACT_EMAILfor contact submissions.
For a sender such as My App <noreply@example.com>, the allowed sender address is noreply@example.com without the display name.
AI and Flagship connect to your Cloudflare account during development as well as production.
Configure environment
Choose the final origin, such as https://app.example.com. Align VITE_URL, BETTER_AUTH_URL, and the domain customers visit. Supply your product name, real Turnstile site key, and optional analytics token to the production build.
For a local production build, use .env.production.local and check Vite's environment priority. Keep local secret files out of Git.
Generate an auth secret and store production credentials with Wrangler:
pnpm dlx auth secret
pnpm wrangler secret put BETTER_AUTH_SECRET
pnpm wrangler secret put STRIPE_SECRET_KEY
pnpm wrangler secret put STRIPE_WEBHOOK_SECRET
pnpm wrangler secret put TURNSTILE_SECRET_KEY
Use the selected Worker name if Wrangler offers to create it. Add credentials for enabled social providers and register their production callbacks using OAuth setup.
Connect your own Stripe prices, webhook, and customer portal through subscriptions. Keep test-mode and live-mode credentials matched to their prices.
Connect domain
For a Cloudflare-managed domain, configure a custom domain route:
"routes": [{ "pattern": "app.example.com", "custom_domain": true }]Wrangler connects it during deployment. See custom domain requirements for existing DNS records. For an initial workers.dev deployment, remove the starting custom route and align your app URLs with the Worker origin before building.
Regenerate types and run the checks:
pnpm cf-typegen
pnpm lint
pnpm test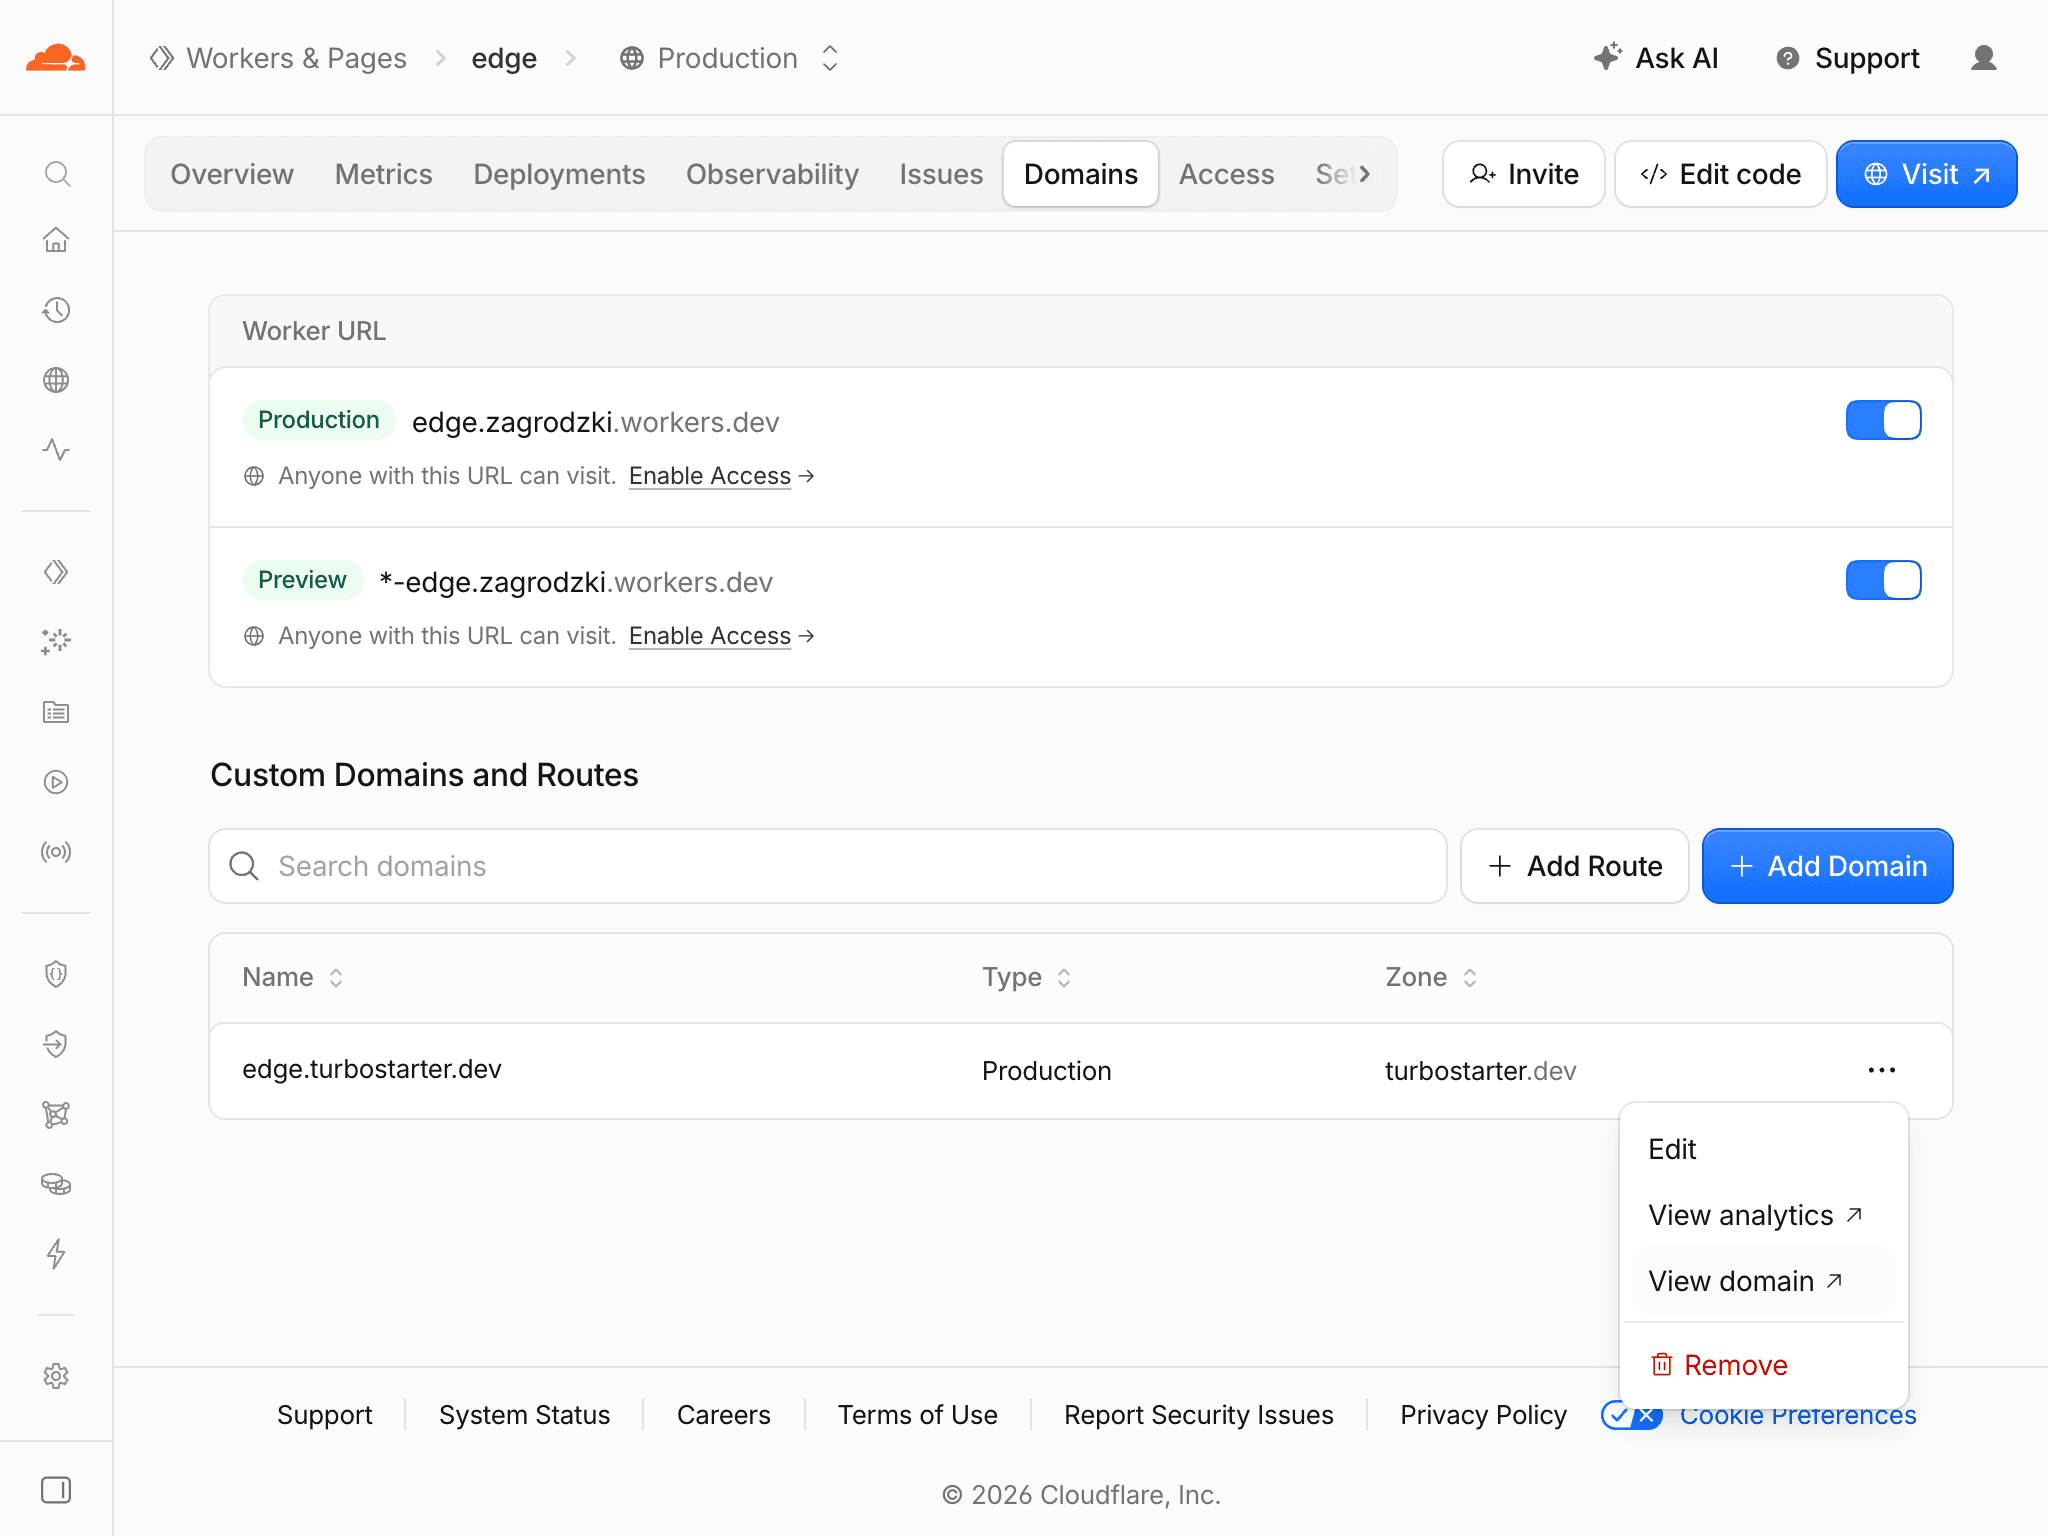
Release
pnpm deployReview the build, migration, and upload stages. If upload fails after migrations succeeded, the database has already changed. Keep schema changes compatible with the previous release and follow migration deployment for production data.
Use the production checklist below to verify the deployed customer journeys with test accounts and Worker logs.
GitHub integration
The Edge repository uses Cloudflare's GitHub integration to connect code changes to deployments. Once you connect your own repository, pushes to the production branch deploy the app, and pull requests can receive preview URLs for review.
Connect the repository
In your Worker's Settings > Builds, connect your GitHub repository and authorize the Cloudflare Workers & Pages GitHub App. Grant it access to the repository that contains your app. Choose the repository root as the build directory and your release branch, usually main, as the production branch.
Configure the build
Use the Node and pnpm versions declared by the project. Configure these build settings:
| Setting | Value |
|---|---|
| Build command | pnpm build |
| Production deploy command | pnpm db:migrate --remote && pnpm exec wrangler deploy |
Together, these commands perform the same build, migration, and deployment stages as pnpm deploy, without building twice.
Add public VITE_* values to the build environment. Keep auth and provider credentials in the Worker's runtime secrets. The resource and domain configuration from the setup above still applies.
Enable previews
In Settings > Build > Branch control, enable preview builds. New Worker connections use pnpm exec wrangler preview as the pnpm equivalent of Cloudflare's default Preview command. Branch pushes build a preview, and the GitHub integration posts its URL on the pull request.
Configure Preview settings for the test variables, secrets, and resources that feature branches should use. Follow Cloudflare's preview D1 migration setup, using the kit's drizzle migration directory and the database bound to the preview. Match app URLs, OAuth callbacks, and Turnstile hostnames to that environment.
Preview environments
Keep production release commands out of preview builds. pnpm deploy applies remote migrations and publishes the production Worker. The kit's pnpm preview command serves a local build; it does not create a Cloudflare PR preview.
Older Cloudflare connections may use wrangler versions upload with production settings. Review the existing-Worker preview guidance before assuming a preview has separate data or credentials.
Updates
With GitHub connected, merge reviewed changes into the production branch to trigger a release. You can also run pnpm deploy locally. Include reviewed migrations with application changes and rebuild whenever public settings change.
The repository also includes a manually triggered GitHub Actions publish workflow that runs checks before deployment. Use it when you want an explicit release action; automatic branch deployments are handled by Cloudflare's integration. Choose one release path for a change to avoid duplicate deployments.
Deployment troubleshooting covers credentials, bundle limits, and runtime failures.
Production checklist
Before launch, check the customer journeys on your final domain. Repeat the affected checks when a release changes a feature or integration.
- Product: branding, navigation, pricing, translations, and legal copy describe your offer; SEO metadata uses the final hostname.
- Environment: production bindings, build values, and secrets point to your accounts; reviewed migrations are applied and disposable seed accounts are absent.
- Access: registration, verification, recovery, OAuth, and sign-out work; private operations reject another customer's records and files.
- Payments: Stripe credentials and prices use the intended mode; checkout, webhooks, paid access, and the customer portal work together.
- Messages: real recipients receive branded emails with correct links; background jobs complete and handle retries safely.
- Features: uploads, AI responses, and flag fallbacks behave as expected for the features your product exposes, including failure states.
- Operations: automated checks pass, logs and availability checks work, and your recovery plan accounts for any database changes.
How is this guide?
Last updated on